Materials:
- Pair of Projectors
- Pair of Shrouds
- (4) 1” screws
- (1) Packet of washers
- Pack of sticky rubber pads
- Spray paint/primer
- Rubbing alcohol
- Construction adhesive (like JB Weld)
- Dremel Tool
- Dremel Sanding drum attachment
- Dremel cut-off wheel attachment
- Safety goggles
- Thin work gloves (like Mechanix)
- Flat blade screwdriver
- Philips screwdriver
- Oven
- Compressed air
- Microfiber cloth
- Butyl rubber glue
- Spring clamps
- GooGone
- Butyl rubber glue
- Scissors
Remove headlights from your car. All cars are different, so this step is up to you. If your cant get the headlight off- don’t force it. Check your forums or manual for help there.
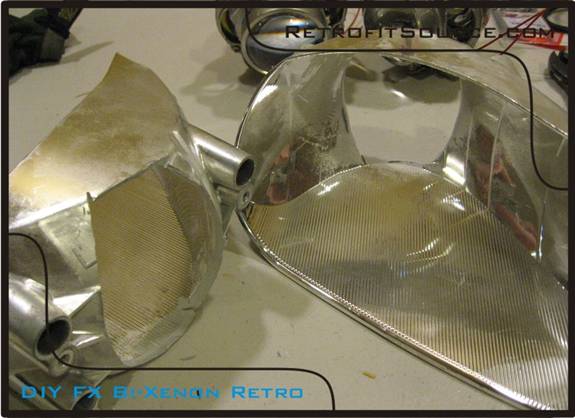
Clean the headlights, remove any rubber caps, seals or misc. parts from the outside. Check for screws around the perimeter of the headlight that may be holding onto the front lens.
Take all but one rack out of your oven and pre-heat it to 265 degrees Fahrenheit. Leave one rack in there farthest from the heating elements
While your oven is pre-heating, set up your workstation. This will be where you will open up the headlight assemblies. You want a non-slip surface that wont scratch up the lenses. Try an old towel or cardboard box. Put 2 medium sized flat blade screwdrivers near by.
Place one headlight in the oven at a time for 7 minutes. Be on standby with some oven mits or your work gloves to remove the hot headlight assembly from the oven when the time is up.
Once the headlight is ready to come out, take it over to your workstation and start prying away at the front lens to remove it from the rear of the housing. There are usually tabs that surround the perimeter, so try not to break those. Slip the screwdriver in, push down and back to get a good pry in. Work your way around the edge until you can slip your hand in and just pull the lens off. After you got the lens off- push any deformed spots around the edge of the housing back to how they should be while the housing is still warm. This is to ensure a better seal when you put the lights back together later on.
Usually the front chrome trim piece is attached to the lens, but if not- remove that. You should see the bare reflector right in front of you now. Remove that from the housing. You will need to back out the adjuster screws all the way to do this. There are usually 2 adjuster screws and 1 ball and socket type mount. Once the screws are backed out all the way, the reflector will probably still be attached by the ball and socket mount. With some force it should just pop off, but don’t force it! You may also be able to just unscrew the ball/socket mount from the back of the reflector.
Okay this is where the real retrofit work starts….
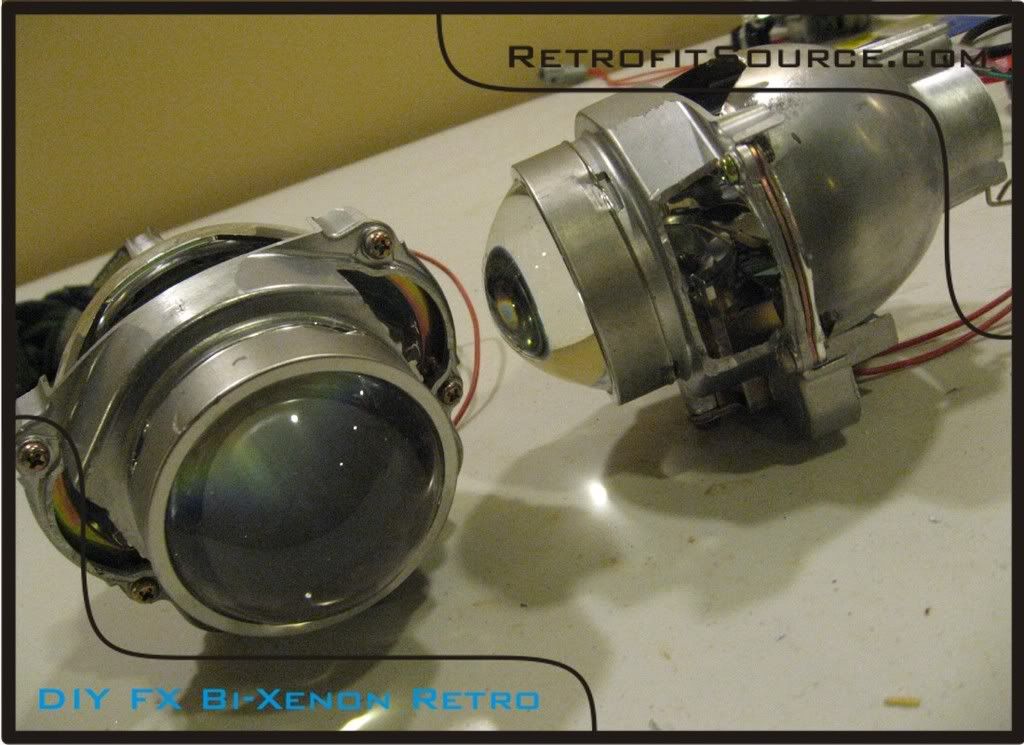
Step 1a) Here you can see the Infiniti FX Bi-xenon projectors we’re starting with:
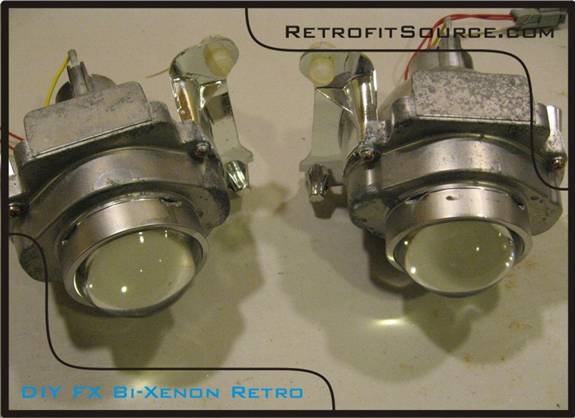
http://i264.photobucket.com/albums/ii187/RetrofitSource08/Step1.jpg
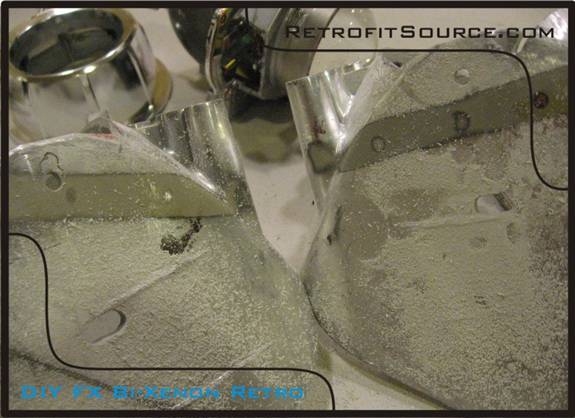
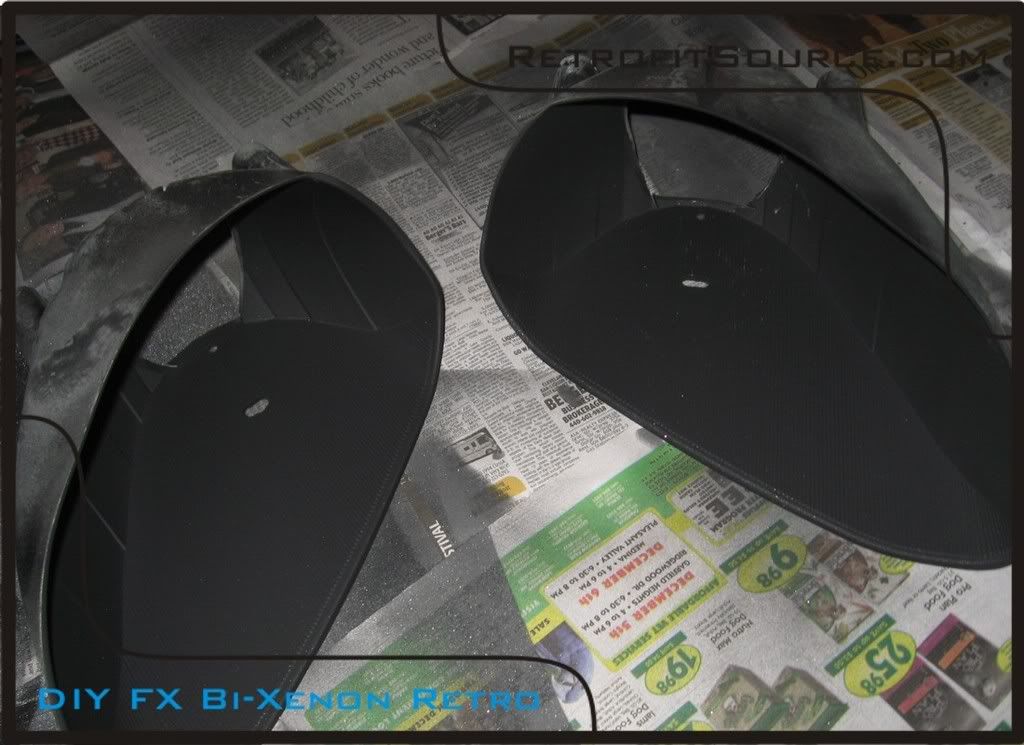
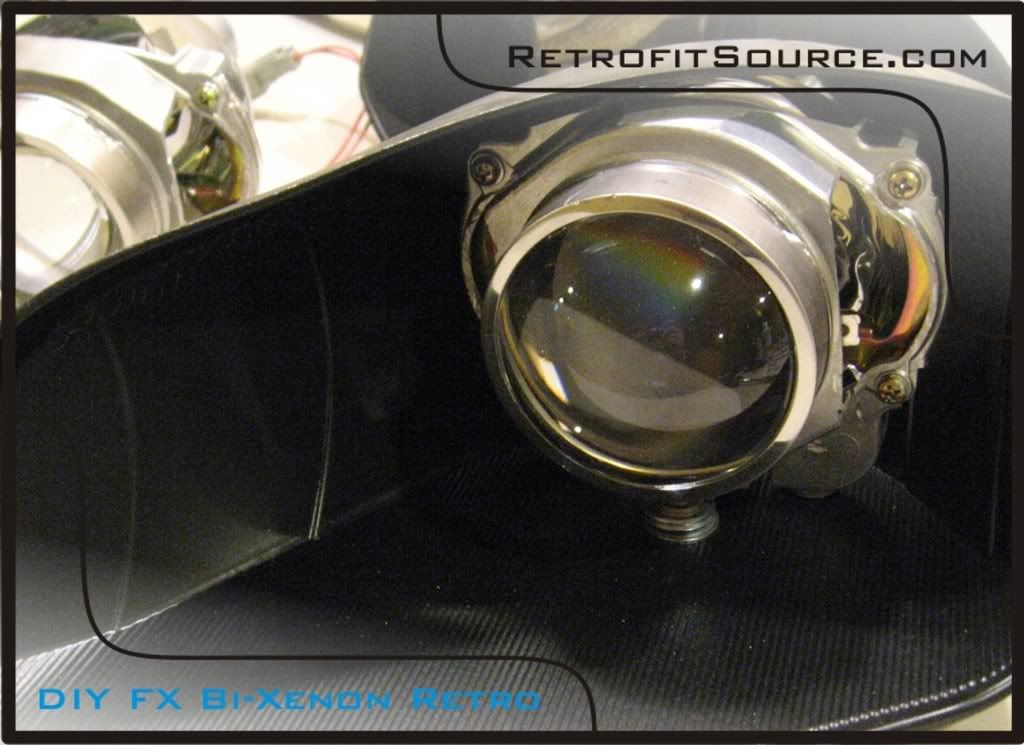
Step 1b) this is the time to perform any modifications to the projectors. In this case, the projectors had a clear lens swap with our 2.5” FX lenses, a cutoff shield color mod, and they were trimmed up to fit the shrouds we were going to use. The original mounting “ears” were also cut off. It is best to disassemble the projectors to work on them so you don’t cut anything you don’t intend to. Make sure to pay attention to how they are assembled so you don’t re-assemble them wrong. Use your dremel tool with the cutoff wheel attachment to make any changes needed.
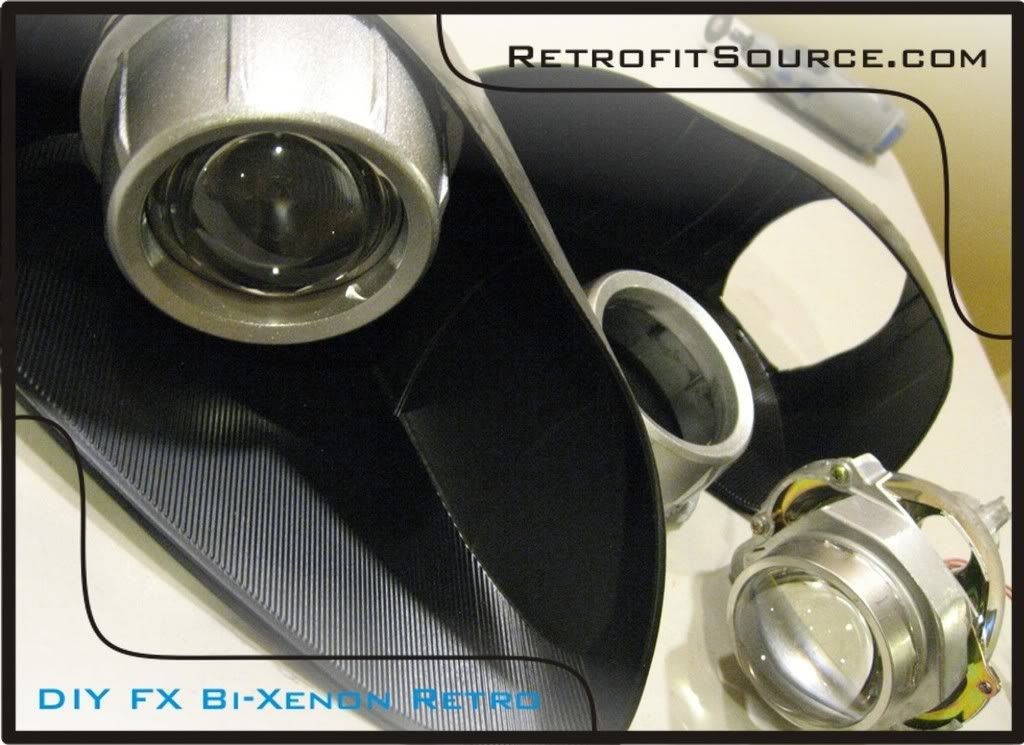
All the parts:
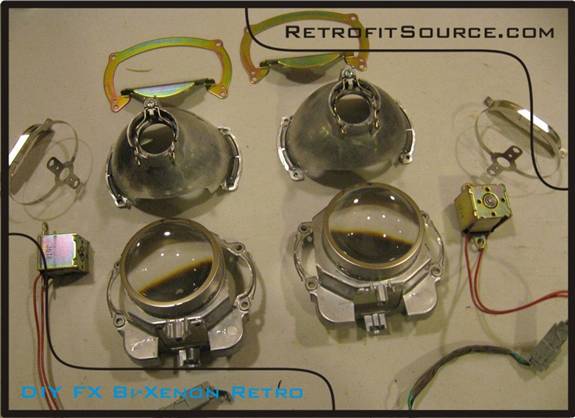
http://i264.photobucket.com/albums/ii187/RetrofitSource08/Step2.jpg
Re-assembled and trimmed up:
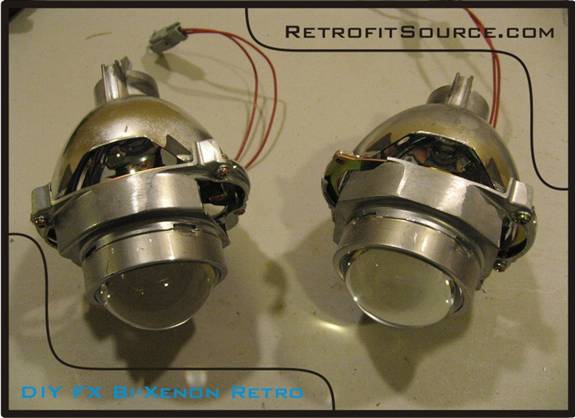
http://i264.photobucket.com/albums/ii187/RetrofitSource08/Step22.jpg
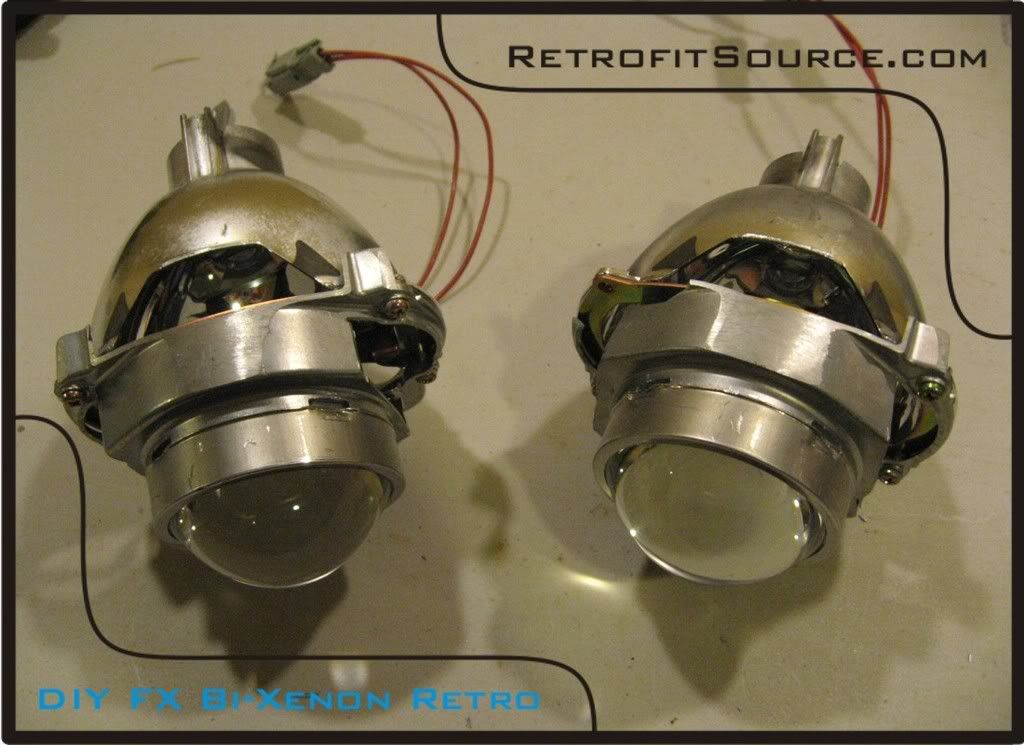

http://i264.photobucket.com/albums/ii187/RetrofitSource08/Step23.jpg
Cutoff shield modification:

http://i264.photobucket.com/albums/ii187/RetrofitSource08/Step24.jpg
The FX has a unique cutoff shield assembly because it has 2 different shields. With our clear lens swap, the best way to optimize the output on the FX projectors is to simply remove the front cutoff shield. The one on the left is the original, and the one on the right is the modified shield. As you can see, the one on the right doesn’t have the other cutoff shield. Simply cut it off with a pair of sharp scissors towards the side where it flattens out. This simple modification will add color to FX projectors even without the lens swap.
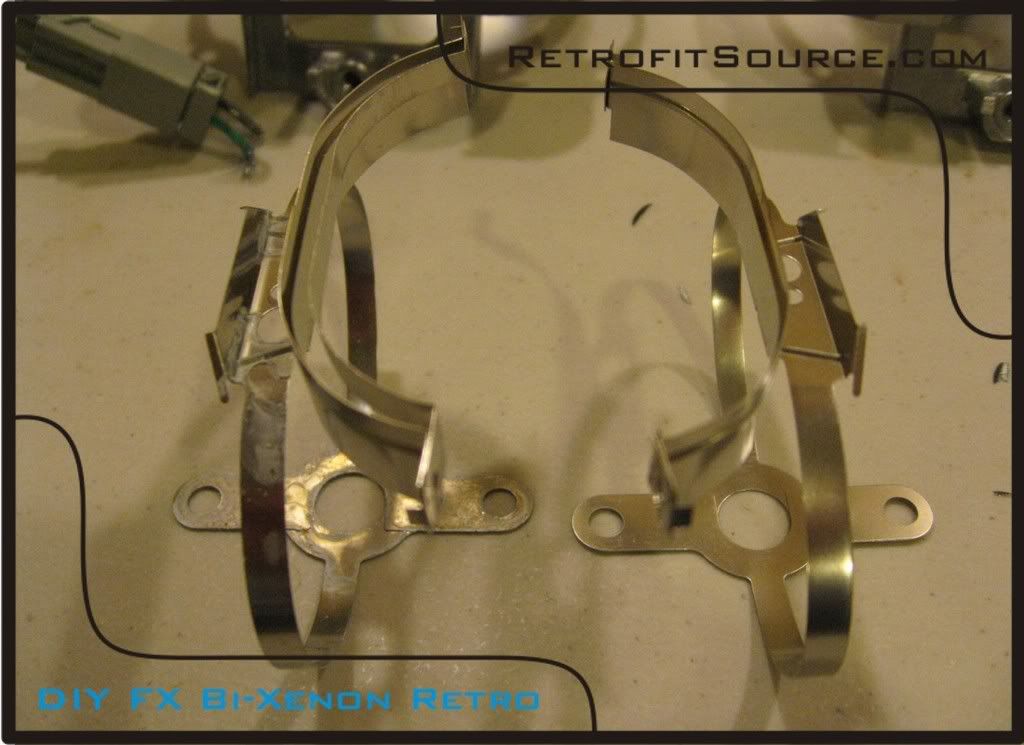
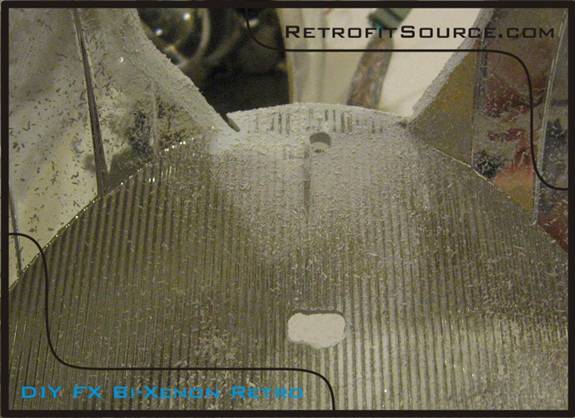
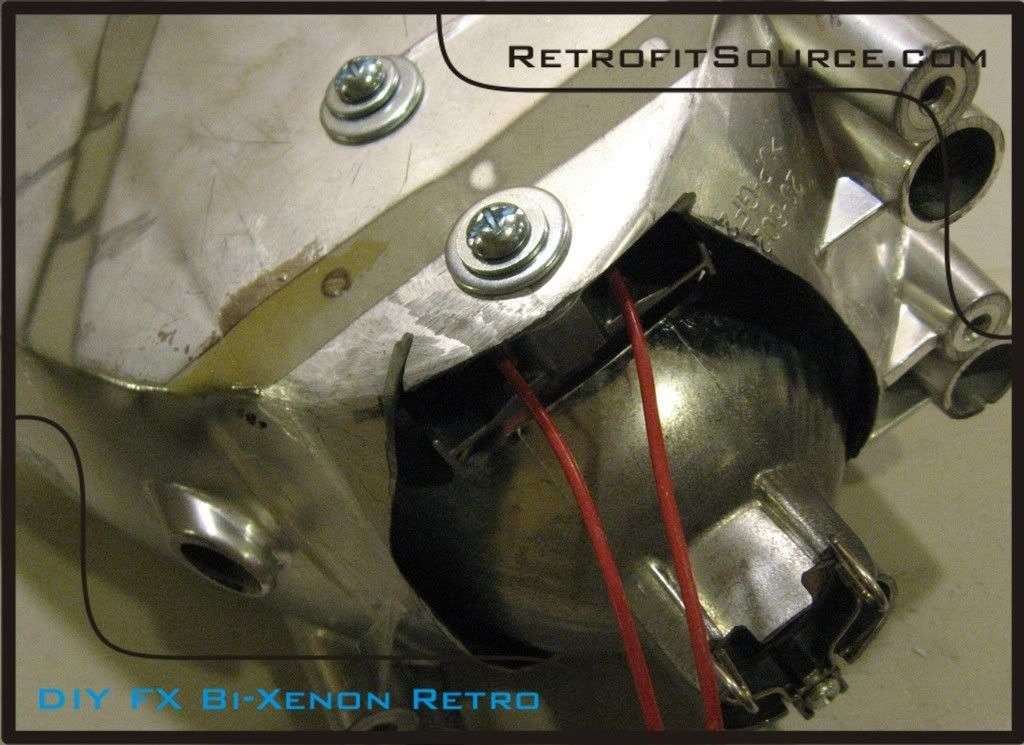
Step 2) Once you have both original reflectors removed from the housings, mark a line representing the center of the housing with a permanent marker. The line should extend from the center of the rear bulb holder up towards the front of the reflector. Next, you need to cut the original bulb sockets off of the reflectors. This is so the projector’s bulb holders can essential sit in their place. Modify your reflectors so they look like the ones in the following picture:
http://i264.photobucket.com/albums/ii187/RetrofitSource08/Step3.jpg
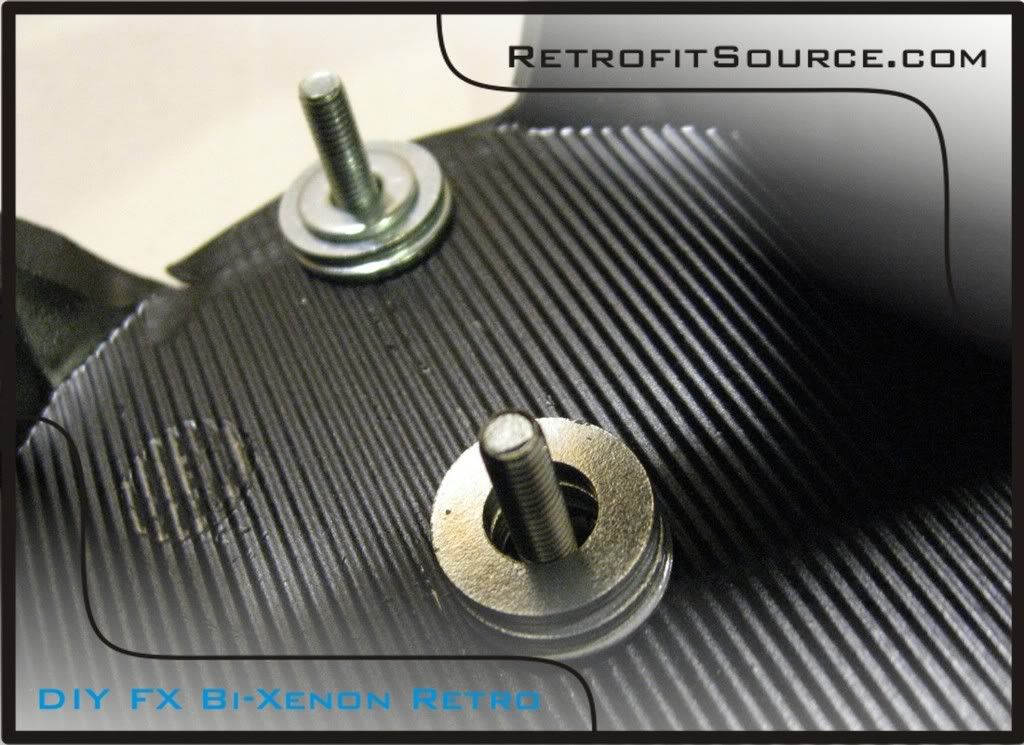
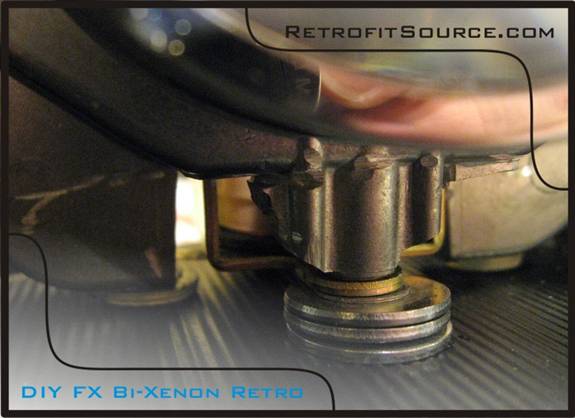
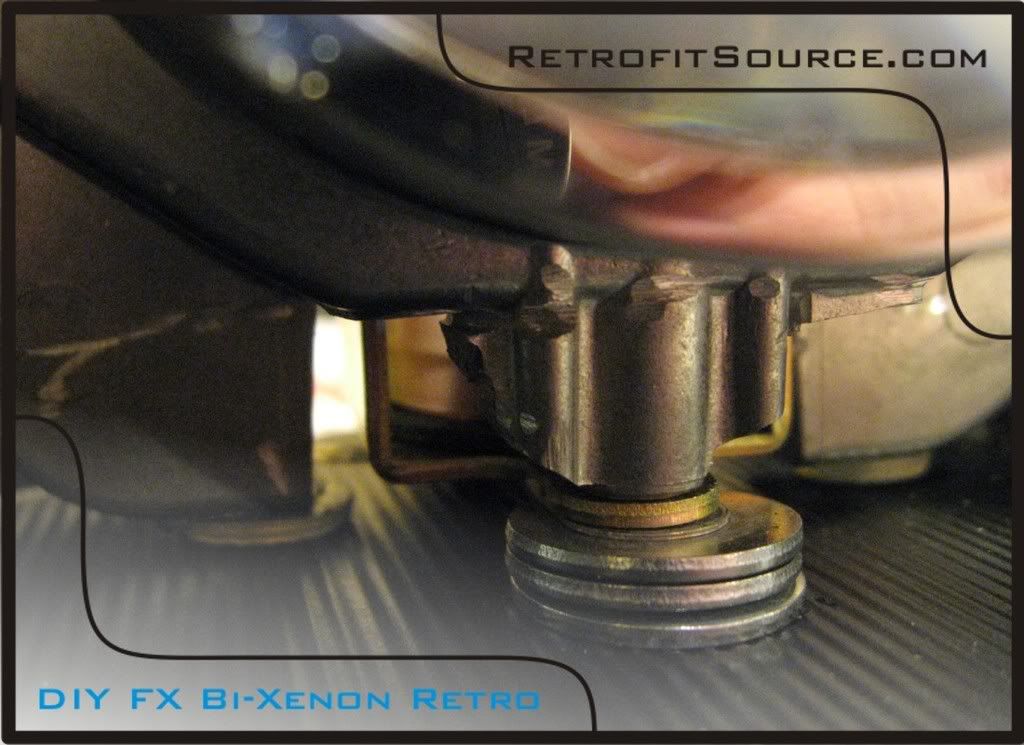
Step 3) we will be mounting the FX projectors from the bottom. There are 2 screws that hold the bi-xenon solenoids on the projector. You need to get screws to fit in these holes, but are approx 1 inch long. These screws will go through the bottom of the reflector and up through the threaded holes to secure the projector. We also placed two sticky rubber pads on the bottom of the projector (as shown)

http://i264.photobucket.com/albums/ii187/RetrofitSource08/Step4.jpg
Step 4) Find the center point corresponding to the hole you just cut in the rear of the reflector. Put a dot there with your permanent marker. This is where the first mounting hole will be drilled. Drill a hole there. Measure the distance between the screw holes on bottom of the projector and make a corresponding hole on your reflector for the other screw. I made the hole in the front more oval-like to allow for side-to-side adjustments if need be.
http://i264.photobucket.com/albums/ii187/RetrofitSource08/Step5.jpg
http://i264.photobucket.com/albums/ii187/RetrofitSource08/Step52.jpg
http://i264.photobucket.com/albums/ii187/RetrofitSource08/Step53.jpg
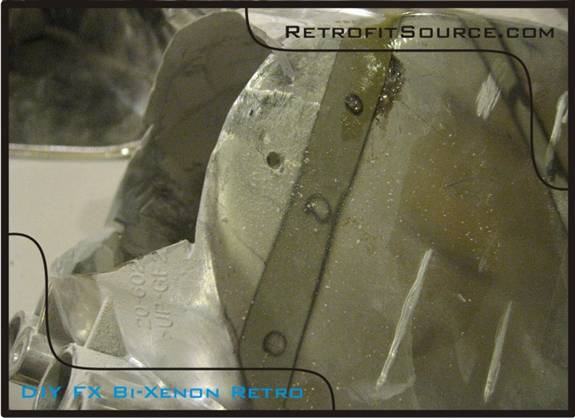
Step 5) Paint your reflectors if you so choose. I recommend doing so for three reasons. 1) Its usually scratched up by now so the original chrome doesn’t look that good anyways, 2) because the chrome will reflect stray light in places you don’t want it to go, and 3) its like a mirror, so its gonna reflect the backside of the projector and all your hardware making the retrofit work more noticeable. Make sure clean all the dust off with water, and then prep the surface with a scuff pad. Then clean it with rubbing alcohol to remove any further contaminants (such as oil from your fingers) prime n paint any color you want.

http://i264.photobucket.com/albums/ii187/RetrofitSource08/Step6.jpg
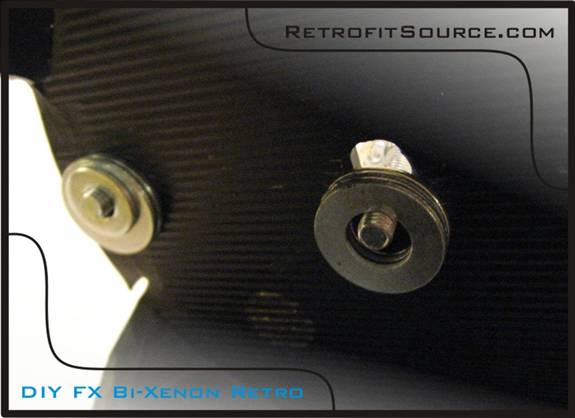
Step 6) Stack your hardware up on the reflector. This part is sorta tricky, so it may take you a couple times before you can actually get it to stay while trying to mount the projector on there. I used 3 washers on the top, and 2 different sized ones on the bottom. This is to not only give you the proper spacing, but helps distribute the load on the reflector so it doesn’t crack when you tighten the screws. In the second picture, you can see that I “hung” the washers from the screws while holding the reflector sideways to try and keep them in place while sliding the projector in place.

http://i264.photobucket.com/albums/ii187/RetrofitSource08/Step7.jpg
http://i264.photobucket.com/albums/ii187/RetrofitSource08/Step72.jpg
*Tip: the stack of washers towards the back uses 2 of the bigger washers, and one smaller one that is slightly thinner. This will essentially cause the projector to be aimed barely upwards. Nothings worse than aiming your retrofit when your all done, and no matter how far your turn the adjustment screws its still aimed too low. This usually takes care of that.
You probably need to disassemble and clean your projectors before mounting them.
Step 7) Clean your projectors the best you can. Get any dust out of the bowls and make sure that there are no fingerprints on the glass lens (concentrate on the flat back for now). They WILL show when the lights are turned on. Swiftly slide the projector into your reflector while holding it sideways (with the washers “hanging” off the screws) and push the screws into the threaded holes on the bottom side. It can be a pain in the ass, but eventually you’ll get it. Make sure everything looks aligned and there is no play in the setup. Tighten your screws once aligned perfectly. Small mis-alignments here will be magnified in your beam pattern, so its worth it to spend some time here to make sure its done right.
- Is the projector pointing straight forward or is it tilted off to one side?
- Are both of your rubber pads touching the bottom of the reflector?
- You want the projector to be horizontally, vertically, rotationally aligned.

http://i264.photobucket.com/albums/ii187/RetrofitSource08/Step82.jpg
http://i264.photobucket.com/albums/ii187/RetrofitSource08/Step83.jpg

http://i264.photobucket.com/albums/ii187/RetrofitSource08/Step8.jpg
Step 8) After making sure that the projectors are tightly secured, your ready to mount the shrouds. For this retrofit, Chrysler Crossfire shrouds were used. The retrofit will usually require some modifications to the shrouds to get them to fit perfectly, so don’t be surprised if they don’t just slide right on. You’ll need to check clearance with both the reflector and the projector. We modified the shroud to fit the projector perfectly in the first step, but could not account for the areas that would hit the reflector at that point. The shroud was trimmed up as needed and secured to the projector with some high temp construction adhesive. Careful where you apply that stuff though, you don’t want it dripping down into your projectors…

http://i264.photobucket.com/albums/ii187/RetrofitSource08/Step9.jpg
Step 9) Once you have both retrofitted assemblies cleaned and put together properly, make sure they are clean. A can of compressed air can help get any dust out of hard to reach areas, and a microfiber cloth is helpful for cleaning the lens perfectly.
Step 10) Re-assemble the headlights. Re-mount the assemblies into the rear housings and re-install the front lens.
- This is a good time to paint the interior trim on the headlights or remove/smoke the amber turn signal reflectors if you want.
- Clean any dust from the front lens cover
- The original glue used to seal the headlights is known as “butyl rubber” glue. You can buy rolls of this stuff on eBay for relatively inexpensive.
- Cut little strips of it and evenly apply it around the perimeter of your housing for a clean seal.
- With the front lens in its relative position, put the headlight back in the oven (265 degrees for 7 minutes) and push it back into the lip on the rear housing. Use some pliers to squeeze it together all the way around the perimeter and then use your clamps to hold it in place.
- If you get any black glue on the front lens, GooGone works well to clean it off.