Navigation System Picture Diagnosis Test
Navigation System Picture Diagnosis Test
Start-up procedure
| 1. | Turn the ignition switch ON (II), then press and hold the keys in this order: (1) Key 1, (2) Key 2, (3) Key 6, and keep them pressed simultaneously for 5 seconds. |
Operation keys
Joystick: Use for select the item
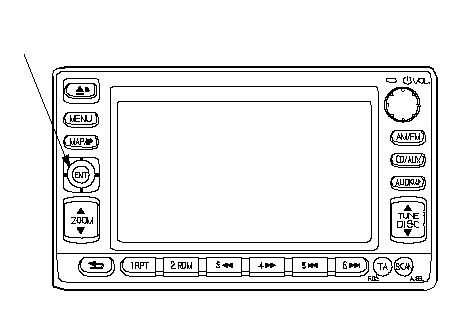 JOYSTICK
| 2. | After the display changes to the diagnosis menu screen, select the item you want to check, and the check will start. To return to previous screen, select Return on the diagnosis screen. When you quit picture diagnosis test, return to standard nevigation screen and then turn the ignition switch OFF. If you turn the ignition switch OFF when the diagnosis screen displayed, the system will not work.
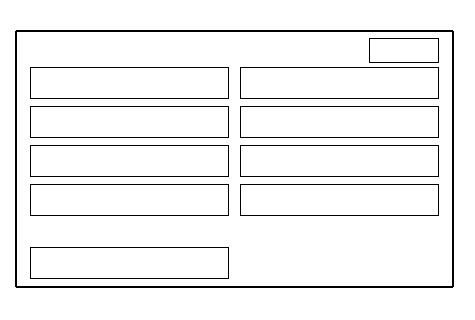 ReturnTire CaliburateYaw RateCyclic DiagStart demo modeDiagnosis MenuSystem LinksMonitor CheckUnit CheckVehicle PositionIn-line Diag ReturnTire CaliburateYaw RateCyclic DiagStart demo modeDiagnosis MenuSystem LinksMonitor CheckUnit CheckVehicle PositionIn-line Diag |
Diagnosis items:
- System Links
- Tire Calibrate
- Monitor Check
- Yaw Rate
- Unit Check
- Cyclic Diag
- Vehicle Position
- Start demo mode
- In-line Diag
Cyclic Diag
This test is for manufacturer's use only. In this test, the system checks the following items repeatedly:
- AVN unit check
- Monitor check
To exit this test, press the cancel key.
Vehicle Position
When moving the vehicle with the engine stopped such as ferry or tow truck and vehicle positioning error occured, you can adjust the vehicle position using the joystick.
Start demo mode
This test is for manufacturer's use only. If the indication of this item is changed to ‘‘Stop demo mode'', select this item once and make sure the indication changes to ‘‘Start demo mode''
In-line Diag
This test is for manufacturer's use only. In this test, the system checks the following items:
- System Links
- Car status
- Yaw Rate
System Links
- If the system is OK, all of the communication lines connecting the components color will not change, the screen will indicate ‘‘OK'', and a tone will sound.
- If there is a problem in the system, the faulty components will change to red, the screen will indicate ‘‘NG'', and tone will sound.
- If the GPS is in red and the screen indicates ‘‘NG'', check the GPS communication line. If the line is OK, replace the GPS antenna.
- If the component exept GPS is in red and the screen indicates ‘‘NG'', replace the AVN unit.
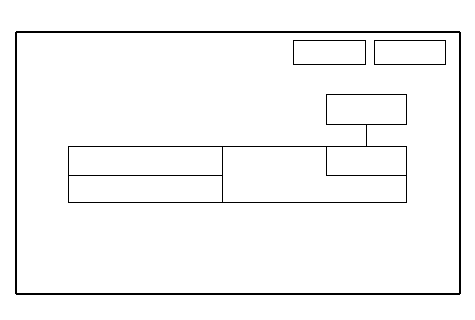 System LinksOKReturnANTGPSNavi ECUDispAudio
Tire Calibrate
- The ‘‘Auto-Tuning'' is factory-set to ‘‘ON'', and it should remain ON. If you find it has been turned OFF, turn it back ON.
- The ‘‘Tire-Cal Tuning'' can be used, but it is not recommended. The AUTO TUNING fanction keeps the system in better tune.
 Tire-CalibrateTire-Cal FactorAuto-Tuning STD+7.0 %+7.0 %-+SetONTire-Cal TuningReturn
Monitor Check
Select the item you want to check, and the check starts.
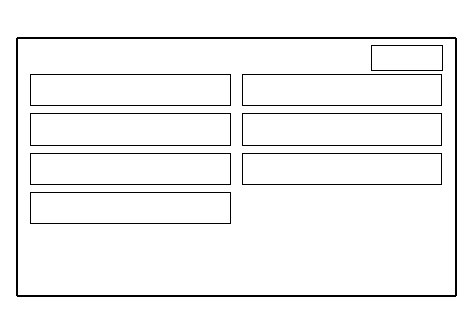 ReturnMonitor CheckRGB ColorTest PatternWhite RasterGray TonesBlack RasterScreen AdjustmentColor Change
RGB Color
The three primary colors of red, green and blue must be shown.
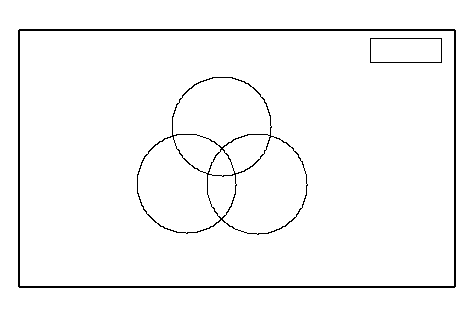 RedGreenBlueReturn
White Raster
The entire display must be in white.
 Return
Gray Tones
The gray tone level must be changed smoothly in holyzontal direction. If you want to change the contrast of the screen, select ‘‘+'' or ‘‘-''.
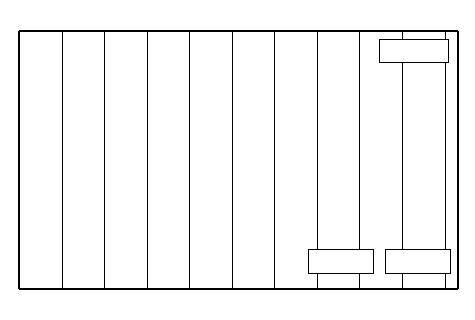 Return-+
Color Change
This screen is for manufacturer's only.
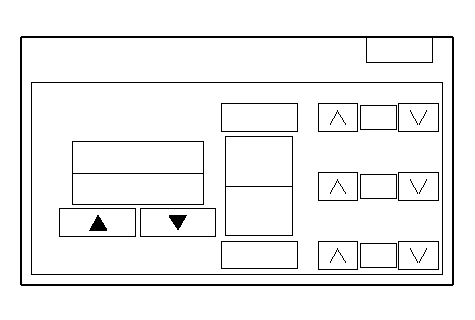 Color ChangeBOOK- 1SetDefaultR30Color No.G60B30Return
Test Pattern
The system color palette must be indicated.
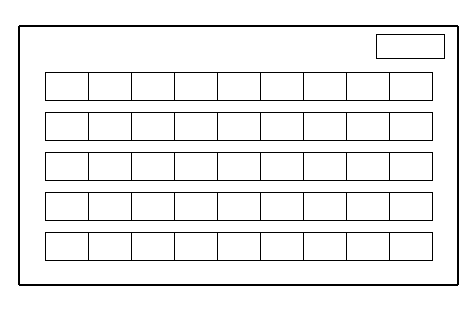 Return
Black Raster
The entire display must be shown in black.
 Return
Screen Adjustment
In this screen, you can adjust the screen position in the display. Use the joystick to adjust the screen position.
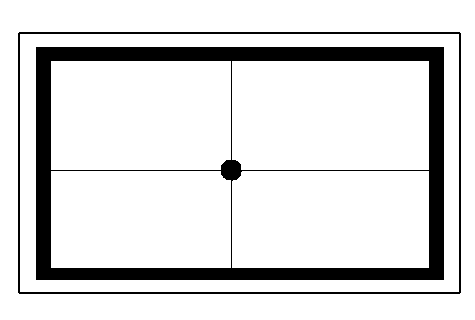 Screen AdjustmentX-0
Y=0
Unit Check
Select the item you want to check, and the check starts.
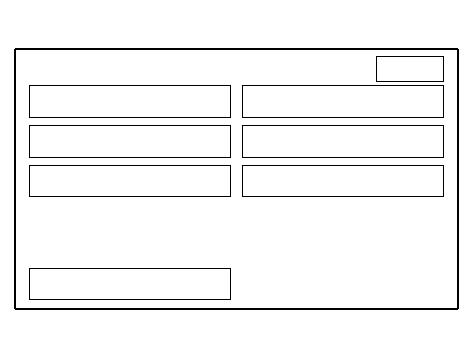 ReturnUnit CheckDispSystem HistoryGPSNavi ECUCar StatusBackup ClearForce Download
Disp
When any item is NG, replace the AVN unit.
 DispOKReturnConnectionROMRAMOKOKOK
GPS
This screen shows the condition of the GPS reception and the vehicle position.
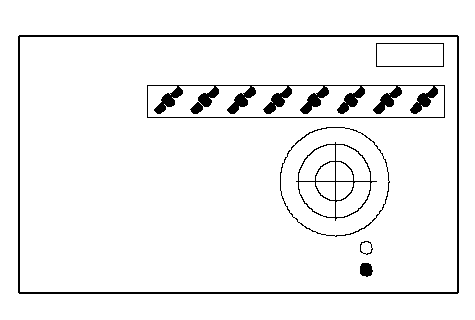 Number of
SatellitesGPS InformationCurrent PositionLatitude XX °XX¢XX²Longitude XX °XX¢XX²Elevation XXX ftIn UseSearchNSWEReturn'99. 01. 01 10:08 00
Navi ECU
When any item is NG, replace the AVN unit.
 High TmpNavi ECULow TmpFlash IPL VRAM OverlayXX °°CReturnOK[XXXX]XX °°CFlash Application OK[XXXX]RAMOKOKVRAM BaseOKModelXXOK
System History
This screen is for manufacturer's use only.
 System HistoryReturnLEVEL0LEVEL1LEVEL2
Car Status
Use the car status screen to check each signal.
If the indication does not match the actual vehicle status, check the applicable signal line.
- VSP (vehicle speed pulse indication)
- OFF when vehicle is not moving
- ON when vehicle is moving
- OFF when vehicle is not moving
- BACK (reverse indication)
- OFF when shift lever is in any position other than reverse
- ON when shift lever is in reverse
- OFF when shift lever is in any position other than reverse
- ILL (illumination indication)
- OFF when parking lights or headlights are off
- ON when parking lights or headlights are on
- OFF when parking lights or headlights are off
- CHG (charging indication)
- ON when engine is running and alternator is charging
- OFF when engine is off or alternator is not charging
- ON when engine is running and alternator is charging
 Car StatusReturnVSPBACKILLCHGOFFONOFFOFF
Yaw Rate
‘‘SENSOR'' indicator the voltage output from the yaw rate sensor. It should indicate 1,500 to 3,500 V with the vehicle stopped.
NOTE: Do not try to tune the yaw rate sensor unless instructed by Honda Motor Europe.
 Yaw RateReturn2.517 V0.0 %OffsetSensorCCW Cal FactorCW Cal Factor0.0 %2.517 VTuningMonitor