Rear Door Channel Tapes Replacement
Rear Door Channel Tapes Replacement
NOTE:
- Keep dust away from the working area.
- When working at lower temperatures, heat the door channel and door channel tape with a hair dryer.
Door channel: about 15°C (59°F).
Door channel tape: about 30°C (86°F). - When heating the door channel tape, heat it evenly and gradually to prevent deformation.
- When pressing the door channel tape, slowly press it from the corner to prevent air bubbles and wrinkles.
- If there are air bubbles (A) in the door channel tape (B), prick them with a pin (C), then release the air with your finger or a plastic squeegee.
- If the air bubble is more than 10 mm (0.4 in.) in diameter, peel up the door channel tape, then reapply it.
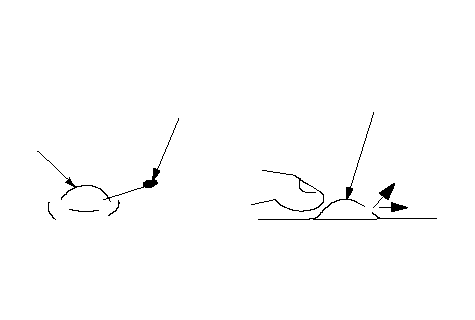 ACB
ACB| 1. | The following tools are required to replace the door channel tape:
|
| 2. | Remove these items:Roof outer channel tape replacement:Center outer channel tape replacement:
|
| 3. | Slowly peel up the old door channel tape while heating it with a hair dryer. |
| 4. | Clean the door channel bonding surface with a sponge dampened in alcohol. After cleaning, keep oil, grease, and water from getting on the surface. |
| 5. | Attach the door channel tape:
|
| 6. | As necessary, repeat the preceding steps. |
| 7. | Reinstall all remaining removed parts. |
| 8. | Check that the body color on the door channel is covered by the door channel tape. |
| 9. | Check for water leaks. Attachment Point (Reference): 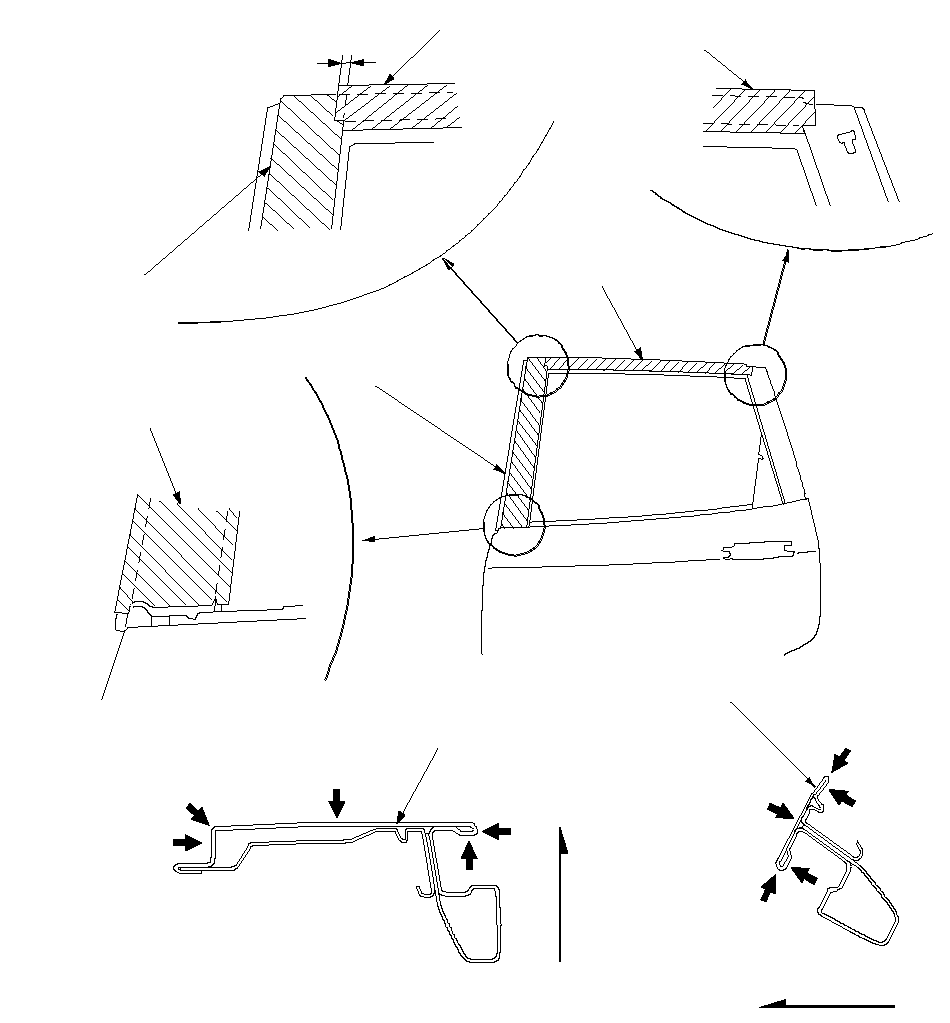 (1)(2)(3)(4)(5)(1)(2)(3)(4)(5)DOOR ROOF OUTER (1)(2)(3)(4)(5)(1)(2)(3)(4)(5)DOOR ROOF OUTERCHANNEL TAPEDOOR ROOF OUTER CHANNEL TAPE2 + 1/-1 mmDOOR CENTER OUTER CHANNEL TAPEOutsideOutsideDOOR ROOF OUTER CHANNEL TAPEDOOR CENTER OUTER CHANNEL TAPEDOOR CENTER OUTER CHANNEL TAPEDOOR ROOF OUTER CHANNEL TAPEDOOR CENTER OUTER CHANNEL TAPE |