Rear Door Panel Removal/Installation
Rear Door Panel Removal/Installation
Special Tools Required
Trim pad remover, ( Snap-on A177A
or equivalent, commercially available.)
| 1. | If applicable, remove the regulator handle (A) by pulling the clip (B) out with a wire hook (C).
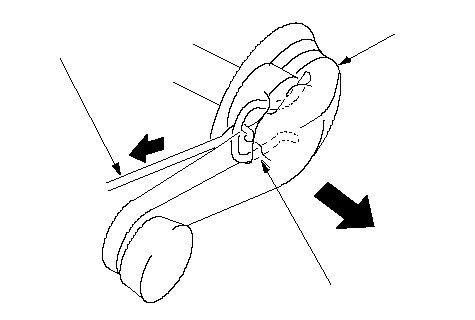 ACB ACB |
| 2. | Remove the inner handle (A). Take care not to scratch the door panel.
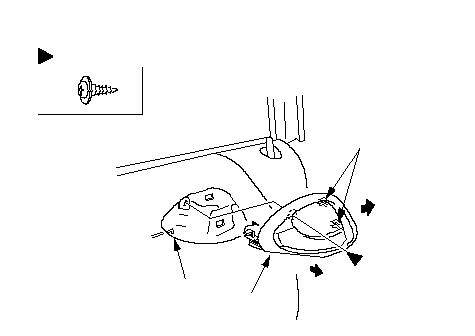 : Screw, 2BCA(1)(2)Fastener Locations : Screw, 2BCA(1)(2)Fastener Locations |
| 3. | Remove the grip cover (A).
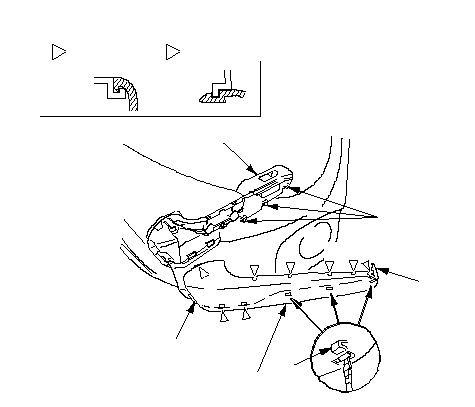 : Hook, 5C: Hook, 4DDDDFFGHGGABCBEFastener Locations : Hook, 5C: Hook, 4DDDDFFGHGGABCBEFastener Locations |
| 4. | Disconnect the power window switch connector (A) (for some models). Remove the screws from the grip base (B).
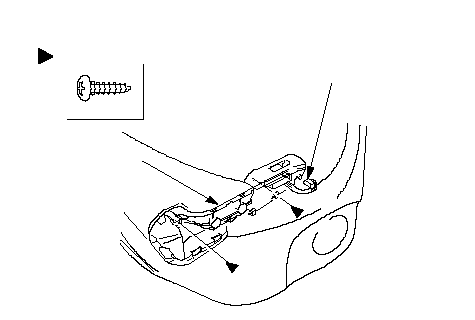 : Screw, 2ABFastener Locations : Screw, 2ABFastener Locations |
| 5. | Pull out the rear edge on the quarter inner trim (A) to detach the clip, then remove it by releasing the hooks (B).
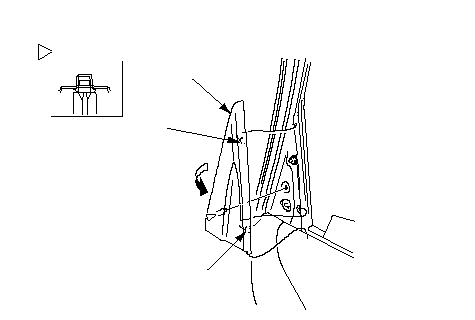 Fastener Location: Clip, 1ABB Fastener Location: Clip, 1ABB |
| 6. | Release the clips hold the door panel (A) with a commercially available trim pad remover (B), then release the lock knob rod (C) from a hole in the door panel, and remove the door panel by pulling it upward. Remove the door panel with as little bending as possible to avoid creasing or breaking it.
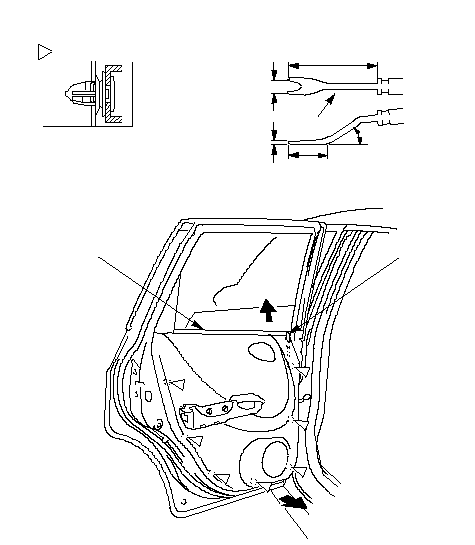 : Clip, 795 mm (3.74 in.)12 mm : Clip, 795 mm (3.74 in.)12 mm (0.47 in.)1 mm (0.04 in.)45 mm (1.77 in.)45°BCA(1)(2)Fastener Locations |
| 7. | Install the door panel in the reverse order of removal, and note these items:
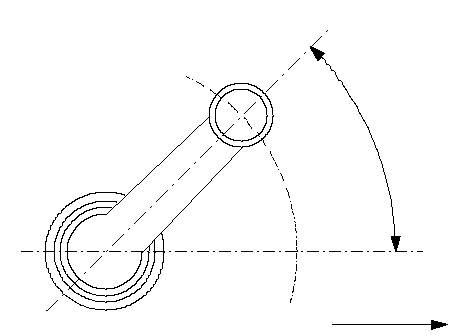 45°Forward 45°Forward |