HEADLIGHT CLEANER SWITCH > REMOVAL |
| 1. DISCONNECT FRONT DOOR OPENING TRIM WEATHERSTRIP |
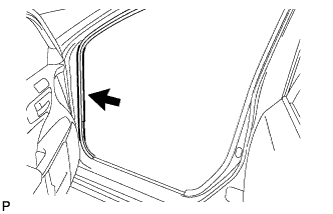 |
Disconnect the front door opening trim weatherstrip.
Remove the residual weatherstrip sealant from the body of the vehicle using cleaner.
| 2. REMOVE INSTRUMENT SIDE PANEL |
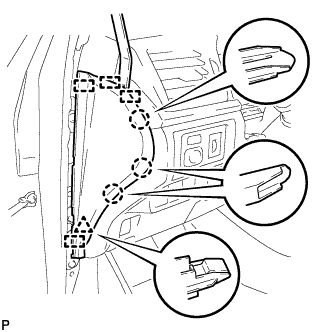 |
Using a moulding remover, disengage the 3 claws, clip and 4 guides, and remove the instrument side panel LH.
| 3. REMOVE LOWER INSTRUMENT PANEL FINISH PANEL SUB-ASSEMBLY |
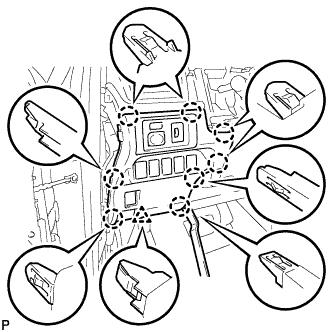 |
Using a moulding remover, disengage the 8 claws and clip.
Disconnect each connector and remove the lower instrument panel finish panel sub-assembly.
| 4. REMOVE HEADLIGHT CLEANER SWITCH ASSEMBLY |
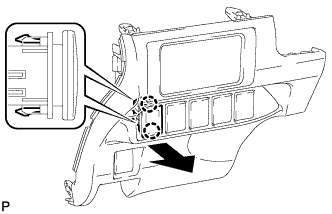 |
Disengage the 2 claws and remove the headlight cleaner switch assembly.
