HIGH PITCHED HORN > INSTALLATION |
| 1. INSTALL HIGH PITCHED HORN ASSEMBLY |
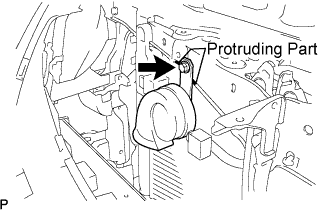 |
Place the stay onto the baffle part of the radiator support upper, and then install the horn with the bolt.
Connect the connector.
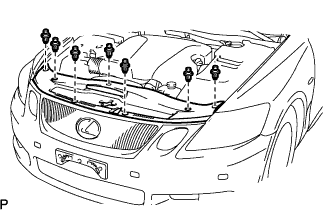
| 2. INSTALL FRONT BUMPER COVER |
Connect the ultrasonic sensor connector.
 |
Attach the 3 claws on the LH side.
Attach the 3 claws on the RH side.
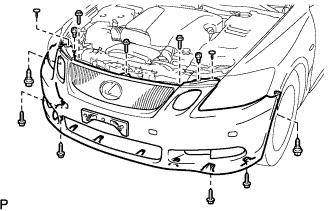 |
Install the bumper cover with the 2 clips, 6 screws and 5 bolts.
| 3. INSTALL FRONT FENDER LINER LH |
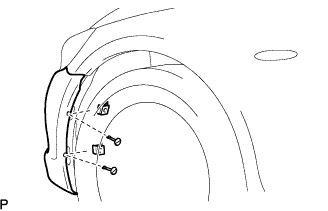 |
Using a screwdriver, remove the 2 clips.
Partially remove the fender liner.
| 4. INSTALL FRONT FENDER LINER RH |
| 5. INSTALL ENGINE UNDER COVER |
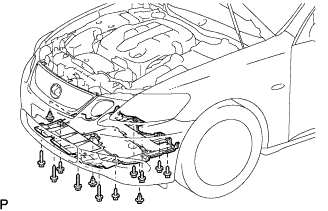 |
Install the under cover with the 3 clips and 10 screws.
| 6. INSTALL COOL AIR INTAKE DUCT SEAL |
 |
Install the duct seal with the 7 clips.
| 7. CONNECT CABLE TO NEGATIVE BATTERY TERMINAL |
| 8. PERFORM INITIALIZATION |
Perform initialization (Click here).
