HIGH PITCHED HORN > REMOVAL |
| 1. DISCONNECT CABLE FROM NEGATIVE BATTERY TERMINAL |
| 2. REMOVE COOL AIR INTAKE DUCT SEAL |
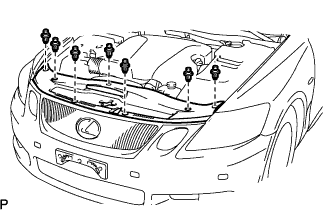 |
Using a clip remover, remove the 7 clips and duct seal.
| 3. REMOVE ENGINE UNDER COVER |
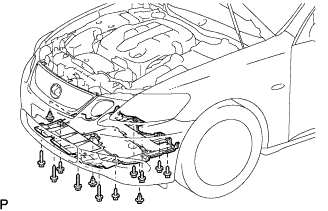 |
Using a clip remover, remove the 3 clips.
Remove the 10 screws and under cover.
| 4. REMOVE FRONT FENDER LINER LH |
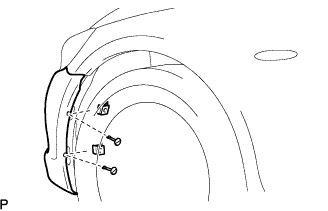 |
Using a screwdriver, remove the 2 clips.
Partially remove the fender liner.
| 5. REMOVE FRONT FENDER LINER RH |
| 6. REMOVE FRONT BUMPER COVER |
Using a clip remover, remove the 2 clips.
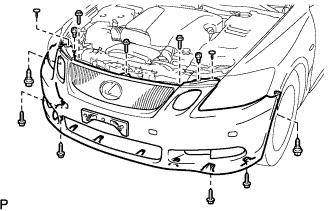 |
Remove the 6 screws and 5 bolts.
 |
Pull the bumper cover to detach the 3 claws on the LH side.
Pull the bumper cover to detach the 3 claws on the RH side and remove the bumper cover.
w/ Clearance sonar system:
Disconnect the ultrasonic sensor connector.
| 7. REMOVE HIGH PITCHED HORN ASSEMBLY |
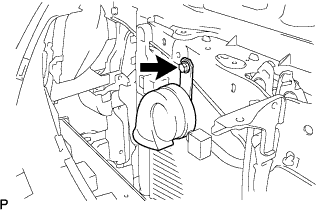 |
Disconnect the connector.
Remove the bolt and horn.
