CONDENSER > REMOVAL |
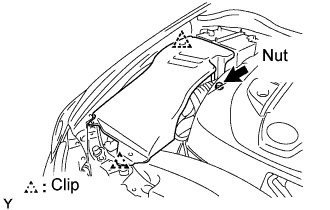
| 1. REMOVE COOL AIR INTAKE DUCT SEAL |
 |
Remove the 7 clips and intake duct seal.
| 2. DISCHARGE REFRIGERANT FROM REFRIGERATION SYSTEM |
Start up the engine.
A/C switch is ON.
Operate the cooler compressor with an engine speed of approximately 1,000 rpm for 5 to 6 minutes to circulate the refrigerant and collect the compressor oil remaining in each component into the cooler compressor.
Stop the engine.
Using SST, discharge the refrigerant gas.
| 3. DISCONNECT CABLE FROM NEGATIVE BATTERY TERMINAL |
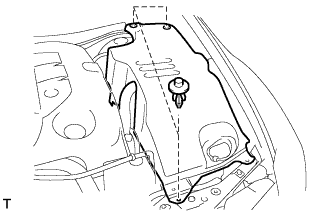
| 4. REMOVE ENGINE ROOM SIDE COVER RH |
 |
Remove the nut, 2 clips and side cover.
| 5. REMOVE ENGINE ROOM SIDE COVER LH |
 |
Using a clip remover, remove the 3 clips and side cover.
| 6. REMOVE NO. 1 AIR CLEANER INLET |
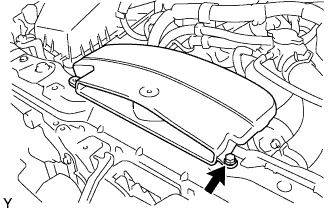 |
Remove the bolt and air cleaner inlet.
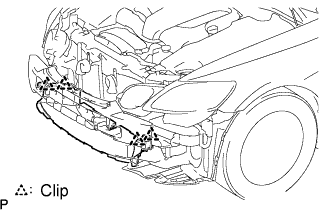
| 7. REMOVE FRONT BUMPER COVER |
Using a clip remover, remove the 2 clips.
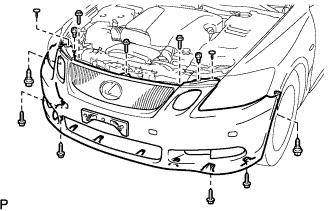 |
Remove the 6 screws and 5 bolts.
 |
Pull the bumper cover to detach the 3 claws on the LH side.
Pull the bumper cover to detach the 3 claws on the RH side and remove the bumper cover.
w/ Clearance sonar system:
Disconnect the ultrasonic sensor connector.
| 8. REMOVE MILLIMETER WAVE RADAR SENSOR ASSEMBLY (w/ Dynamic Radar Cruise Control System) |
 |
Disconnect the connector.
Remove the 3 bolts and sensor.
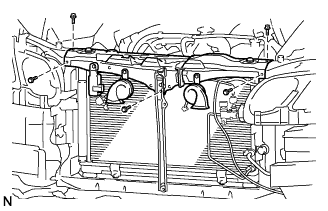
| 9. REMOVE RADIATOR SUPPORT OPENING COVER |
 |
Remove the 4 clips and cover.
| 10. REMOVE HOOD LOCK CONTROL CABLE COVER |
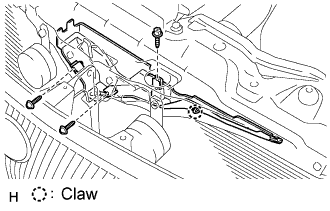 |
Remove the 3 screws.
Detach the claw and remove the cable cover.
| 11. REMOVE HOOD LOCK ASSEMBLY |
 |
Disconnect the hood lock control cable.
Remove the cap.
Remove the 2 bolts and nut.
Remove the hood lock.
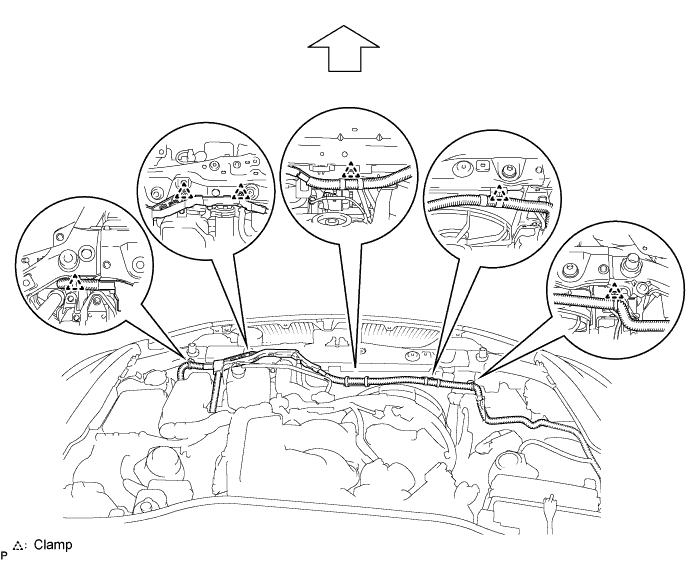
| 12. REMOVE UPPER RADIATOR SUPPORT SUB-ASSEMBLY |
Using a clip remover, detach the 6 clamps and remove the wire harness.
 |
Disconnect the connectors.
Remove the 5 bolts and radiator support.
| 13. REMOVE LIQUID TUBE SUB-ASSEMBLY A |
 |
Remove the 2 bolts and disconnect the liquid tube from the cooler condenser.
Remove the O-ring from the liquid tube.
| 14. REMOVE DISCHARGE HOSE SUB-ASSEMBLY |
 |
Remove the bolt and disconnect the discharge hose from the cooler condenser.
Remove the O-ring from the discharge hose.
| 15. REMOVE COOLER CONDENSER ASSEMBLY |
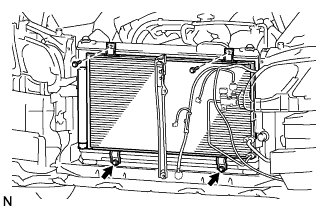 |
Loosen the 2 bolts on the bottom side of the condenser.
Remove the 2 bolts and cooler condenser.
