INSTALLATION
Removal / installation
| 1. INSTALL HEADLIGHT CLEANER MOTOR AND PUMP ASSEMBLY (w/ Headlight Cleaner System) |

Install the headlight cleaner motor and pump assembly.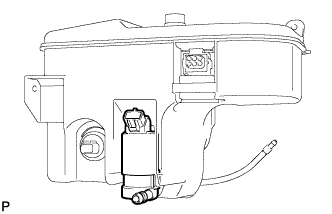

| 2. INSTALL WINDSHIELD WASHER MOTOR AND PUMP ASSEMBLY |
Install the windshield washer motor and pump assembly.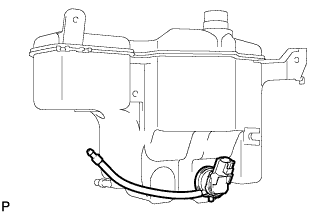
| 3. INSTALL WINDSHIELD WASHER JAR AND PUMP ASSEMBLY (w/o Headlight Cleaner System) |
Install the windshield washer jar and pump assembly with the 3 bolts.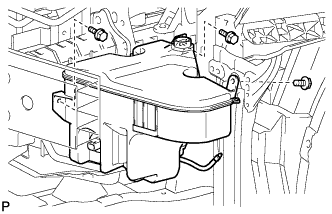
- Torque:
- 5.5 N*m{ 56 kgf*cm , 49 in.*lbf }
Install the upper part of the windshield washer jar and pump assembly to the windshield washer jar and pump assembly.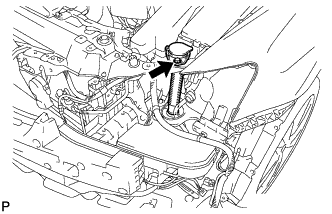
Install the bolt.
- Torque:
- 5.5 N*m{ 56 kgf*cm , 49 in.*lbf }
Connect the 2 connectors.
| 4. INSTALL WINDSHIELD WASHER JAR AND PUMP ASSEMBLY (w/ Headlight Cleaner System) |
Install the windshield washer jar and pump assembly with the 3 bolts.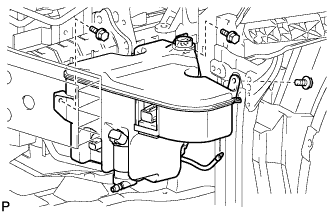
- Torque:
- 5.5 N*m{ 56 kgf*cm , 49 in.*lbf }
Install the upper part of the windshield washer jar and pump assembly to the windshield washer jar and pump assembly.
Install the bolt.
- Torque:
- 5.5 N*m{ 56 kgf*cm , 49 in.*lbf }
Connect the headlight cleaner hose to the windshield washer jar and pump assembly.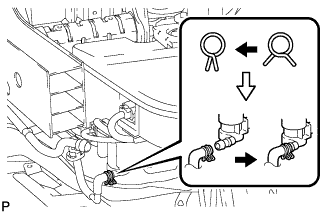
Connect the 4 connectors.
| 5. FILL UP WINDSHIELD WASHER JAR AND PUMP ASSEMBLY WITH WASHER FLUID |
Connect the washer hose to the windshield washer motor and pump assembly and fill the washer jar with washer fluid.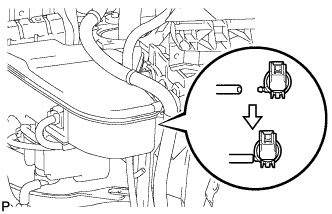
| 6. INSTALL NO. 3 COOL AIR INTAKE DUCT SUB-ASSEMBLY |
Install the No. 3 cool air intake duct sub-assembly with the 2 bolts and the screw.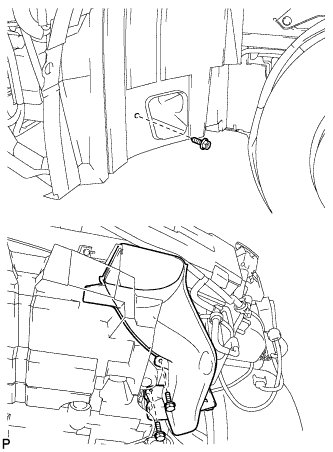
- Torque:
- 5.5 N*m{ 56 kgf*cm , 49 in.*lbf }
Engage the engine under cover clip.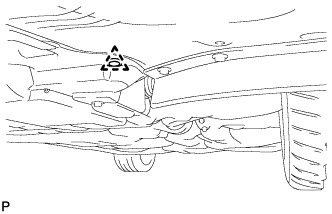
Install the 3 front fender liner LH screws.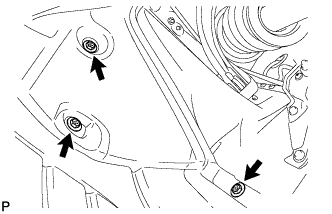
| 7. INSTALL HEADLIGHT ASSEMBLY LH |
Install the headlight assembly with the headlight bracket pin.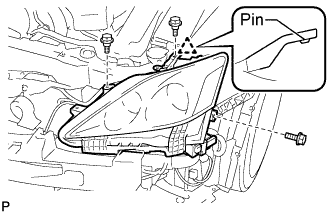
Install the 3 bolts.
Connect the connector.
| 8. INSTALL FRONT BUMPER ASSEMBLY |
| 9. INSTALL FRONT UPPER FENDER PROTECTOR LH |
Engage the claw and the 3 clips, then install the front upper fender protector LH.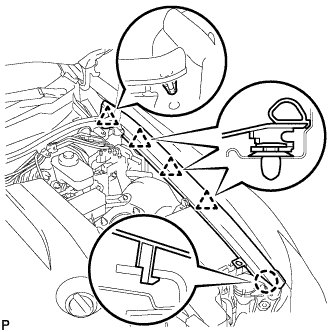
Engage the clip on the rubber portion of the cowl top ventilator louver sub-assembly to the front fender protector upper LH.
| 10. INSTALL ENGINE ROOM SIDE COVER LH |
Install the side cover with the 5 clips.
| 11. INSTALL COOL AIR INTAKE DUCT SEAL |
Install the intake duct seal with the 11 clips.