INSTALLATION
Removal / installation
| 1. INSTALL FRONT NO. 1 SPEAKER ASSEMBLY |

Engage the 2 claws as shown in the illustration to temporarily install the front No. 1 speaker assembly.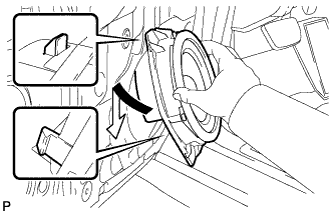

Install the front No. 1 speaker assembly with the 3 bolts.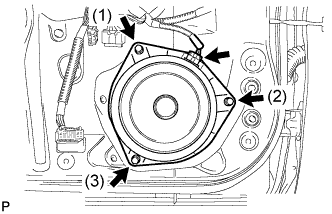
- HINT:
- Install the bolts in the order shown in the illustration.
Connect the connector.
| 2. INSTALL FRONT NO. 2 SPEAKER ASSEMBLY |
Install the front No. 2 speaker assembly to the cover.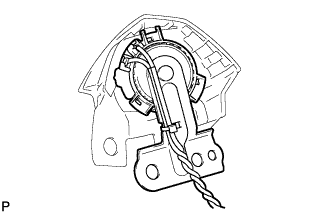
Engage the 3 claws and install the cover.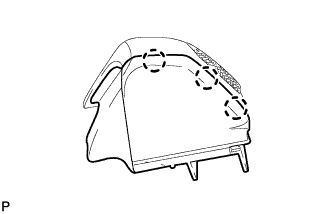
Install the front No. 2 speaker assembly w/ cover with the 3 screws.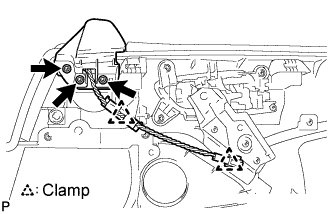
Engage the 2 clamps.
| 3. INSTALL FRONT NO. 3 SPEAKER ASSEMBLY |
Install the front No. 3 speaker assembly with the 2 bolts.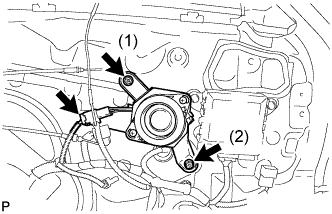
- HINT:
- Install the bolts in the order shown in the illustration.
Connect the connector.
| 4. INSTALL FRONT DOOR INNER GLASS WEATHERSTRIP |
Engage the 4 claws and install the front door inner glass weatherstrip.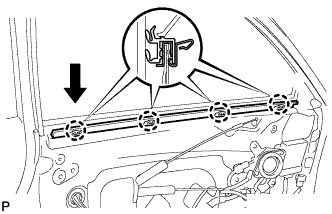
| 5. INSTALL FRONT DOOR TRIM BOARD SUB-ASSEMBLY |
Connect the rear door lock remote control cable and rear door inside locking cable to the front inside handle.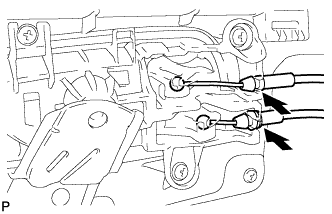
Connect each connector.
Engage the front door trim board with the 4 clips of the front door inner glass weatherstrip.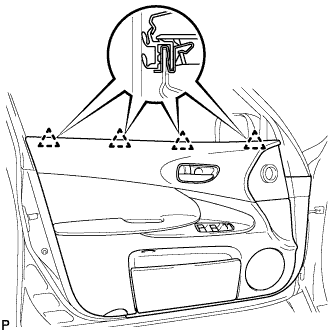
Engage the 9 clips and install the front door trim board to the front door panel.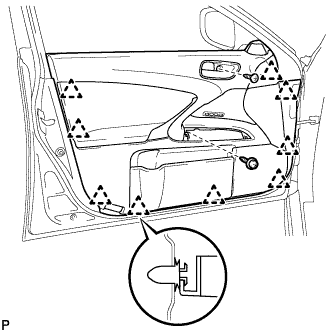
Install the 2 screws.
| 6. INSTALL POWER WINDOW REGULATOR MASTER SWITCH ASSEMBLY |
Connect each connector.
Engage the 4 claws and 2 clips, and install the power window regulator master switch assembly.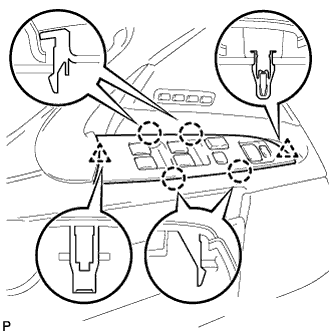
| 7. INSTALL FRONT DOOR INSIDE HANDLE BEZEL PLUG |
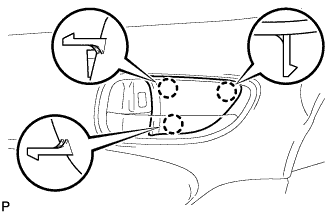
Engage the 3 claws and install the front door inside handle bezel plug.