INSTALLATION
Removal / installation
| 1. INSTALL FRONT NO.2 SPEAKER |

Connect the connector.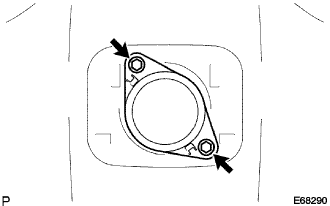

Install the front No.2 speaker with the 2 bolts.
| 2. INSTALL NO.1 SPEAKER HOLE COVER |
Engage the 4 clips and install the No.1 speaker hole cover.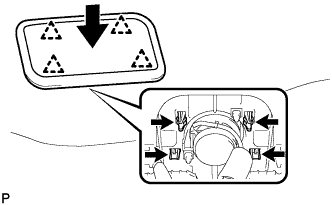
| 3. INSTALL MULTI-DISPLAY |
Connect the connectors.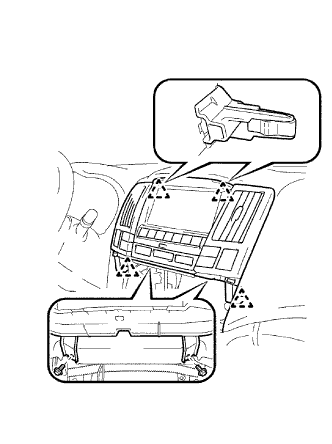
Engage the 4 clips and install the multi-display with the 2 bolts.
| 4. INSTALL RADIO RECEIVER |
Install the No.2 radio bracket with the 3 bolts.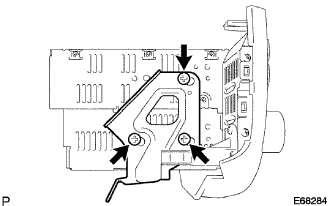
Install the No.1 radio bracket with the 3 bolts.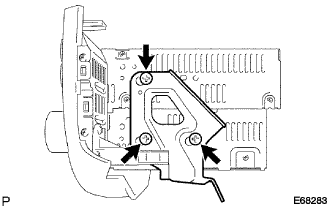
Connect the connectors.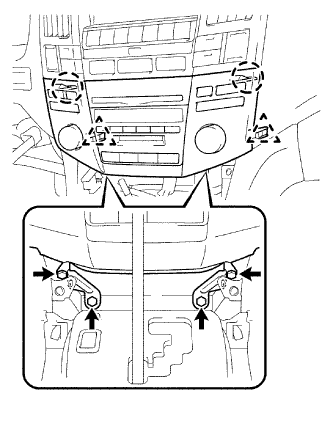
Engage the 2 claws and the 2 clips.
Install the radio receiver with bracket with the 4 bolts.
| 5. INSTALL INSTRUMENT PANEL FINISH PANEL LOWER |
Connect the connectors.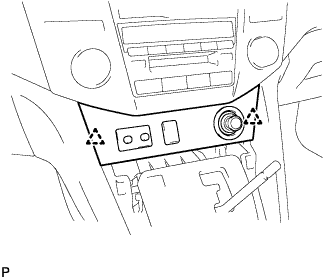
Engage the 2 clips and install the instrument panel finish panel lower.
| 6. INSTALL CONSOLE PANEL UPPER FRONT |
Engage the 4 clips and install the console panel upper front.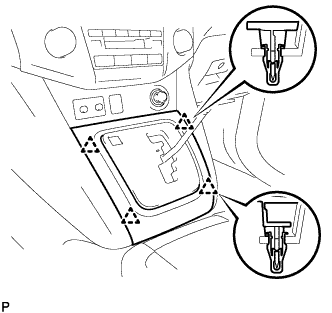
| 7. INSTALL SHIFT LEVER KNOB SUB-ASSEMBLY |
| 8. CONNECT CABLE TO NEGATIVE BATTERY TERMINAL |
| 9. PERFORM INITIALIZATION |
- NOTICE:
- Some systems need initialization when disconnecting the cable from the negative battery terminal. (Click here)