REMOVAL
Removal / installation
| 1. REMOVE DECK BOARD SUB-ASSEMBLY |

Disengage the 5 clips and turn up the front side of the deck board.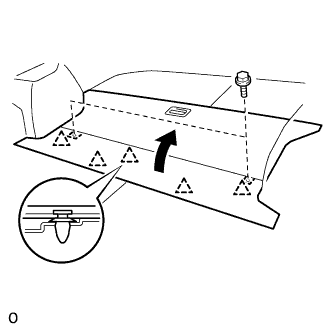

Remove the 2 bolts and deck board sub-assembly.
| 2. REMOVE DECK FLOOR BOX FRONT |
Using a clip remover, remove the 2 clips and deck floor box front.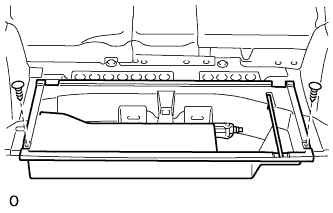
| 3. REMOVE DECK FLOOR BOX REAR |
Using a clip remover, remove the 2 clips and deck floor box rear.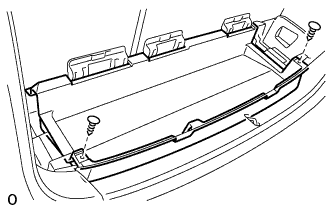
| 4. REMOVE DECK BOARD NO.2 SUB-ASSEMBLY |
Remove the 4 blots, 2 nuts and deck No.2 board sub-assembly.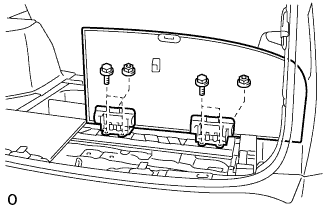
| 5. REMOVE DECK BOARD NO.3 SUB-ASSEMBLY |
Remove the 2 bolts, 2 nuts and deck No.3 board sub-assembly.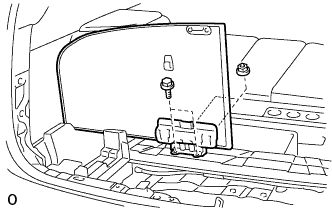
| 6. REMOVE REAR FLOOR FINISH PLATE |
Using a clip remover, remove the 2 clips.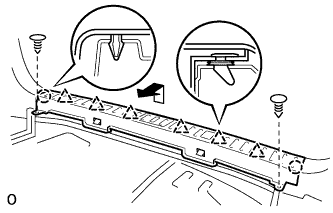
Disengage the 2 claws and 6 clips, and remove the rear floor finish plate.
| 7. REMOVE DECK SIDE TRIM BOX RH |
| 8. REMOVE DECK SIDE TRIM BOX LH |
Remove the clip (A).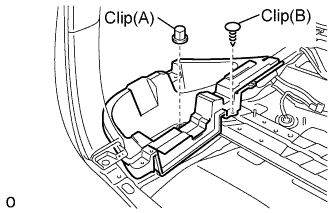
Using a clip remover, remove the clip (B) and deck side trim box.
| 9. REMOVE DECK BOARD NO.1 CHECK |
Remove the 4 nuts and deck board No.1 check.
| 10. REMOVE BRAKE CONTROL POWER SUPPLY |
Disconnect the brake control power supply connector and separate the clamp.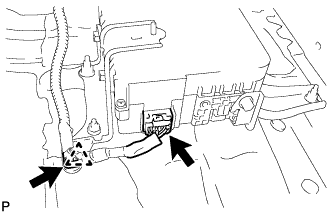
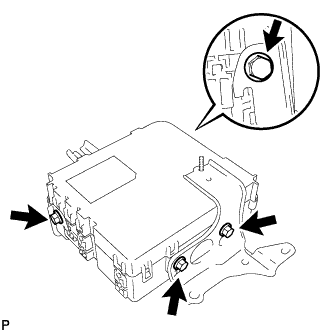
Remove the 3 nuts and the brake control power supply.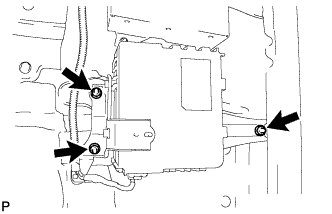
Remove the 4 bolts and 2 brackets.