Previous Next

REMOVAL & INSTALLATION

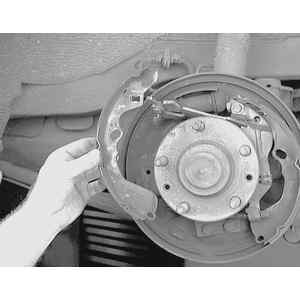
Fig. 1: Exploded view of the rear drum brake components

  1. Remove the brake drum as previously described.
  2. If accessible, disconnect the parking brake cable from the backside of the brake backing plate.
  3. Using a prytool, release the pressure from the brake shoe adjuster.
  4. Remove the upper and lower return springs.

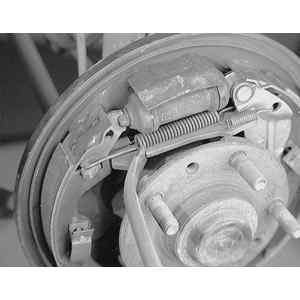
    Fig. 2: Release the pressure on the adjuster assembly with a prytool

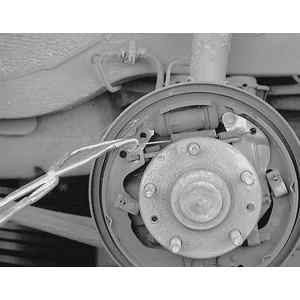
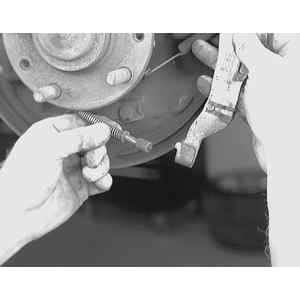
    Fig. 3: Remove the upper . . .

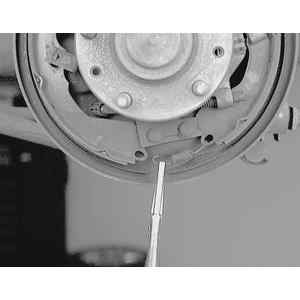
    Fig. 4: . . . and the lower return springs

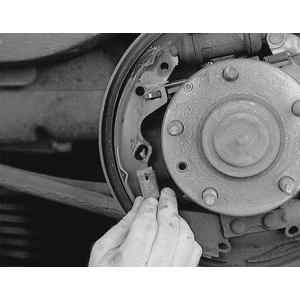
    Fig. 5: Remove the hold-down springs and pins

    Fig. 6: Remove the leading side brake shoe

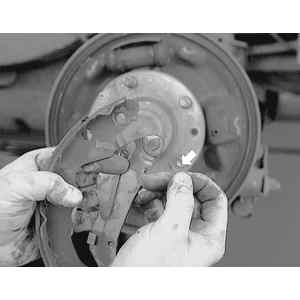
    Fig. 7: If applicable, detach the parking brake cable from the actuating lever

    Fig. 8: If necessary, remove the lever retaining clip and remove the lever from the shoe

  5. Remove the hold pins and springs.
  6. Remove the lower (leading side) brake shoe.
  7. If applicable, remove the parking brake cable from the actuating lever.
  8. Remove the upper (trailing side) brake shoe.
  9. If necessary, remove the clip securing the actuating lever to the shoe, then remove the lever. Transfer the lever to the new shoe and secure with a new retaining clip.

    To install:

  10. Install the upper (trailing side) brake shoe to the operating lever and then to the wheel cylinder and backing plate. Install the brake shoe hold spring and hold pin.
  11. Install the anti-rattle spring.
  12. Install the lower return spring to both brake shoes.
  13. Install the leading side brake shoe to the operating lever and then to the wheel cylinder and anchor plate.
  14. Install the hold spring and hold pin to the leading side brake shoe.
  15. Install the upper return spring.
  16. Install the brake drum as previously described.

Previous Next