All vehicles covered in this manual are equipped with a disposable paper cartridge air cleaner element. At every tune-up or sooner, if the car is operated in a dusty area, remove the air filter element and inspect its condition. Check the element by holding a light up to the filter. If light can be seen through the filter, then it should be OK. Replace the filter if light can not be seen through the filter or if it appears extremely dirty. Loose dust can sometimes be removed by striking the filter against a hard surface several times or by blowing through it with compressed air from the inside out. The filter should be inspected at every oil changed and replaced as required. Before installing either the original or a replacement filter, wipe out the inside of the air cleaner housing with a clean rag or paper towel.
| Fig. 1: Unplug the air flow sensor connector which
is located on the top of the air cleaner cover
|
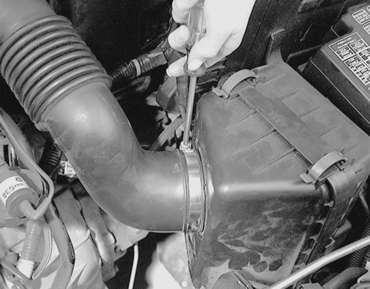
| Fig. 2: Unfasten the screw that secures the air intake
hose retaining clamp . . .
|
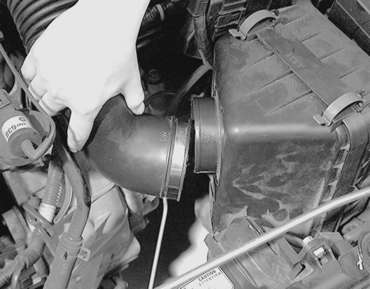
| Fig. 3: . . . then detach the hose from the air cleaner
housing
|
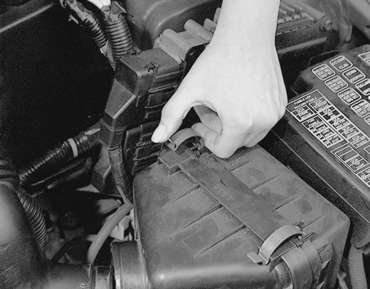
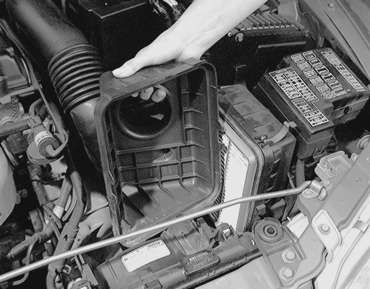
| Fig. 4: Unlatch the air cleaner cover clamps. There
are 2 on top and 2 on the bottom of the housing
|
NOTE: Care must be taken when removing the air cleaner cover from the housing. The air-flow sensor is attached to the cover and could be damaged during cover removal.
| Fig. 5: Route the hose out of the way, then pull
the air cleaner cover off the housing
|
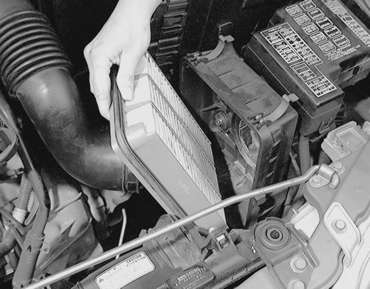
| Fig. 6: Remove the air cleaner filter element from
the housing and replace if necessary
|
To install:
| Fig. 7: Typical air cleaner assembly locations
|
| Fig. 8: Detach the air flow sensor connector, the
boost hose and the solenoid valve connector
|
NOTE: Care must be taken when removing the air cleaner cover. The air flow sensor is attached and could be damaged during cover removal.
To install: