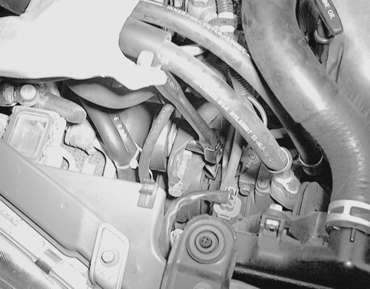
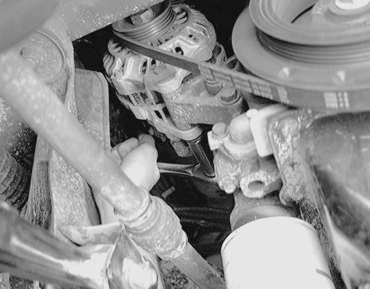
| Fig. 1: Remove the power steering and A/C compressor
lock bolt
|
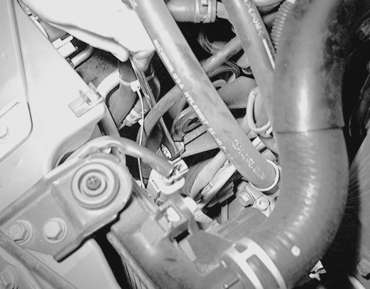
| Fig. 2: Loosen the power steering and A/C compressor
adjusting screw . . .
|
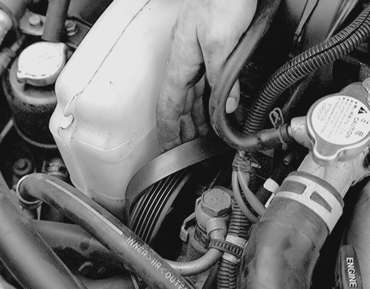
| Fig. 3: . . . then slide the drive belt off the pulleys
|
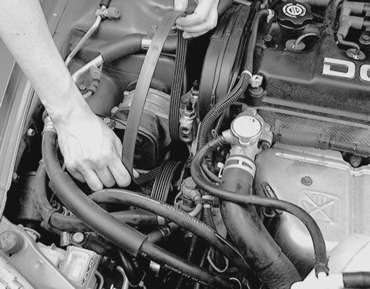
| Fig. 4: Remove the power steering pump and A/C compressor
belt from the vehicle
|
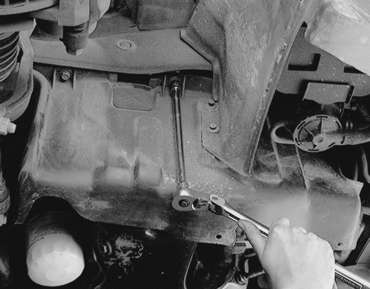
| Fig. 5: For access to the alternator drive belt,
unfasten the under cover side panel retaining bolts
|
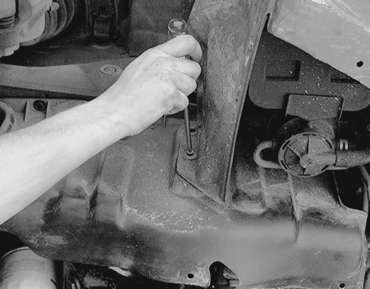
| Fig. 6: Remove undercover side panel screws
|
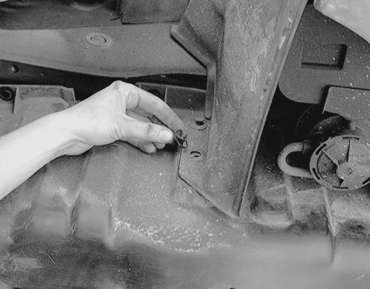
| Fig. 7: Remove the under cover side panel trim retainers
. . .
|
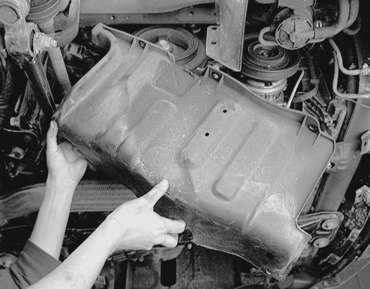
| Fig. 8: . . . then pull the side panel from the wheel
well
|
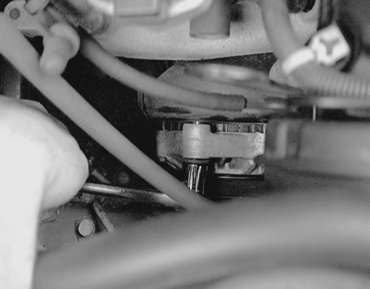
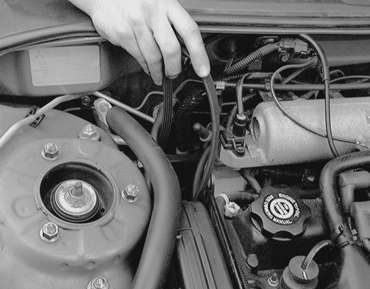
| Fig. 9: Loosen the alternator adjusting bolt
|
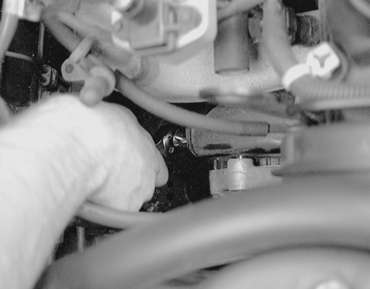
| Fig. 10: Remove the alternator upper mounting bolt
|
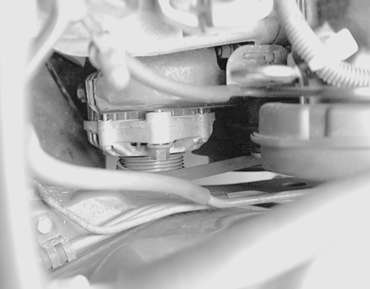
| Fig. 11: Remove the alternator bracket side mounting
bolt
|
| Fig. 12: Once the necessary bolts are loosened, you
can slide the alternator belt off the pulley . . .
|
| Fig. 13: . . . then pull the alternator belt up,
and out of the vehicle
|
NOTE: If the belt being removed is located behind another belt, removal of the first belt is required.
To install: