- Raise the headlights using the pop-up switch.
- Disconnect the negative battery cable.
- Unfasten the retaining screws, then remove the upper and the lower headlight
bezels.
- Remove the headlight retaining ring screws, and the headlight retaining
ring.
- Pull the headlight partially out, detach the connector, then remove headlight
assembly from the vehicle.
| Fig. 1: Exploded view of the sealed beam headlight
assembly and related components
|
To install:
- Attach the headlight electrical connector.
- Properly position the headlight and the retaining ring, then install the
retaining screws.
- Install the headlight bezels and secure with the retaining screws.
- Connect the negative battery cable.
CAUTION
Halogen bulbs contain gas under pressure. Handling the bulbs incorrectly could
cause it to shatter into flying glass fragments. Do NOT leave the light switch
ON. Always allow the bulb to cool before removal. Handle the bulb only by
the base; avoid touching the glass itself. Whenever handling a halogen bulb,
ALWAYS follow these precautions:
- Turn the headlight switch OFF and allow the bulb to cool
before changing it. Leave the switch OFF until the change
is complete.
- ALWAYS wear eye protection when changing a halogen bulb.
- Handle the bulb only by its base. Avoid touching the glass.
| Fig. 2: NEVER hold the halogen bulb by the glass,
ALWAYS hold it with the base

|
- DO NOT drop or scratch the bulb.
- Keep dirt and moisture away from the bulb.
- Place the used bulb in the new bulb's carton and dispose of it properly.
- Open the vehicle's hood and secure it in an upright position.
- Disconnect the negative battery cable.
- If necessary, for 1995–98 vehicles, remove the air cleaner assembly
and radiator reserve tank.
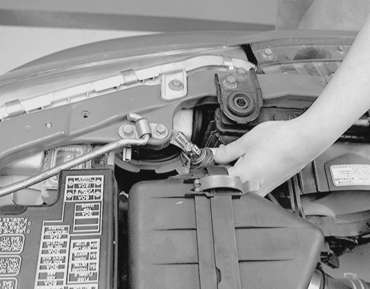
- Remove the socket cover by pulling it straight off, or turning it clockwise
then pulling it off.
| Fig. 3: The headlight bulbs are accessed through
weatherproof covers
|
| Fig. 4: Twist and pull on the cover to unlock it
in order to access the headlight bulb and socket assembly
|
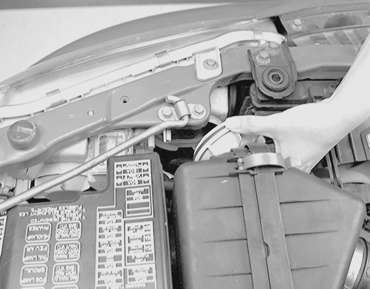
- For 1990–94 vehicles, remove the valve mounting spring and pull
the valve out toward you, together with the connector.
| Fig. 5: On 1990–94 vehicles, remove the valve
mounting spring, then pull the valve and connector out

|
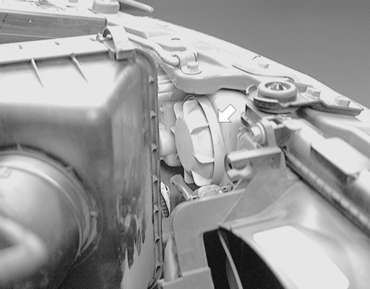
- For 1995–98 vehicles, carefully twist the bulb and socket counterclockwise,
then pull the assembly from the headlight housing.
- Holding the base of the bulb, detach it from the connector harness.
| Fig. 6: Turn the inner head light bulb and socket,
then pull it from the headlight housing assembly
|
| Fig. 7: Unplug the bulb from the socket, being
careful not to touch the glass portion of the bulb
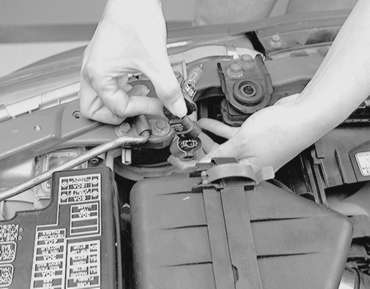
|
To install:
- Holding the base of the bulb, install it securely in the connector.
- Install the connector and bulb assembly in the housing and either twist
to lock into position, or install the valve mounting spring, as applicable.
- Install the sealing cover by pushing it on and/or turning it counterclockwise.
Make sure the cover is installed securely or the lens will be out of focus,
or water may get into the light unit.
- Disconnect the negative battery cable and check the headlight operation.