Previous Next

Clutch Release (Slave) Cylinder

REMOVAL & INSTALLATION

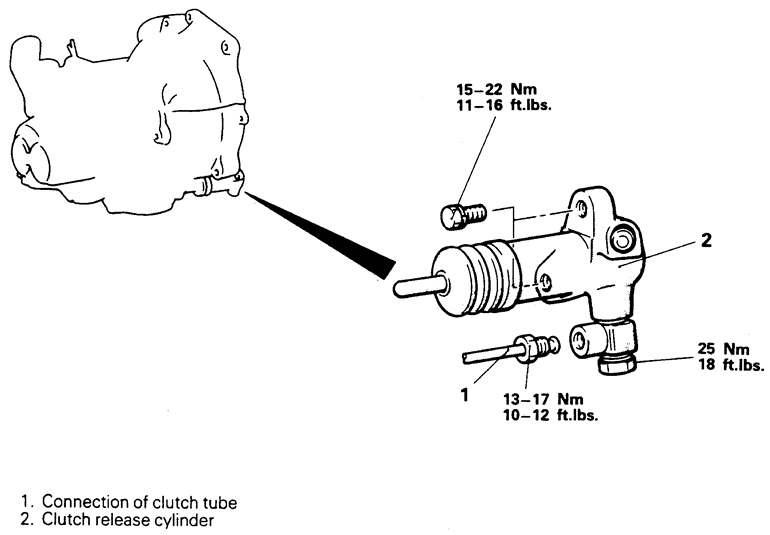
Fig. 1: Clutch release (slave) cylinder location — 1990–94 vehicles shown

  1. Disconnect the negative battery cable. Remove necessary underhood components in order to gain access to the clutch release cylinder.
  2. Disconnect the hydraulic line from the slave cylinder and allow the system to drain into a suitable container.

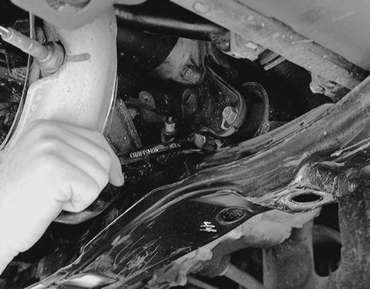
    Fig. 2: With the vehicle raised and supported, use a suitable wrench to loosen . . .

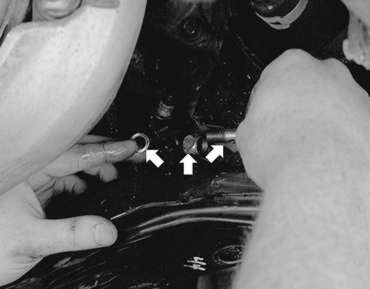
    Fig. 3: . . . then remove the fluid line fitting from the slave cylinder

  3. Unfasten the retaining bolts and pull the cylinder from the transaxle housing.

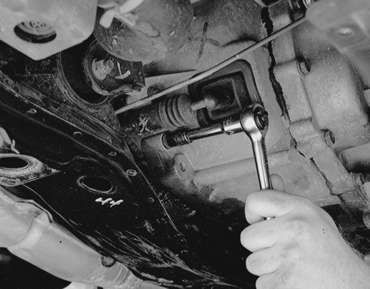
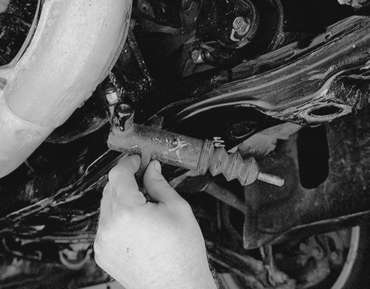
    Fig. 4: Remove the release (slave) cylinder mounting bolts . . .

    Fig. 5: . . . then remove the release (slave) cylinder from the transaxle housing

  4. The installation is the reverse of the removal procedure.
  5. Lubricate all pivot points with grease.

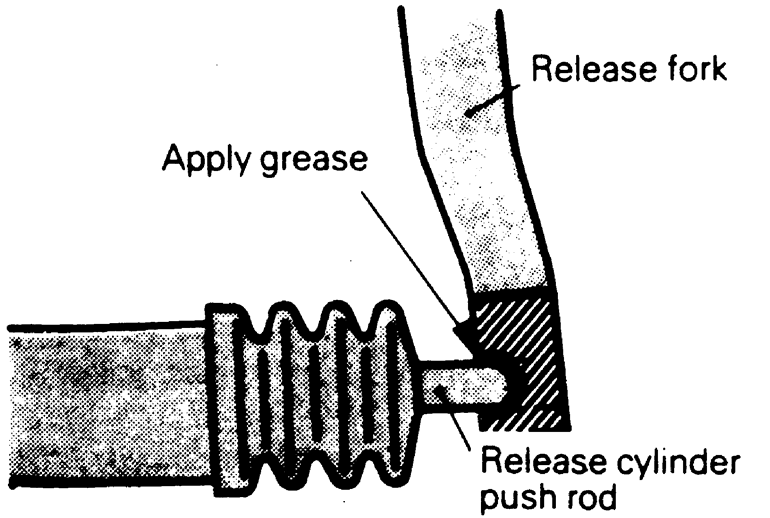
    Fig. 6: Apply a layer of multi-purpose grease to the contact point of the release cylinder pushrod and release fork

  6. Fill the system with clean brake fluid meeting DOT 3 specifications.
  7. Bleed the system and adjust the clutch pedal height and the clevis pin play.

Previous Next