Previous Next

REMOVAL & INSTALLATION

  1. Disconnect the negative battery cable.
  2. Raise and safely support the vehicle on jackstands.
  3. Remove any wheel and tire assemblies necessary for access to the particular line you are removing.
  4. Thoroughly clean the surrounding area at the joints to be disconnected.

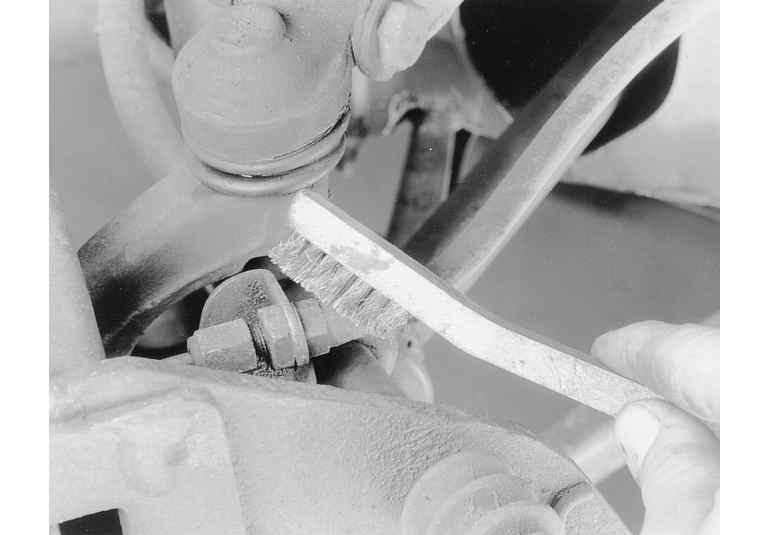
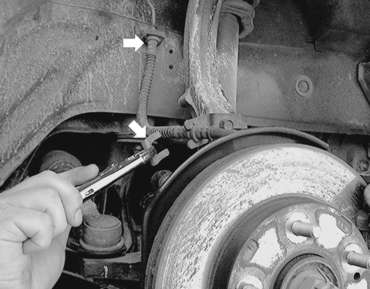
    Fig. 1: Use a brush to clean the fittings of any debris

  5. Place a suitable catch pan under the joint to be disconnected.
  6. Using two wrenches (one to hold the joint and one to turn the fitting), disconnect the hose or line to be replaced.

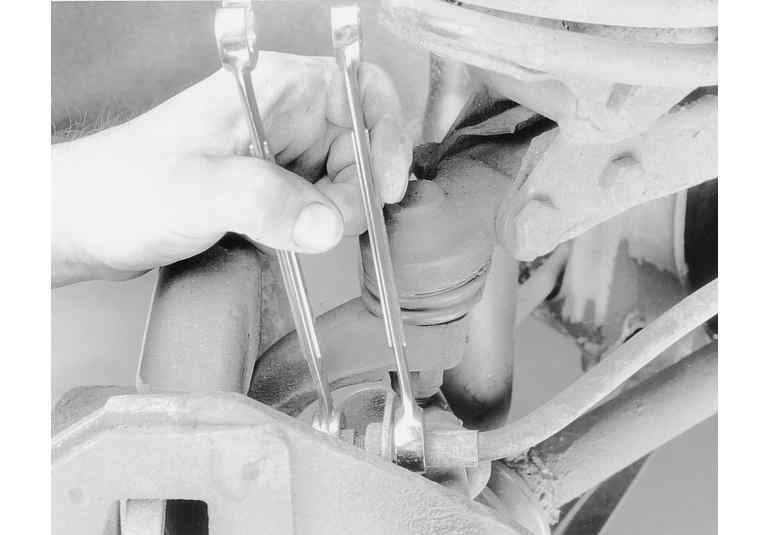
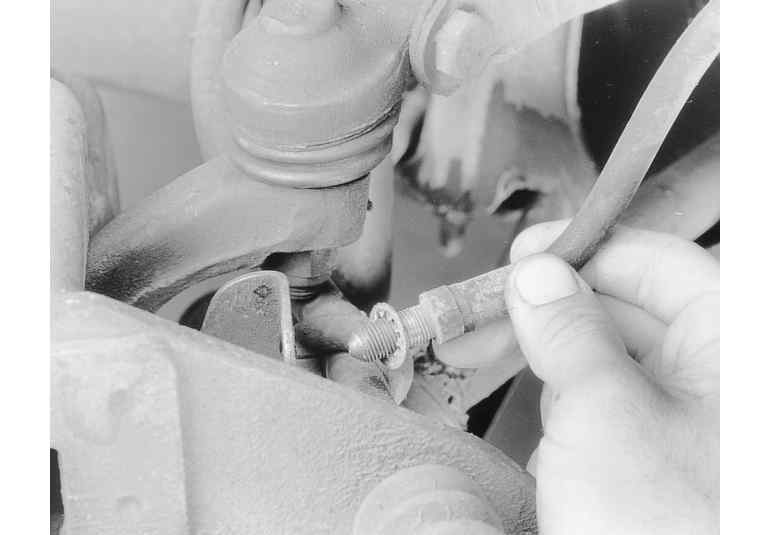
    Fig. 2: Use two wrenches to loosen the fitting. If available, use flare nut type wrenches

  7. Disconnect the other end of the line or hose, moving the drain pan if necessary. Always use a back-up wrench to avoid damaging the fitting.

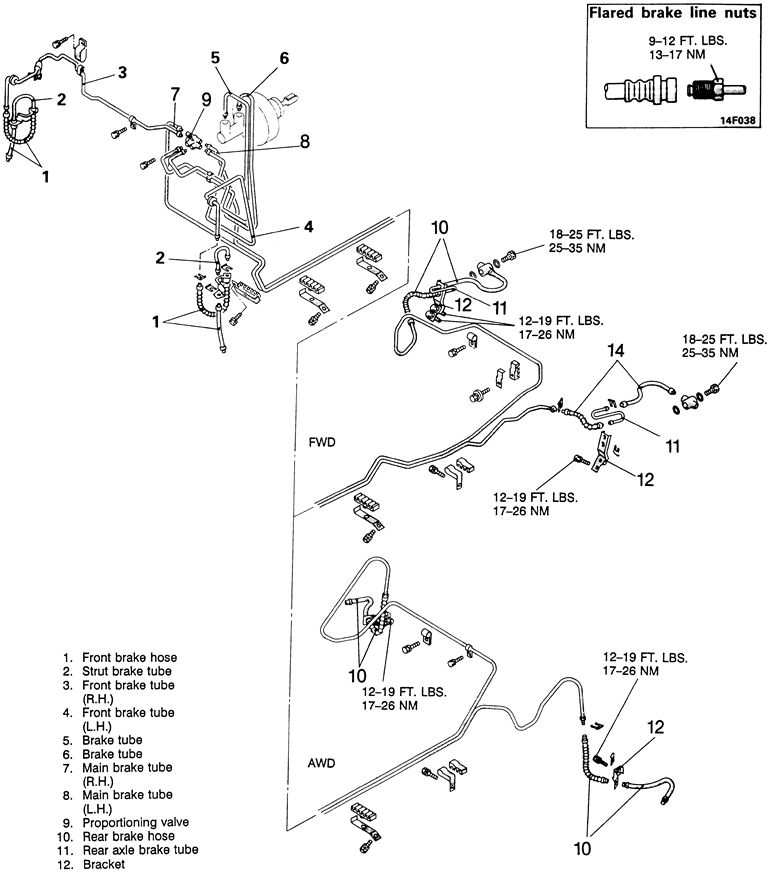
    Fig. 3: Brake line routing — early model vehicles without ABS

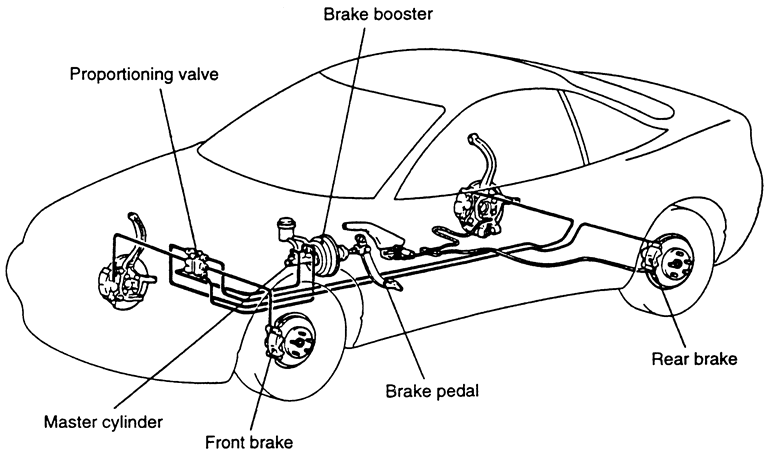
    Fig. 4: Brake system components and line routing — 1997 vehicle shown

  8. Disconnect any retaining clips or brackets holding the line and remove the line from the vehicle.

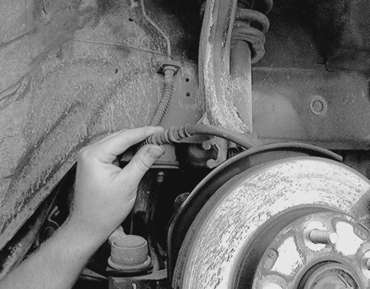
    Fig. 5: Remove all of the clips securing the brake hose

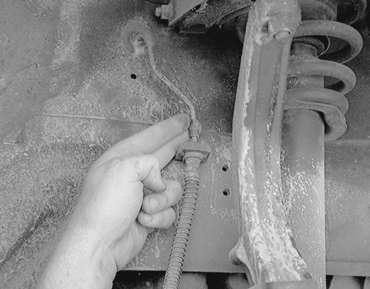
    Fig. 6: Unroute the brake hose from the retaining brackets

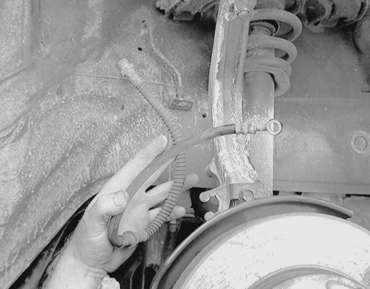
    Fig. 7: If necessary, unfasten the metal brake line from the hose

    Fig. 8: After all the retainers are unfastened, remove the brake hose from the vehicle

    NOTE: If the brake system is to remain open for more time than it takes to swap lines, tape or plug each remaining clip and port to keep contaminants out and fluid in.

    Fig. 9: Any gaskets/crush washers should be replaced with new ones during installation

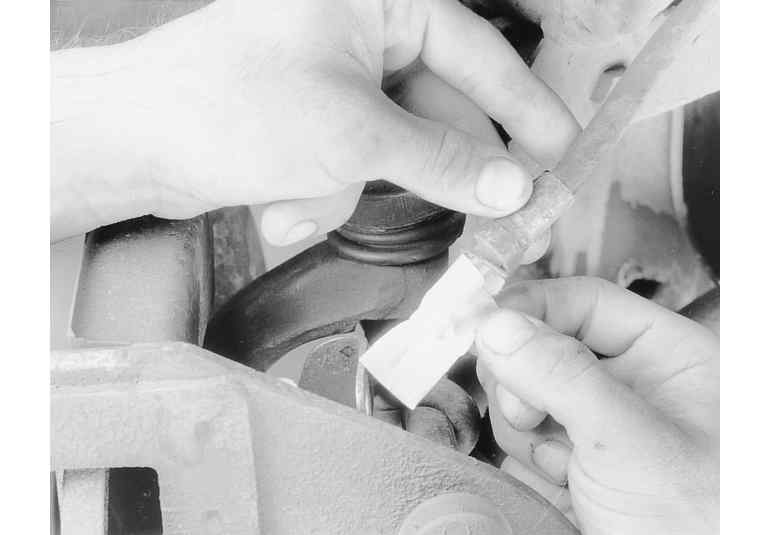
    Fig. 10: Tape or plug the line to prevent contamination

    To install:

  9. Install the new line or hose, starting with the end farthest from the master cylinder. Connect the other end, then confirm that both fittings are correctly threaded and turn smoothly using finger pressure. Make sure the new line will not rub against any other part. Brake lines must be at least 1/2 in. (13mm) from the steering column and other moving parts. Any protective shielding or insulators must be reinstalled in the original location.

    WARNING
    Make sure the hose is NOT kinked or touching any part of the frame or suspension after installation. These conditions may cause the hose to fail prematurely.

  10. Using two wrenches as before, tighten each fitting.
  11. Install any retaining clips or brackets on the lines.
  12. If removed, install the wheel and tire assemblies, then carefully lower the vehicle to the ground.
  13. Refill the brake master cylinder reservoir with clean, fresh brake fluid, meeting DOT 3 specifications. Properly bleed the brake system.
  14. Connect the negative battery cable.

Previous Next