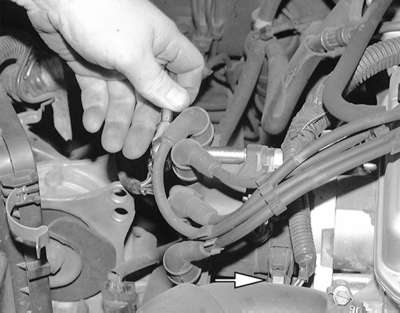
| Fig. 1: Loosen the distributor cap retaining screws .
. .
|
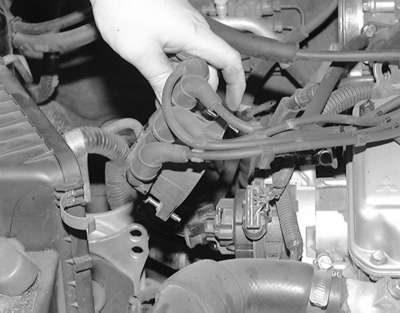
| Fig. 2: . . . then remove the cap from the distributor
|
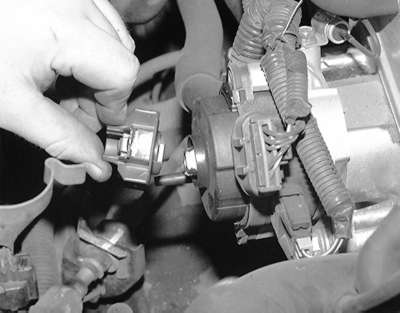
| Fig. 3: Grasp the rotor and pull it straight off of the
distributor shaft
|
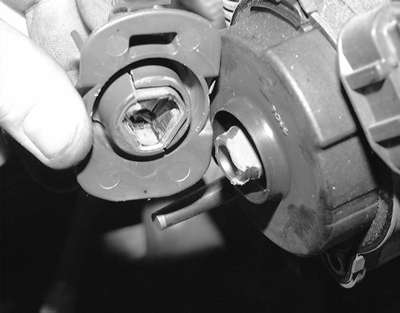
| Fig. 4: The rotor must be aligned correctly to the distributor
shaft before installation
|
NOTE: Depending on the reason for removing the distributor cap, it may make more sense to leave the spark plug wires attached. This is handy if you are testing spark plug wires, or if removal is necessary to access other components, and wire length allows you to reposition the cap out of the way.