WARNING
A grounded wrist strap should be used to prevent static discharge to the PCM.
Static discharge can easily destroy the electronic components inside the PCM.
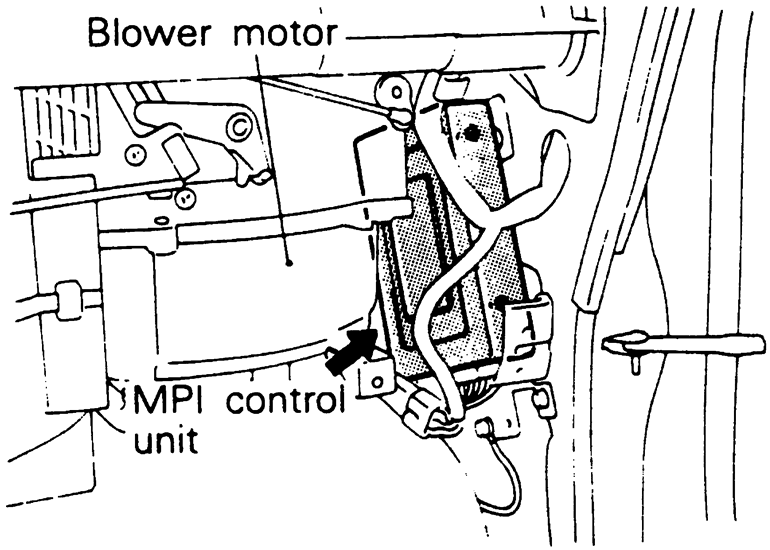
| Fig. 1: PCM mounting location — Mirage

|
NOTE: The Powertrain Control Module (PCM) is located above
the passenger side kickpanel.
- Disconnect the negative battery cable.
- Remove the glove box, right side kickpanel and lower panel assemblies.
- Unplug the connectors and remove fasteners. Remove the PCM.
- Installation is the reverse of the removal procedure.
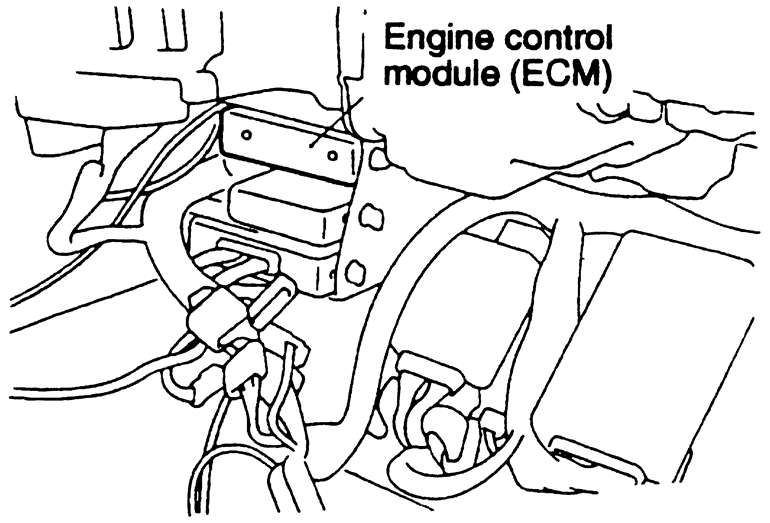
| Fig. 2: PCM mounting location — 1994–98
Galant
|
- Disconnect negative battery cable.
- Remove both center console side panels.
- Unplug the wiring connector and remove the mounting hardware. Slide the
PCM out the side.
- Installation is the reverse of the removal procedure.
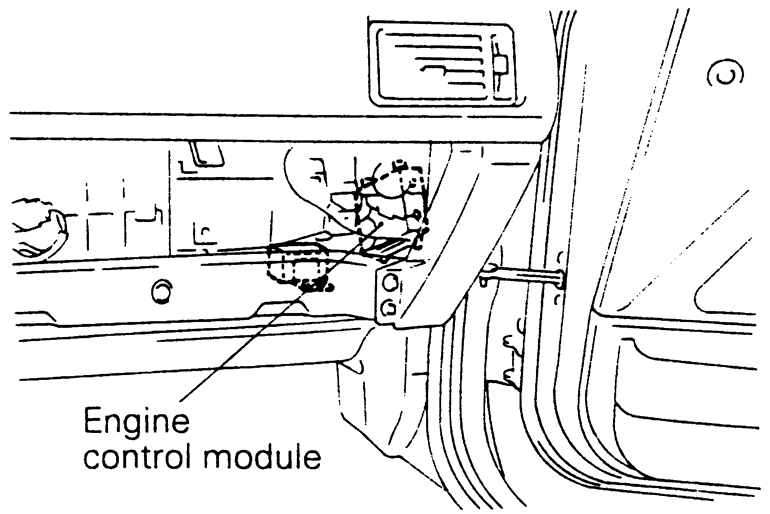
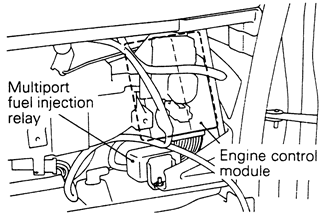
| Fig. 3: PCM mounting location — 1990–93
Galant

|
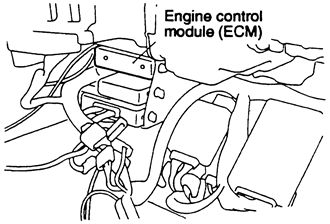
| Fig. 4: PCM mounting location — Diamante
|
NOTE: The Powertrain Control Module (PCM) is located behind
the glove box assembly.
- If equipped, disarm the air bag system.
- Remove the passenger side lower instrument panel and shower duct.
- Remove the glove box striker, glove box, glove box outer casing and the
screw below the assembly.
- Unplug wiring connector and remove mounting hardware. Slide out the PCM.
To install:
- Install the PCM with the mounting hardware.
- Attach the wire connector.
- Install the glove box striker, the glove box, the glove box casing and the
screw below the assembly.
- Install the passenger side lower instrument panel and the shower duct.
- Reconnect the negative battery cable.