These vehicles use a strut type front suspension. No upper control arm is used.
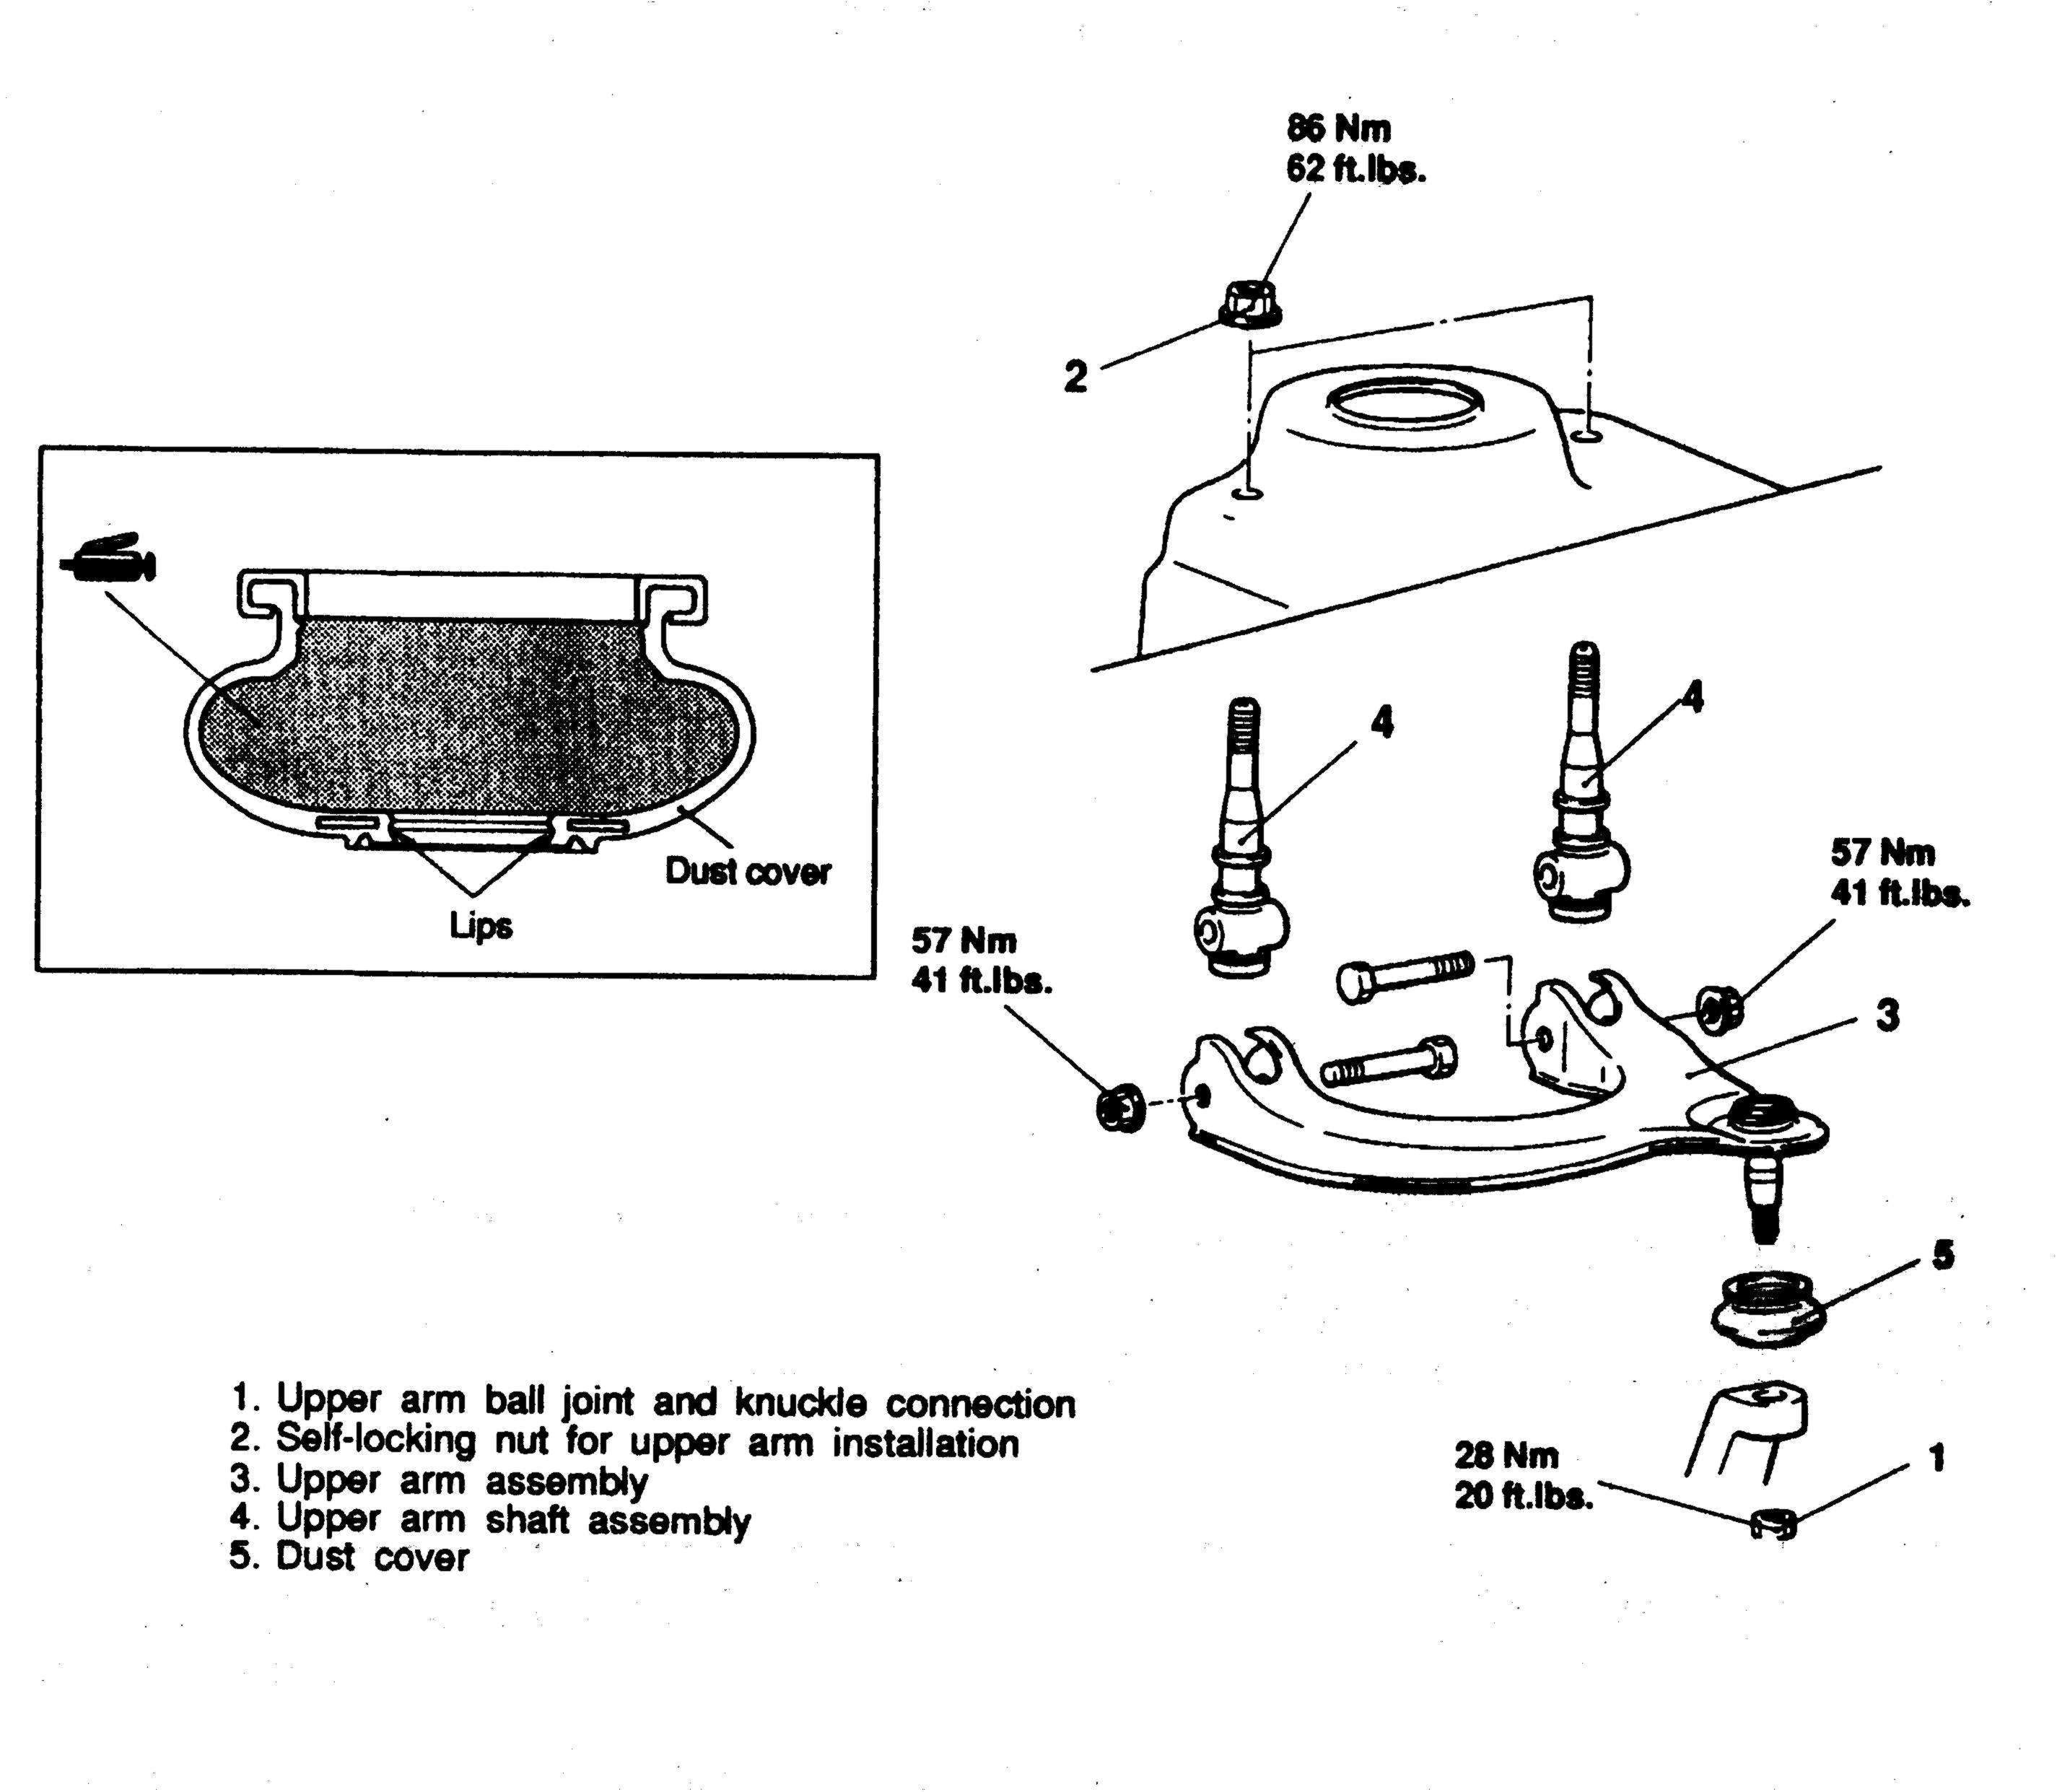
| Fig. 1: Upper control arm assembly — Galant
|
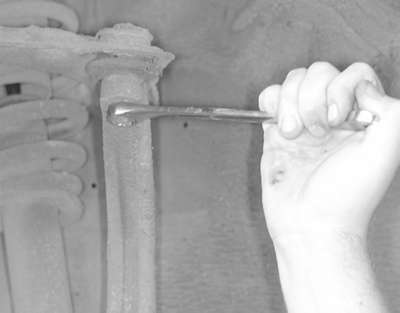
| Fig. 2: Remove the nut retaining the upper ball joint
to the steering knuckle . . .
|
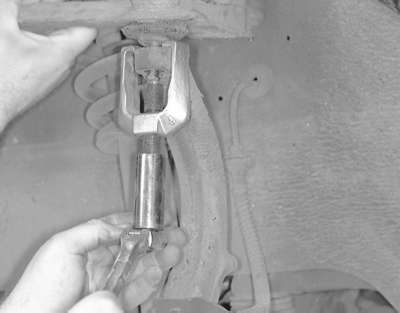
| Fig. 3: . . . then install a suitable puller like this
to separate the connection
|
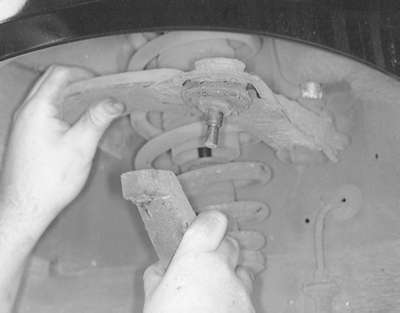
| Fig. 4: After the ball joint-to-steering knuckle connection
is separated, remove the ball joint from the knuckle
|
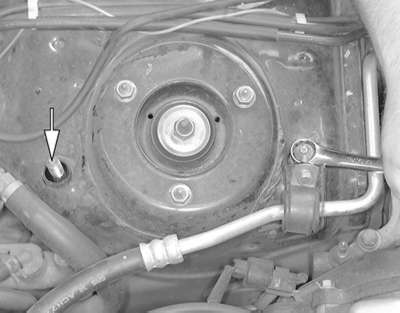
| Fig. 5: Remove the nuts retaining the upper control arm
to the body . . .
|
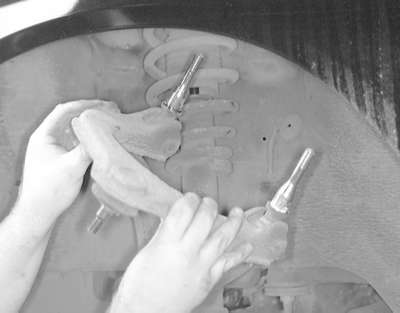
| Fig. 6: . . . then remove the upper control arm from
the vehicle
|
To install:
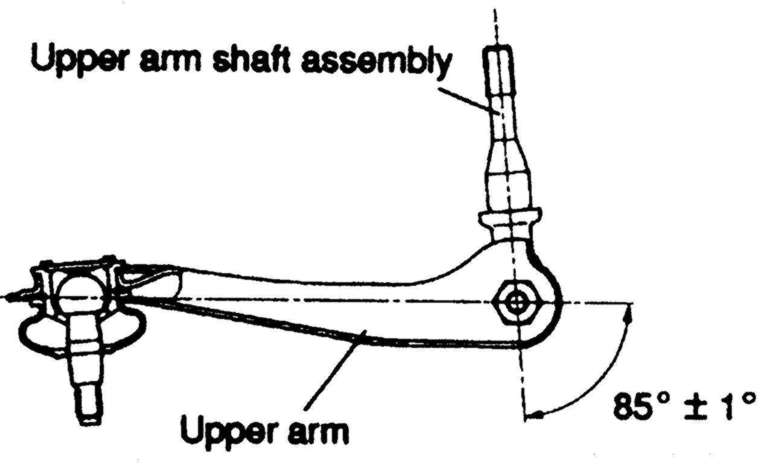
| Fig. 7: Correct angle of control arm and shafts — Galant
|
| Fig. 8: Measure the dimensions A and B as shown — Galant
|