CAUTION
Brake pads and shoes contain asbestos, which has been determined to be a cancer
causing agent. Never clean the brake surfaces with compressed air! Avoid inhaling
any dust from brake surfaces! When cleaning brakes, use commercially available
brake cleaning fluids.
| Fig. 1: Exploded view of the drum brakes — 1990–92
Mirage

|
- Raise the vehicle and support safely.
- Remove the wheel and tire assembly.
- Remove the dust cap.
- Remove the self-locking nut.
- Remove the outer wheel bearing.
- Remove the drum with the inner wheel bearing from the spindle.
- Remove the grease seal.
To install:
- To determine if the self-locking nut is reusable:
- Screw in the self-locking nut until about 1⁄8 in.
(3mm) of the spindle is showing.
- Measure the torque required to turn the self-locking nut counterclockwise.
- The lowest allowable torque is 48 inch lbs. (5.5 Nm). If the measured
torque is less than the specification, replace the nut.
- Lubricate and install the inner wheel bearing.
- Install a new grease seal.
- Install the drum to the spindle.
- Lubricate and install the outer wheel bearing.
- Tighten the self-locking nut to 108–145 ft. lbs. (150–200
Nm).
- Install the grease cap.
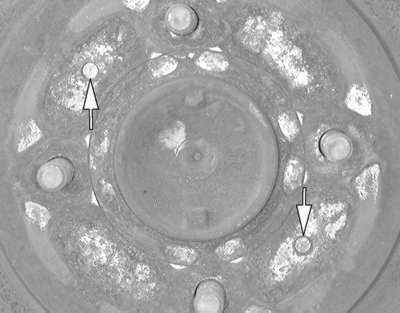
| Fig. 2: There are two threaded holes located on the
brake drum
|
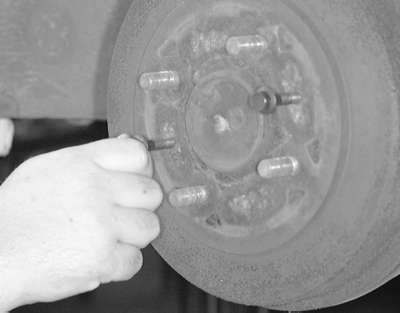
| Fig. 3: Install a suitable size bolt into the threaded
holes
|
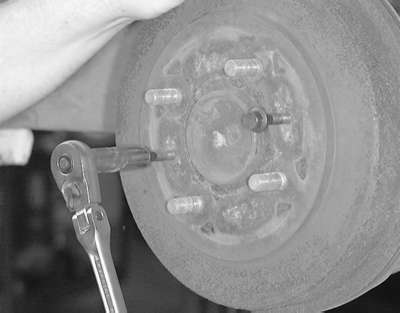
| Fig. 4: Tighten the bolts until they force the drum
off of the hub . . .
|
| Fig. 5: . . . then remove the drum from the hub assembly
|
- Raise and safely support the vehicle.
- Remove the rear wheel.
- Loosen the parking brake adjusting nut.
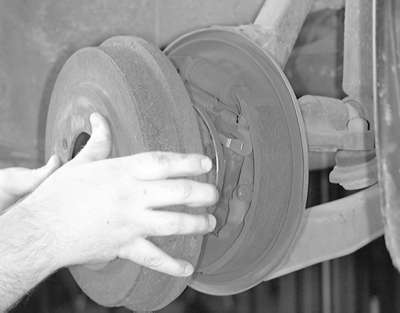
- Pull the drum from the rear hub assembly. Tap the drum with a soft mallet
if necessary.
To install:
- Install the drum on the rear hub assembly.
- Install the wheel and adjust the parking brake.
- Lower the vehicle to the floor.