Previous Next

Hood

REMOVAL & INSTALLATION

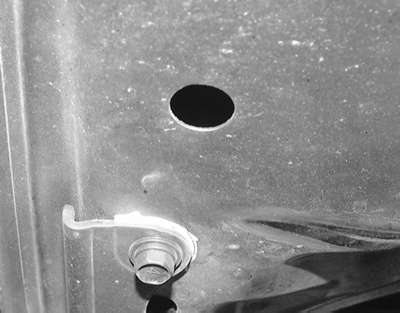
Fig. 1: Matchmark the installed position of the hinges on the hood

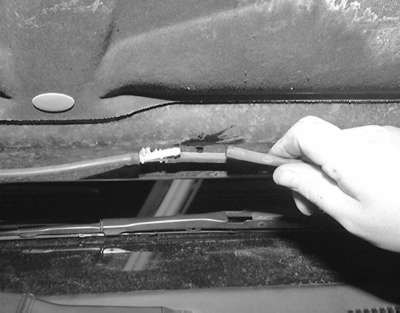
Fig. 2: Detach the washer hoses from the jet nipples . . .

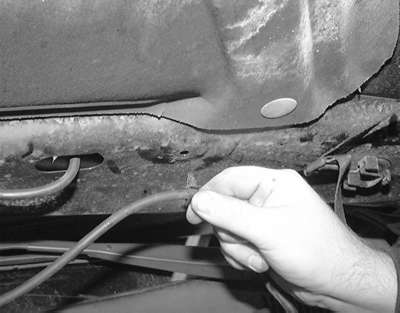
Fig. 3: . . . then remove the hose retaining clips from the hood

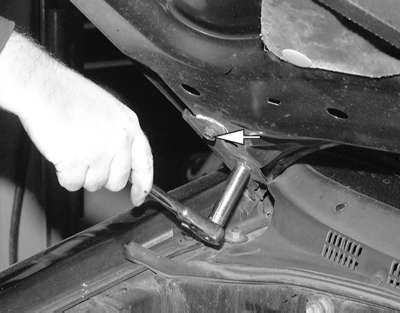
Fig. 4: With an assistant supporting the hood, remove the hinge bolts

  1. Open the hood and support it by the prop rod.
  2. Use a felt tip marker or grease pencil to mark the hinge location on the hood.
  3. Disconnect the windshield washer lines running to the hood if any. Detach any necessary wiring connectors.
  4. Remove the bolts attaching the hood to the hood hinges. Have a helper support the rear of the hood as the bolts are removed. Without support, the hood will slide off the hinges and hit the upper bodywork.
  5. Remove the hood assembly, lifting it off the hood prop.
  6. Place the hood out of the work area, resting on its side on a protected surface.

    To install:

  7. Reinstall the hood by carefully placing it in position and installing the hinge bolts finger tight. Install the hood prop immediately. Move the hood around on the hinges until the matchmarks (felt tip marker) align.

    WARNING
    Take great care to prevent the hood from bumping the windshield. Not only will the hood be damaged, the windshield can be broken by careless installation.

  8. Tighten the hinge bolts.
  9. Attach the windshield washer lines and any necessary electrical connectors.
  10. Align the hood as necessary.

Previous Next