Previous Next

ENGINE ELECTRICAL

Distributor

REMOVAL

NOTE: You will need a new O-ring for installation of the distributor.

  1. Disconnect the battery ground cable.
  2. Disconnect the retaining clips or screws and pull the distributor cap and seal off the distributor.
  3. Position the cap and wires away from the distributor. You may find this procedure easier if you label and remove all spark plug cables and the ignition coil cable from the distributor cap.
  4. Matchmark the location of the distributor on the cylinder block. A good place to do this is near where the mounting bolt passes through the slot.

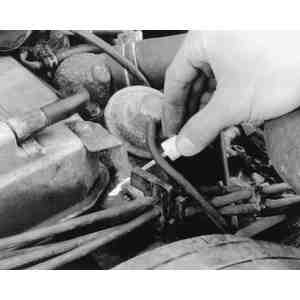
    Fig. 1: Use paint or a grease pencil to mark the relationship between the distributor and the engine block

  5. Disconnect and label the vacuum advance line, if so equipped.
  6. Disconnect and label the distributor wiring connector.
  7. Matchmark the relationship between the tip of the distributor rotor and the distributor body.

    NOTE: Later model distributors have alignment marks on the flange, housing and gear. Aligning these marks is more accurate than aligning the rotor with a homemade mark.

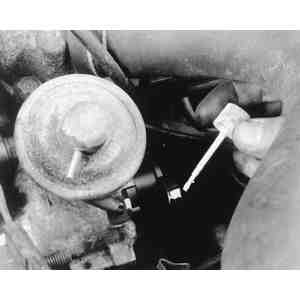
    Fig. 2: Mark the position of the rotor in relation to the distributor housing, both before and after pulling the distributor out of the engine

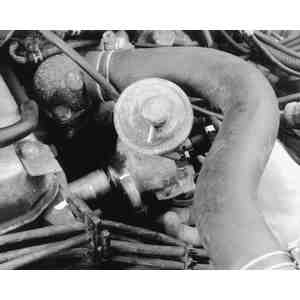
    Fig. 3: Pull the distributor slowly out of the engine

  8. Remove the mounting nut or bolt and pull the distributor carefully out of the engine. Note the direction and degree to which the rotor turns as you pull it out. Mark the location of the rotor after it has turned, also.
  9. Remove the old O-ring from the distributor shaft and replace it with a new one before reinstalling the distributor.

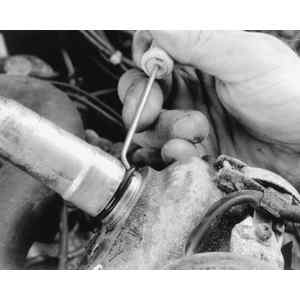
    Fig. 4: Remember to replace the O-ring on the distributor shaft before reinstallation

Previous Next