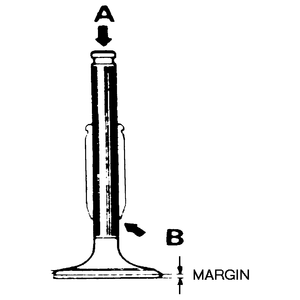
Inspect each valve for burning of the head or deformation of the lower stem. Severe corrosion, pitting, burning, or cracking of these parts mean the valve must be replaced. Inspect the top of the stem for pitting. If the pitting is light and the valve is otherwise in good condition, pitting may be removed by light application of an oil stone.
Measure the stem diameter at several points along its length. A common wear point is just above the head of the valve where the stem enters the valve guide. If this area is worn, the valve must be replaced. Visually check the top of the stem for mushrooming or deformation and replace the valve if any such damage is found.
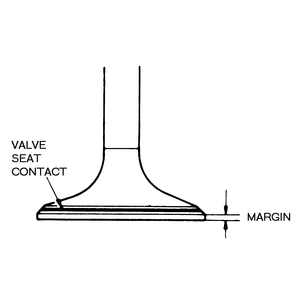
Inspect the valve margin for adequate thickness. This is the vertical section of the valve head below the seating surface. The margin is just that — a thickness of metal giving strength to the valve head.
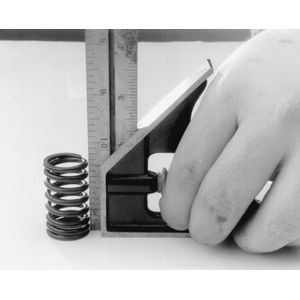
Measure the height of valve springs. This height (or free length) is an indicator of the strength and condition of the spring. A worn spring will compress but not return to its full length. This may allow the valve to stay partially open, causing driveability problems.
Check each spring for squareness by placing the side of the spring next to a T-square and rotating the spring until you find maximum out-of-square. Squareness is measured in degrees and without very accurate measuring equipment, you won't be able to put a number on the error. Suffice it to say that if any out of square is detected, the spring should be replaced. A very slight deviation is acceptable (the limit is 2°) but this is so small an angle that you may not even notice it.
| Fig. 1: Check for deformation or pitting at A and wear
at B — do not re-use the valve if the margin is at or
below the minimum
|
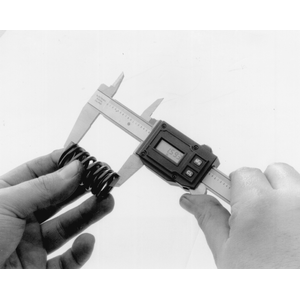
| Fig. 2: Use a micrometer to check the valve stem diameter
|
| Fig. 3: Valve stems may be rolled on a flat surface to
check for bends
|
| Fig. 4: Check the valve spring for squareness on a flat
surface, a carpenters square can be used
|
| Fig. 5: Use a caliper gauge to check the valve spring
free-length
|
| Fig. 6: The valve margin and contact area
|
Measure stem-to-guide clearance. Depending on the tools available, either measure the valve stem and the valve guide individually, then subtract to find the clearance or install the valve in its guide and locating a securely mounted dial indicator against the top of the stem. Rock the valve away from the indicator and hold it there while you zero the indicator. Then rock the valve all the way toward the indicator and hold it there as you take the reading. If the stem-to-guide clearance exceeds specifications the valve and/or guide should be replaced.
The valve face and seat surfaces must have consistent contact near the center of each. Coat the surface of the seat with a metal dye (such as Prussian blue) or a thin coat of lapping compound. Insert the valve all the way so the marking material is transferred to the valve face. If a consistent mark is found toward the center of the valve face all around, the valve and seat may be re-used as is, assuming there are no other problems with the valve. If the seating is questionable or obviously bad, the valve and seat should be machined to the proper dimensions and angles by an automotive machine shop.
It then must be lapped in (polished) by coating the seating surfaces with a lapping compound and rotating the valve with a special suction cup tool until the surfaces mate perfectly; lapping compound must then be thoroughly cleaned from both surfaces.
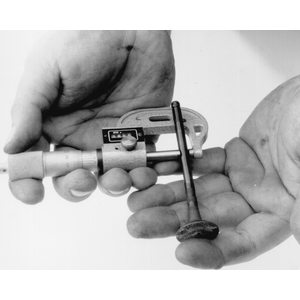
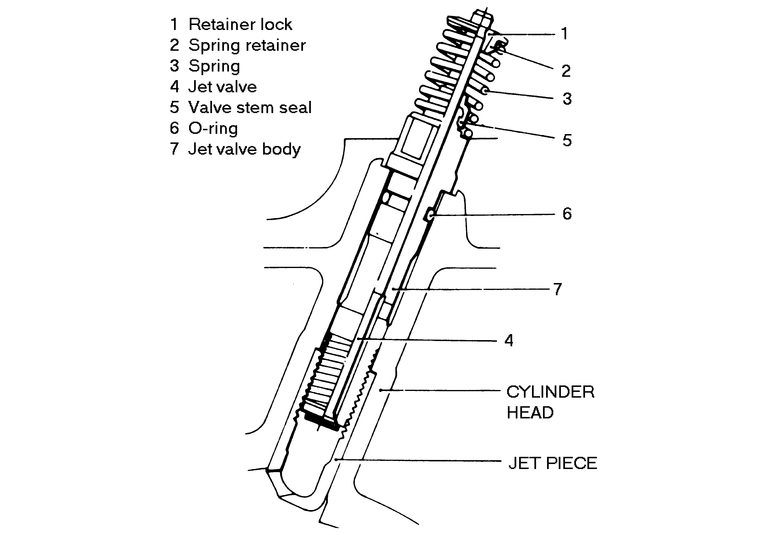
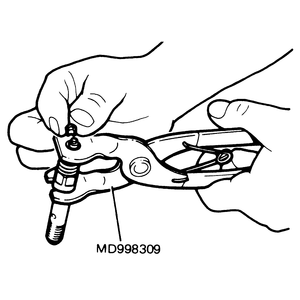
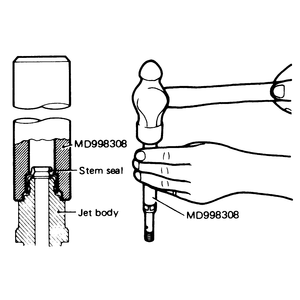
While the jet valve is replaced as an assembly rather than being serviced, you can disassemble it to inspect it and replace the valve stem seal. You should use tool MD 998309 or equivalent.
| Fig. 7: Jet valve assembly
|
| Fig. 8: Disassembling the jet valve assembly
|
| Fig. 9: Replacing the jet valve stem seal
|
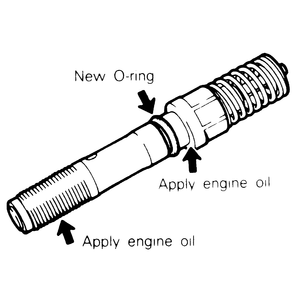
| Fig. 10: Jet valve assembly before installation
|