Previous Next

INSPECTION & ADJUSTMENT

NOTE: An inductive timing light is recommended because it is not susceptible to cross-firing or false triggering.

  1. After cleaning the timing marks, connect a timing light to the ignition system following the manufacturer's instruction.

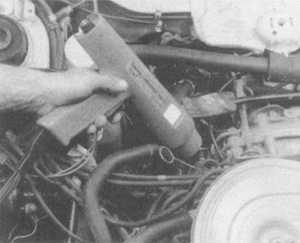
    Fig. 1: Connect the inductive clamp over the spark plug wire

    Fig. 2: Some models use flywheel mounted timing marks . . .

  2. If equipped with a carburetor, disconnect and plug the distributor vacuum advance line. If equipped with a turbocharger, disconnect the black (8–pole) electrical connector between the distributor and the knock control unit. On turbocharged engines, disconnect the pressure–vacuum line running from the throttle body to the distributor and plug it. If the engine has an octane selector, make sure it's set midway between A and R.
  3. Start the engine, allow it to reach normal operating temperature and aim the timing light at the timing marks on the flywheel or the crankshaft pulley. The correct timing mark should align with the timing mark indicator.

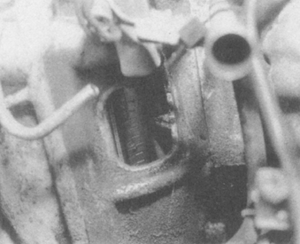
    Fig. 3: . . . while others are on the crankshaft pulley

  4. If necessary to adjust the ignition timing, loosen the distributor hold-down bolt, then rotate the distributor clockwise to advance or counterclockwise to retard the timing.

    WARNING
    Do not fully remove the hold-down bolt when adjusting the timing.

  5. After adjustment, tighten the distributor bolt and recheck the ignition timing.

    NOTE: If equipped with a carburetor, reconnect the distributor vacuum advance line. If equipped with a turbocharger, reconnect the black (8–pole) electrical connector between the distributor and the knock control unit.

  6. Connect any removed vacuum or pressure lines.
  7. Recheck the engine idle speed and adjust if necessary.

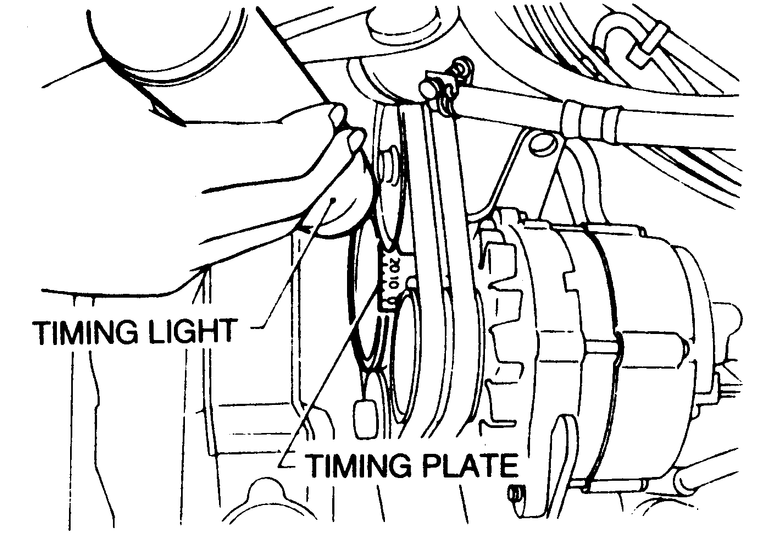
    Fig. 4: Aim a timing light at the timing marks on the crankshaft or pulley

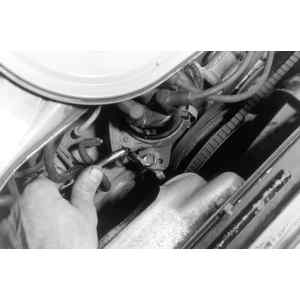
    Fig. 5: If necessary, loosen the distributor hold-down bolt and adjust the timing

Previous Next