Previous Next

Signal and Marker Lights

REMOVAL & INSTALLATION

Front Turn Signal and Parking Lights

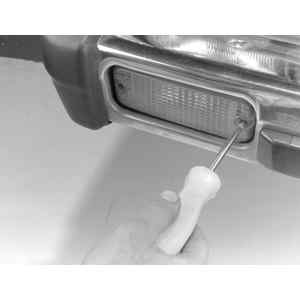
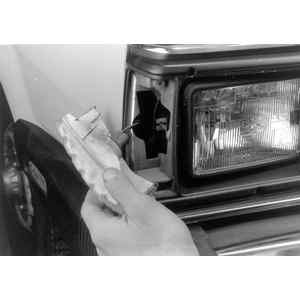
Fig. 1: Remove the lens retaining screws

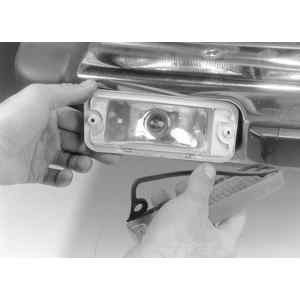
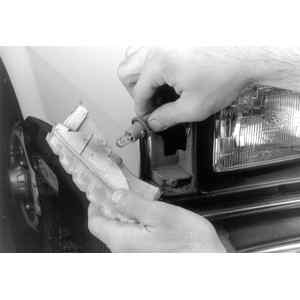
Fig. 2: Remove the lens cover and the gasket

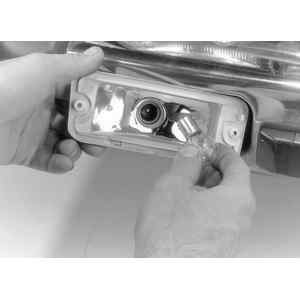
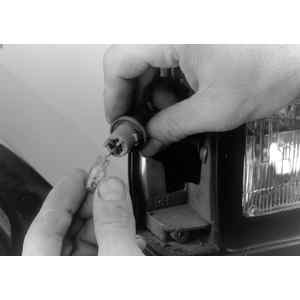
Fig. 3: Grasp the bulb firmly and remove it from the electrical connector

  1. Disconnect the negative (-) battery cable.
  2. Remove the two screws which secure the lens cover and gasket to the vehicle.
  3. Remove the lens cover and gasket.
  4. Grasp the bulb firmly and remove it from the electrical connector.

    To install:

  5. Install the new bulb in the electrical connector.
  6. Install the gasket and lens cover, then fasten the two screws.
  7. Connect the negative battery cable.
Side Marker Lights

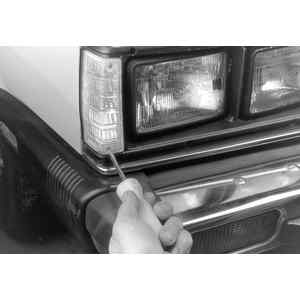
Fig. 4: Remove the lens retaining screws

  1. Disconnect the negative (-) battery cable.
  2. Remove the two screws which secure the lens cover and gasket to the vehicle.
  3. Pull the lens cover, with the electrical wire, away from the vehicle.
  4. Remove the lens cover from the bulb receptacle.
  5. Grasp the bulb firmly and pull it from the electrical connector.

    Fig. 5: Remove the light assembly away from the vehicle

    Fig. 6: Remove the bulb and socket from the light lens

    Fig. 7: Grasp the bulb firmly and pull it from the electrical connector

    To install:

  6. Install the new bulb in the electrical connector.
  7. Install the lens and gasket cover, then fasten the retaining screws.
  8. Connect the negative battery cable.
Rear Turn Signal, Brake and Parking Lights

On Subaru vehicles there are two different ways of removing the rear turn signal, brake and parking light bulbs. On the station wagon the lens is retained by exterior screws. On the coupe and sedan the fasteners are reached from the trunk.

  1. Disconnect the negative (-) battery cable.
  2. Remove the lens or cover retaining fasteners.
  3. Remove the old bulb from the electrical connector.

    To install:

  4. Install the new bulb in the electrical connector.
  5. Fasten the lens or cover retaining fasteners.
  6. Connect the negative battery cable.
Dome Light
  1. The lens can be removed by turning the mark on the lens towards the dome light switch on the dome light.
  2. Pull off the dome light cover by hand.
  3. Remove the bulb.
  4. Installation is the reverse of removal.
Passenger Area Lamps

To replace the courtesy and glove box lamps, simply remove the bulb through the access hole. To replace the ashtray lamp, it is necessary to remove the ashtray and the ashtray retainer first.

License Plate Lights
  1. Remove the lamp attaching bolts or screws.
  2. Remove the lens fasteners.
  3. Remove the lamp socket then remove the bulb.
  4. Installation is the reverse of removal.

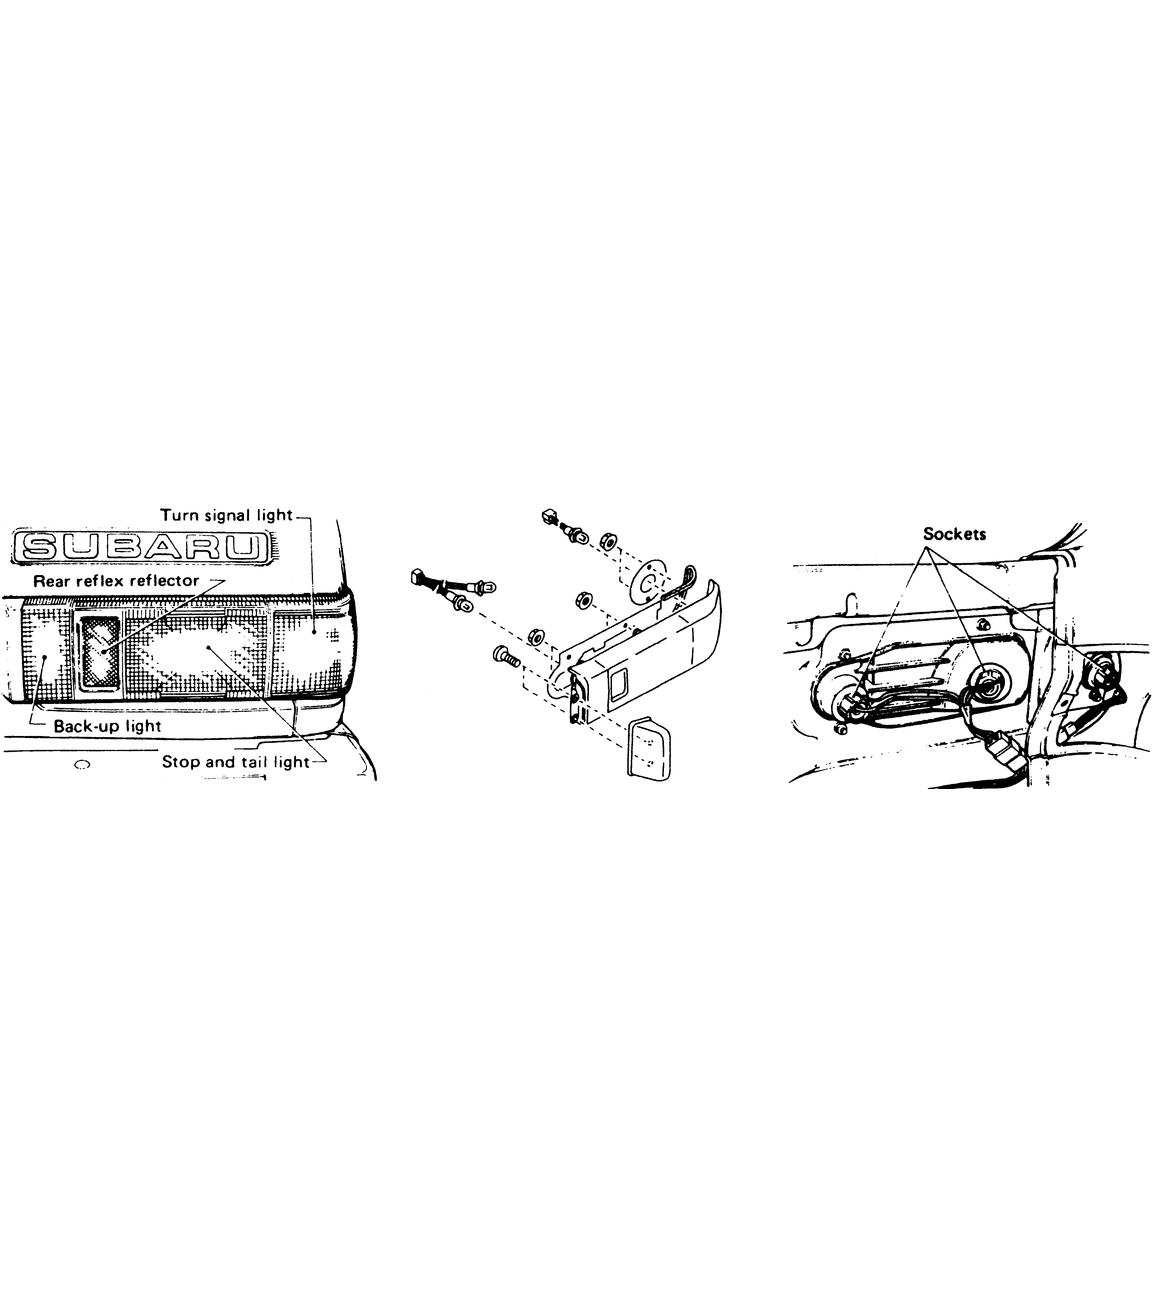
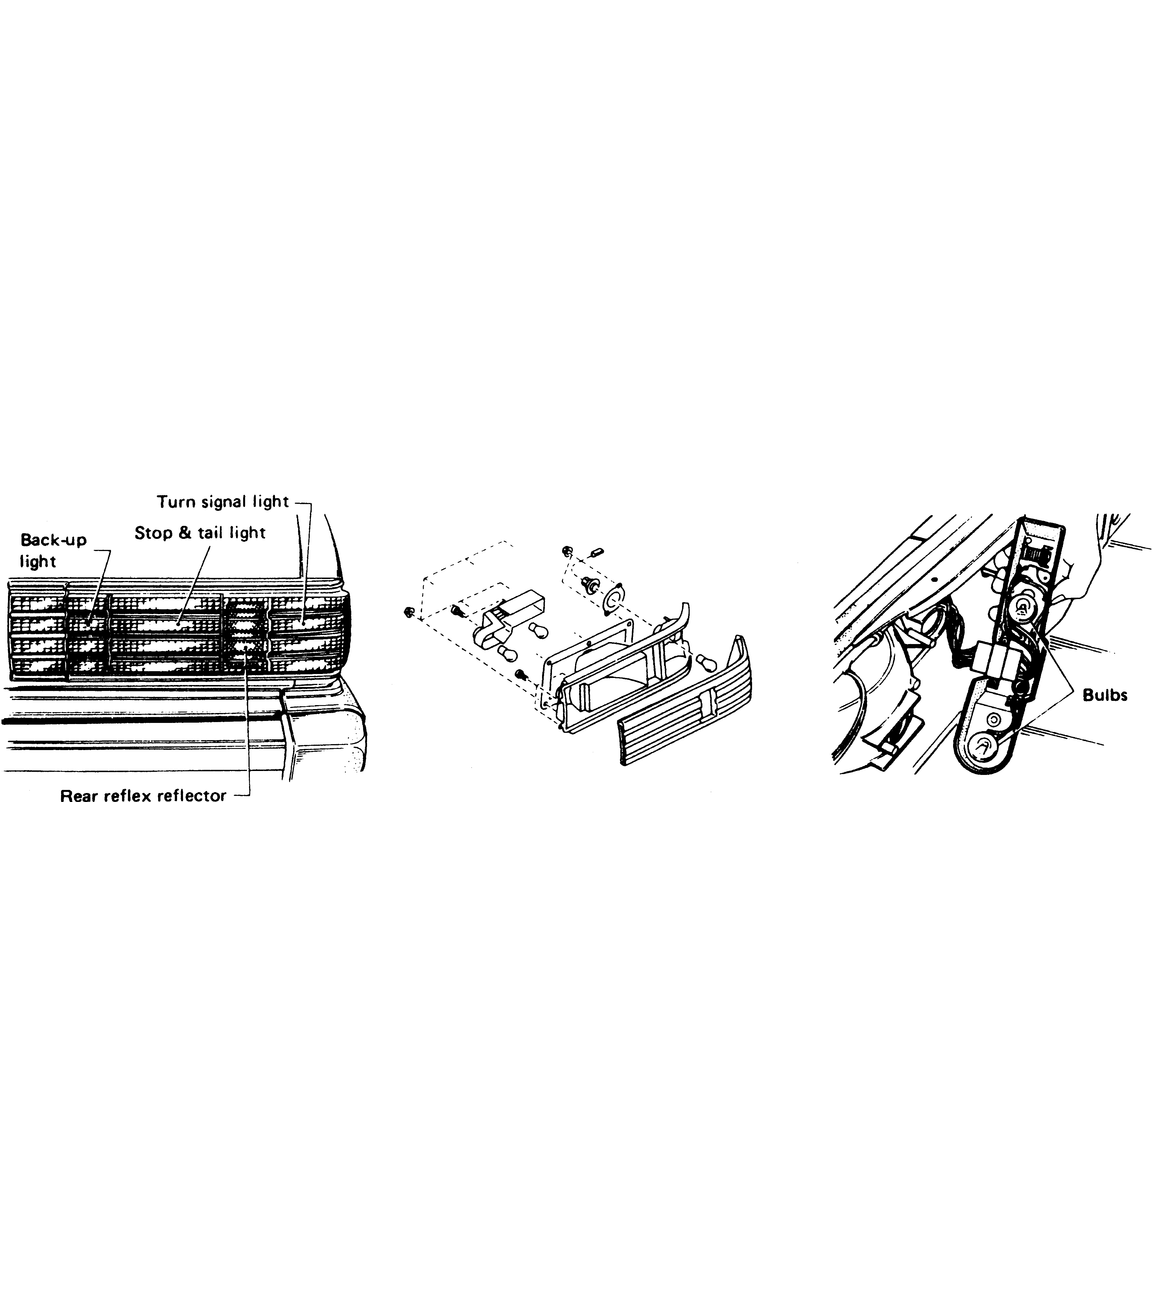
    Fig. 8: Exploded view of the rear combination light for hatchbacks

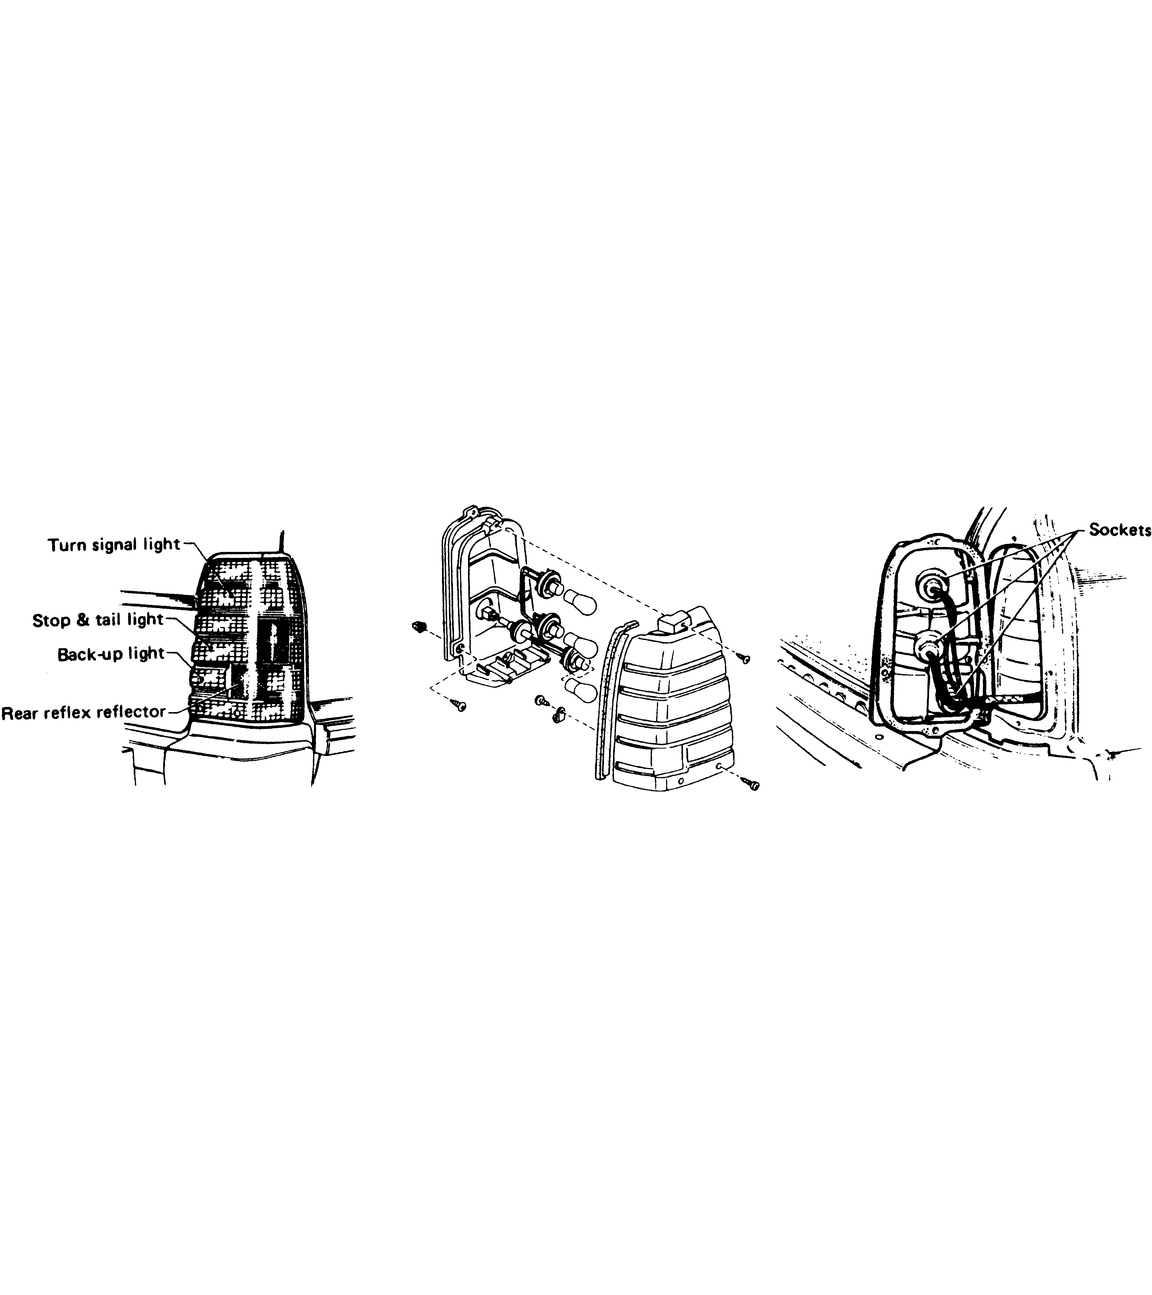
    Fig. 9: Exploded view of the rear combination light on sedans

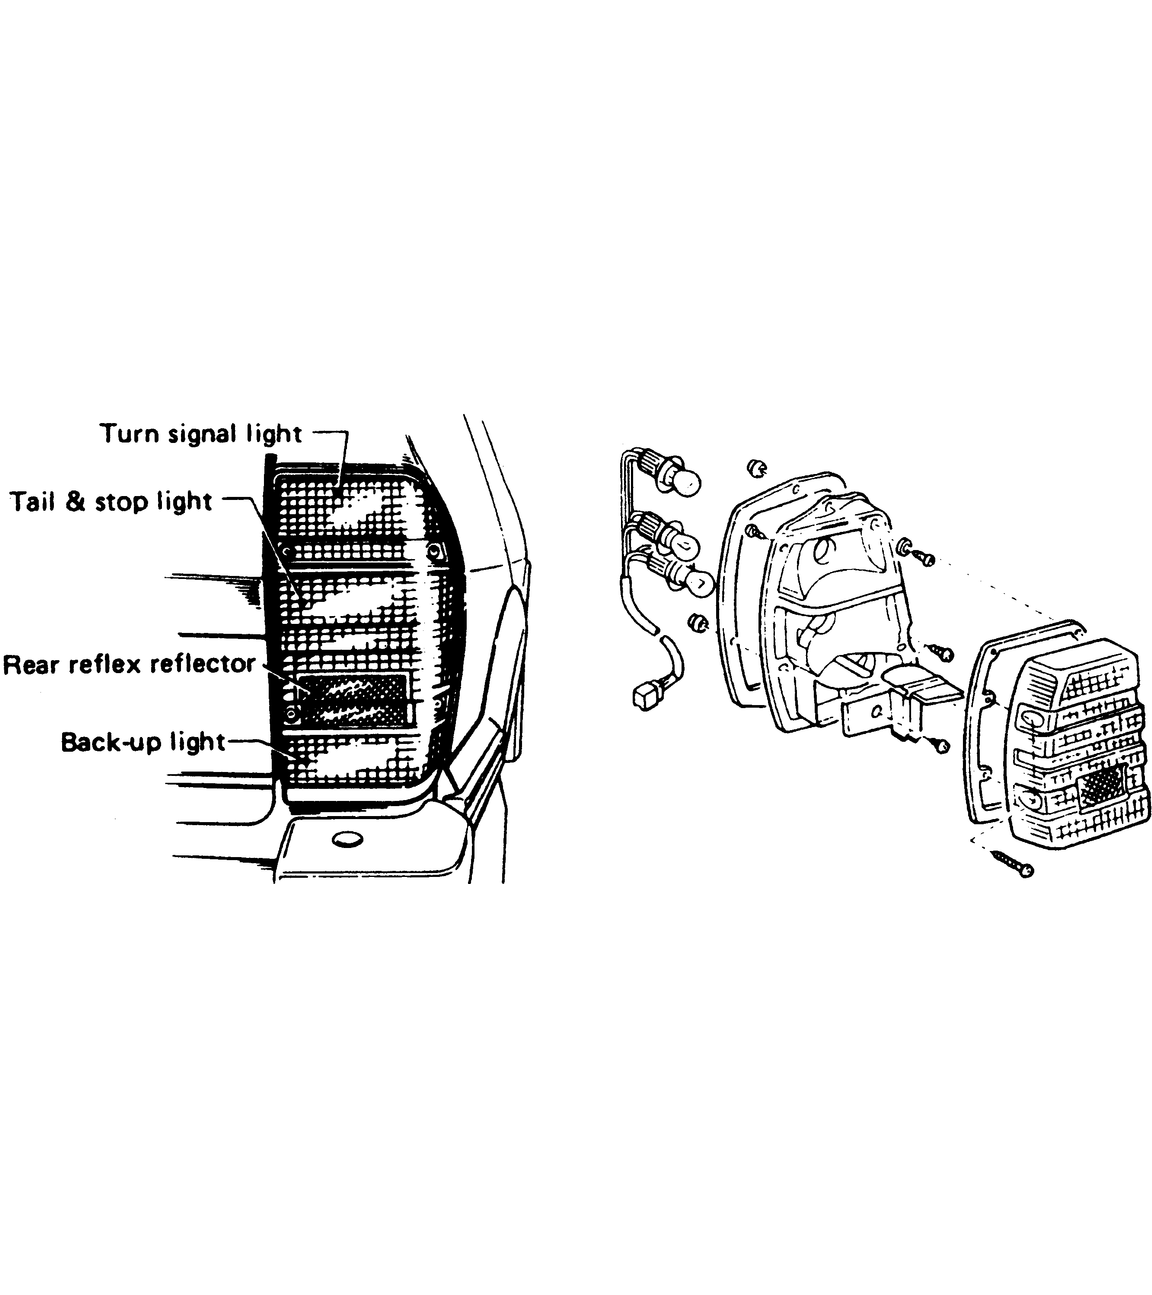
    Fig. 10: Exploded view of the rear combination light on station wagons

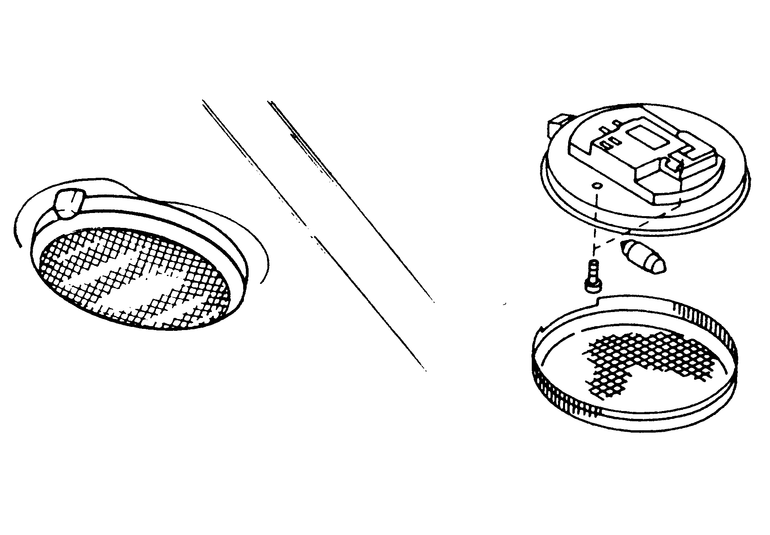
    Fig. 11: Exploded view of the rear combination light for the Brat

    Fig. 12: Turn the lens to remove dome light

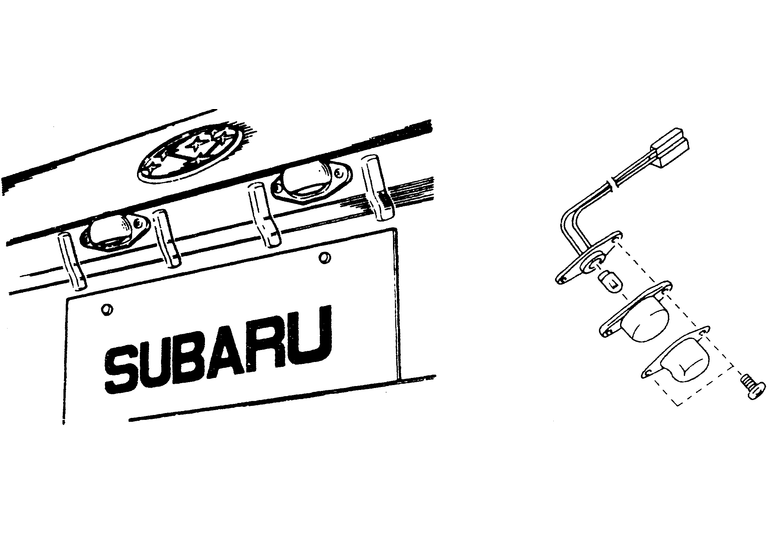
    Fig. 13: License plate light assembly on hatchbacks

Previous Next