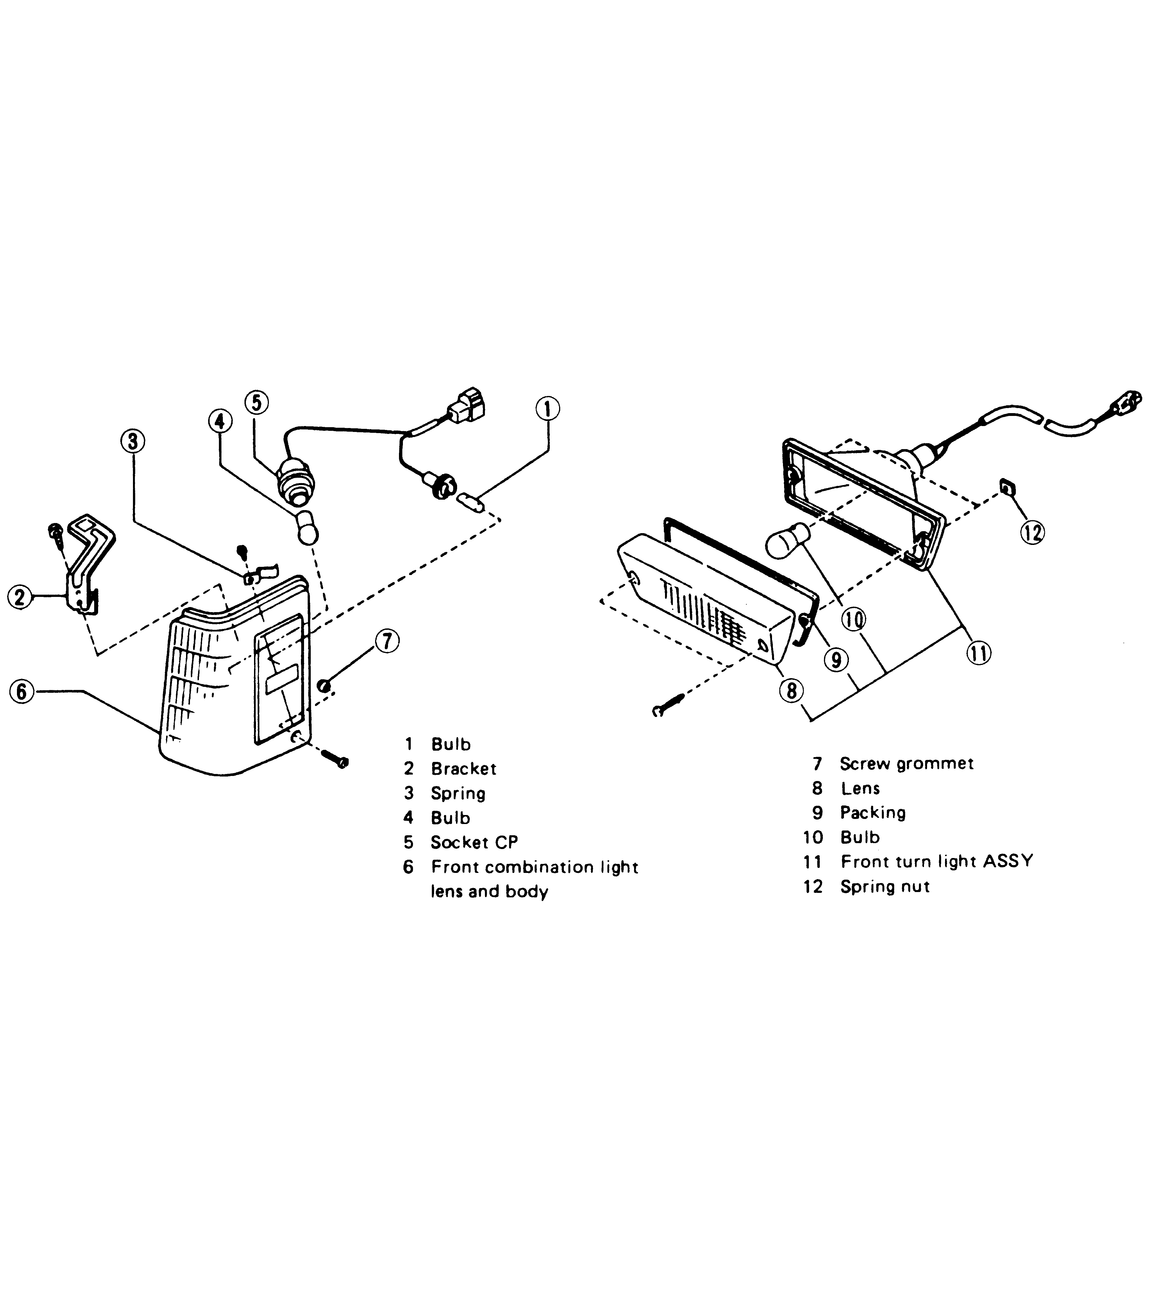
| Fig. 1: Front turn signal and parking light assemblies — Sedan,
Coupe, XT, Loyale, Wagon and Brat
|
- Disconnect the negative battery cable.
- Remove the 2 screws which secure the lens cover and gasket to the vehicle.
- Pull the assembly out enough to access the lamp wire and plug.
- Remove the lamp assembly by twisting counterclockwise and pulling out.
- Depress and twist the bulb approximately 1⁄8 turn
counterclockwise to remove from the socket.
- Installation is the reverse of removal.
| Fig. 2: Side marker light assemblies — Legacy,
Impreza
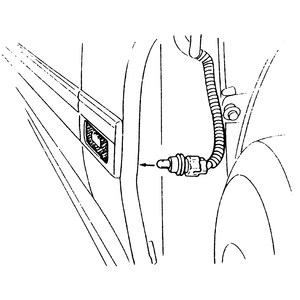
|
- Disconnect the negative battery cable.
- From inside the wheel arch, grasp the bulb and socket assembly and pull
out.
- Remove the lamp assembly by twisting counterclockwise and pulling out.
- Depress and twist the bulb approximately 1⁄8 turn
counterclockwise to remove from the socket.
- Installation is the reverse of removal. Test to make sure the lights work
correctly.
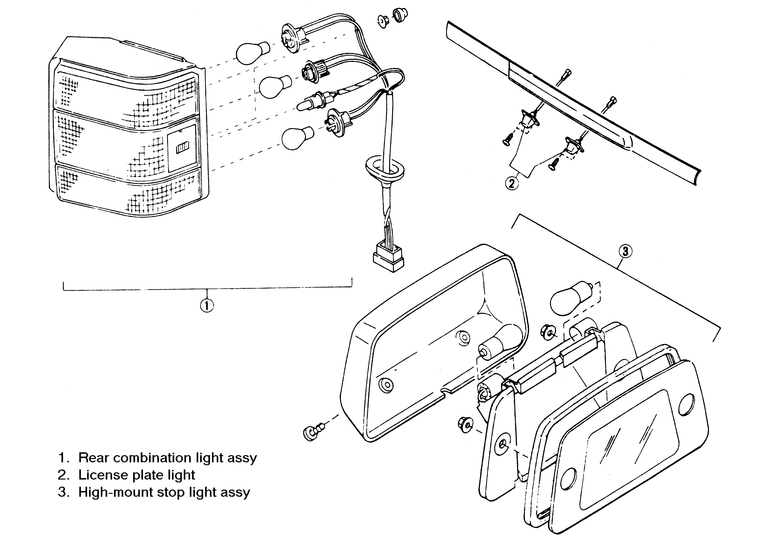
| Fig. 3: Rear light assemblies — Justy
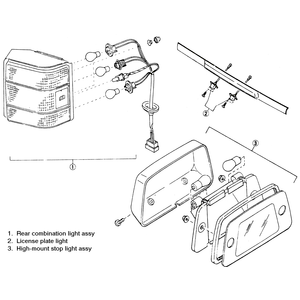
|
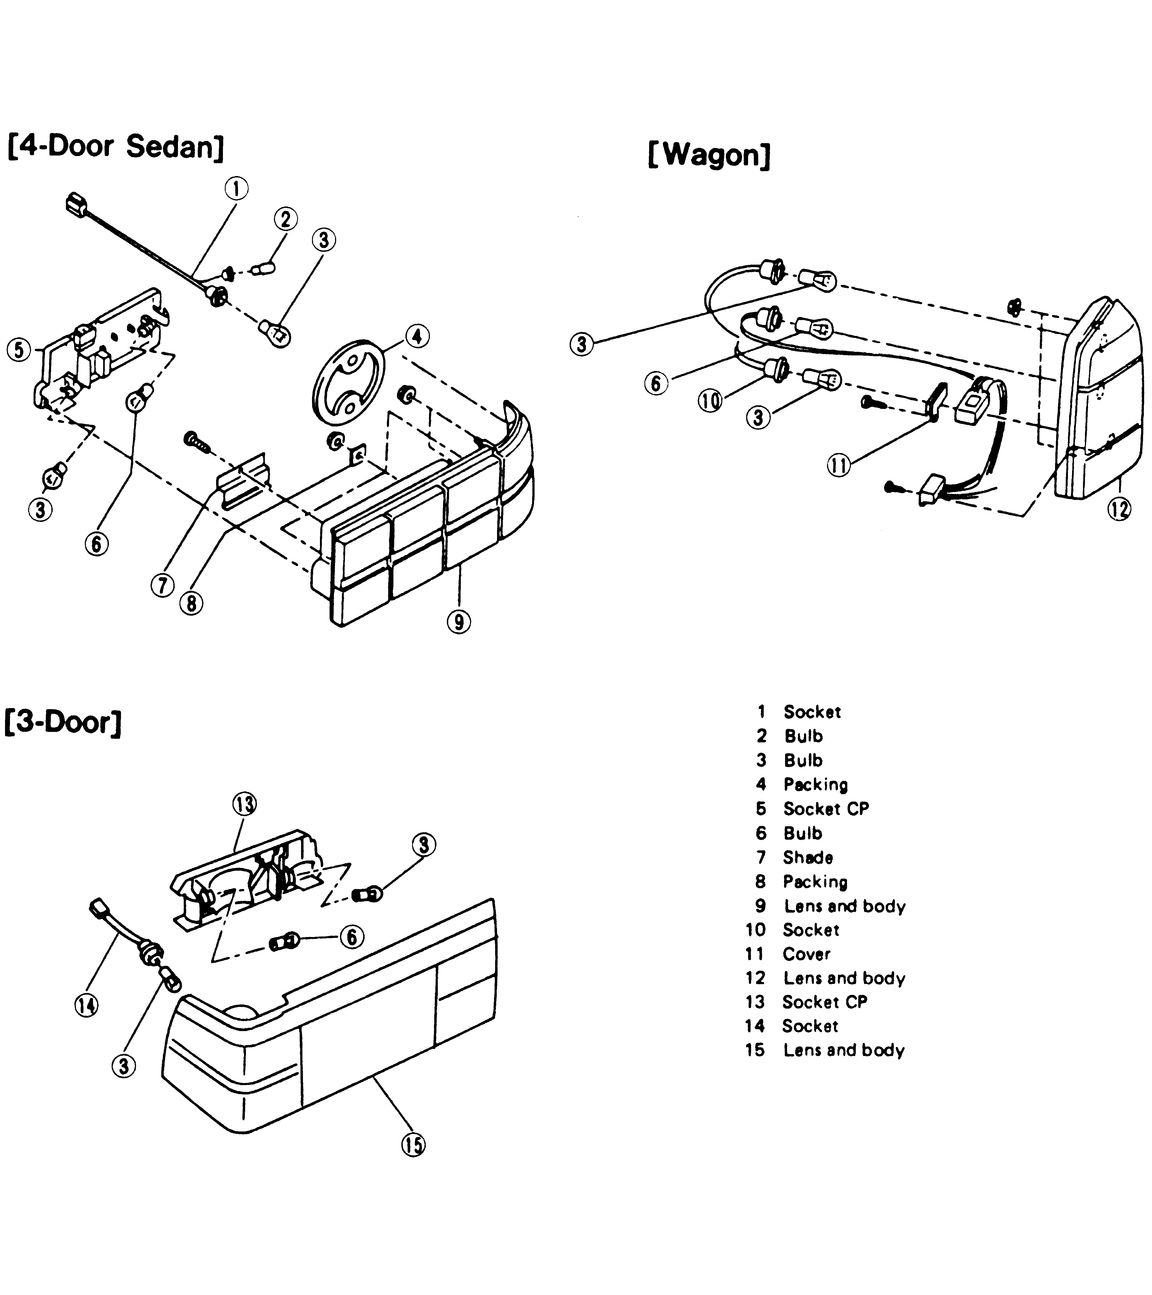
| Fig. 4: Rear light assembly — Sedan,
Coupe, XT, Loyale, Wagon and Brat
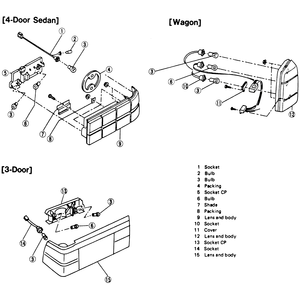
|
- Working from inside the trunk, remove the protective covering from the
tail light panel, if equipped.
- Remove the lamp assembly by twisting counterclockwise and pulling out.
- Depress and twist the bulb approximately 1⁄8 turn
counterclockwise to remove from the socket.
- Installation is the reverse of removal. Test to make sure the lights work
correctly.
| Fig. 5: Remove the caps to access the retainer screws
for the brake light cover — Legacy wagon
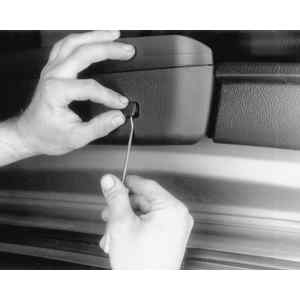
|
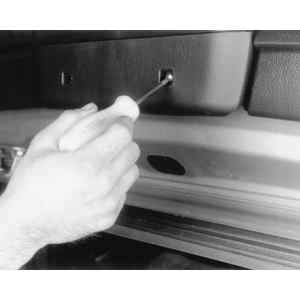
| Fig. 6: Loosen and remove the lamp cover retainer screws
. . .
|
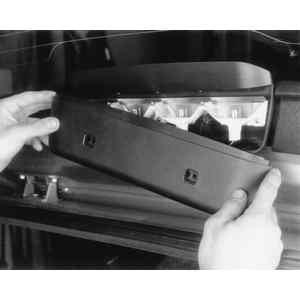
| Fig. 7: . . . and remove the cover to access the brake
light bulbs
|
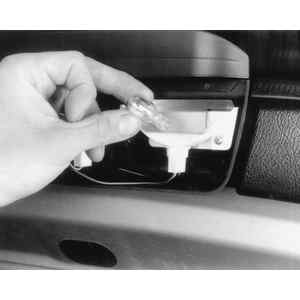
| Fig. 8: Remove the bulb by pulling it out of the socket
|
- Remove the retainer screws securing the lens cover to the lamp housing.
- Pull the lens cover away from the lamp housing.
- Pull the bulb straight out of the socket. This type of bulb does not have
to be twisted out.
- Installation is the reverse of removal. Secure the bulb and lens.
- Test to make sure the lights work correctly.
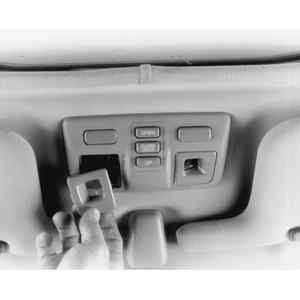
| Fig. 9: Removing the dome light lens — Legacy
|
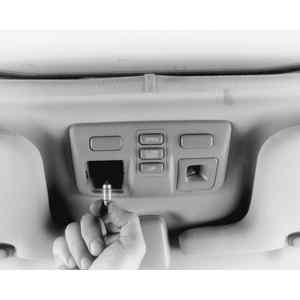
| Fig. 10: Remove the bulb from the clips
|
Carefully remove the lens from the lamp assembly by prying in on the sides
of the lens. Next remove the bulb from the retainer clips. when installing,
insert the bulb into the retainer clips, making sure the bulb is seated firmly
in each contact point. Snap the lens into place and test to make sure the
light works correctly.
Remove the lens by squeezing in on the sides of the lens. Depress the bulb
and rotate it counterclockwise to remove it. Insert a replacement bulb. Depress
the bulb and turn clockwise to lock it in place then install the lens. Test
to make sure the light works correctly.
- Remove the 2 screws retaining the lamp to the rear panel.
- Pull the lamp assembly out enough to remove the lenses and access the
bulb.
- Rotate the socket 1⁄4 turn
counterclockwise from the backside of the lamp.
- Pull the bulb straight out from the socket. Twisting is not needed on
these type bulbs.
- Installation is the reverse of removal.
- Test to make sure the lights work correctly.