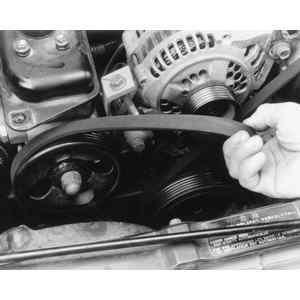
| Fig. 1: Check the accessory belt tension by pressing
and measuring the amount of deflection
|
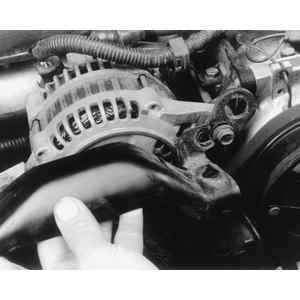
| Fig. 2: Check the belt tension on 1.8L and 2.7L engines
at the appropriate arrowed area, based on the number of pulleys
|
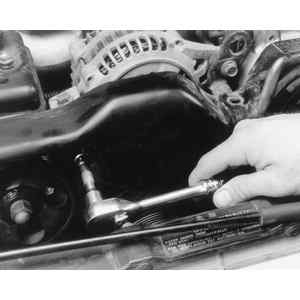
| Fig. 3: Loosen the retaining and bracket bolt, and move
the alternator to adjust the belt tension — 1.2L, 1.8L
and 2.7L engines
|
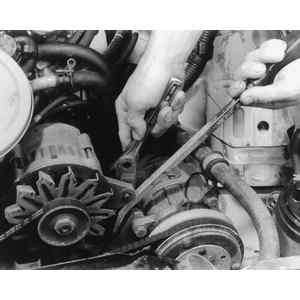
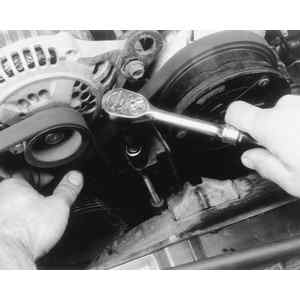
| Fig. 4: Use a suitable prytool to tension the belt while
tightening the bolt — 1.6L engine shown
|
| Fig. 5: Loosen and remove the belt cover retainer bolts — 2.2L,
2.5L and 3.3L engines
|
| Fig. 6: Lift the belt cover off and place aside
|
| Fig. 7: Loosen the belt adjuster bolt
|
| Fig. 8: Loosen the adjuster bolt's lower clamp retainer
bolt
|
| Fig. 9: Remove the belts from the pulleys
|
| Fig. 10: Loosen the lockbolt below the belt and next
to the pulley, then adjust the idler pulley to correct the belt tension
|
| Fig. 11: Loosen the locknut and lockbolt, and rotate
the pulley to adjust the belt tension
|