Previous Next

INSPECTION

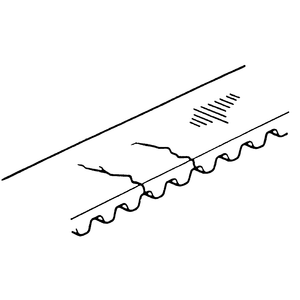
Fig. 1: Look for noticeable cracks or wear on the belt face

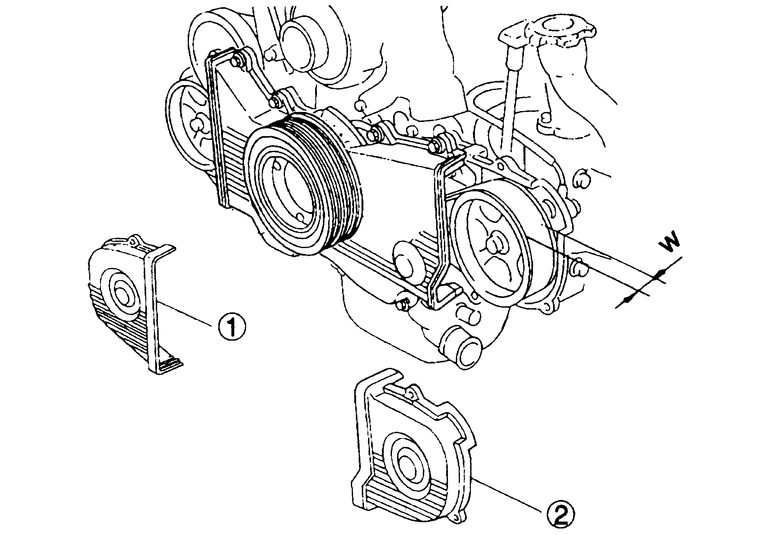
Fig. 2: Remove the timing belt covers (1 and 2), and measure the timing belt width (W)

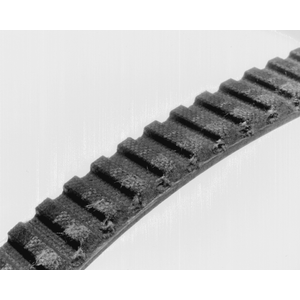
Fig. 3: Inspect the timing belt for cracks, fraying, glazing or damage of any kind

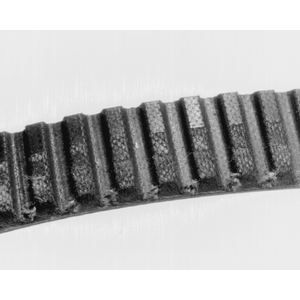
Fig. 4: Damage on only one side of the timing belt may indicate a faulty guide

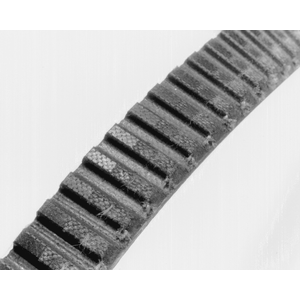
Fig. 5: Foreign materials can get in between the teeth and cause damage

Fig. 6: ALWAYS replace the timing belt at the interval specified by the manufacturer

  1. Remove both left and right side timing belt covers by unfastening the retaining bolts.
  2. Disconnect the high tension wire from the coil.
  3. Have an assistant crank the engine at least four rotations while you inspect the timing belt. Inspect the back surface of the timing belt for cracks or damage. Inspect the inside of the belt for cracks, missing teeth or other signs of damage.
  4. Measure the timing belt width. If the width is less than 1.06 inch (27mm), inspect the idler, tension, water pump and cam pulley for proper alignment.
  5. If during inspection, the timing belt shows any sign of wear or damage, replace the belt immediately. Refer to the procedure in Section 3 for more details.

Previous Next