Previous Next

REMOVAL & INSTALLATION

Carbureted Engines

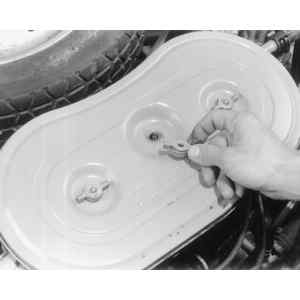
Fig. 1: Remove the wingnuts from the top of the air cleaner housing

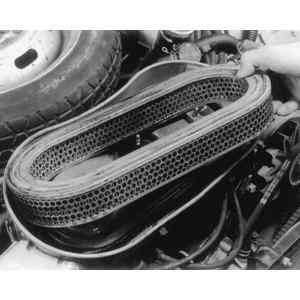
Fig. 2: Lift the filter element out of the filter housing

  1. Remove the wingnut on the top of the air cleaner housing. Set it aside carefully, as on some models the emission control system hoses are fastened to it.
  2. Lift out the old air filter element and discard it.
  3. Clean the air filter base with a rag.

    To install:

  4. Place the new element in the air cleaner assembly and install the cover.
  5. Tighten the wingnut securely.

    NOTE: When checking the air cleaner, it is also a good idea to look at the PCV air filter. The filter is located on the rim of the air filter housing. If it is dirty, replace it.

Fuel Injected Engines

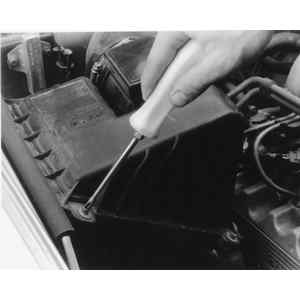
Fig. 3: Unfasten the air cleaner cover retainer screws — 1991 Legacy

Fig. 4: An appropriate sized socket can also be used to remove the retainer screws

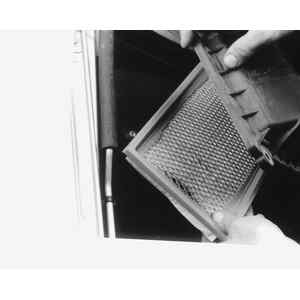
Fig. 5: Lift the air filter element out of the cleaner assembly

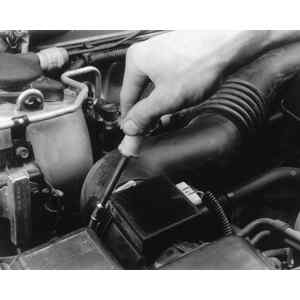
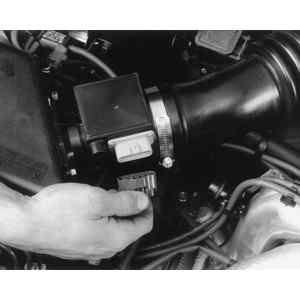
Fig. 6: Unfasten the airflow sensor harness will provide needed room

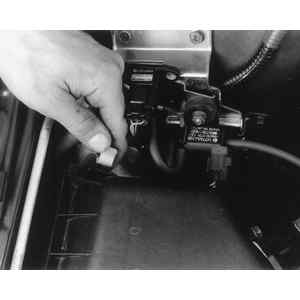
Fig. 7: Unsnap the clips that fasten the air cleaner assembly — 1996 Legacy

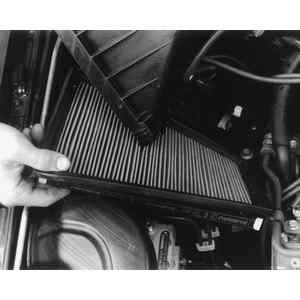
Fig. 8: Lift the top of the air cleaner and remove the filter

  1. Loosen the clamps or remove the retaining bolts, depending on model, which secure the cover to the rest of the air cleaner assembly. Lift the cover off and set it aside carefully, as on some models the emission control system hoses are fastened to it.
  2. Lift out the old air filter element and discard it.
  3. Clean the air filter base with a rag.

    To install:

  4. Place the new air filter element in the base and install the cover over the filter. Make sure the cover aligns properly with the base.
  5. Attach the clamps or install the retaining bolts, depending on model, around the cover to complete the procedure.

Previous Next