REMOVAL & INSTALLATION
Front
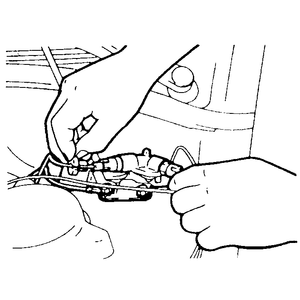
Fig. 1: Disconnecting the air lines from the left solenoid valve
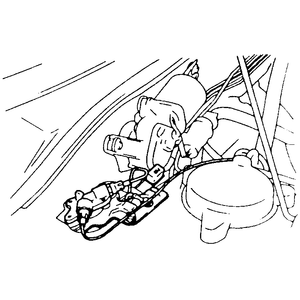
Fig. 2: Right front solenoid valve behind the strut tower
Disconnect the negative battery cable.
Tag and disconnect the air lines attached to the solenoid valve.
Remove the bolts securing the solenoid valve to the bracket.
Disconnect the height sensor and compressor relay harnesses.
Remove the solenoid valve.
Install all components in the reverse order of removal. Secure all components to specifications.
Start the vehicle, and allow enough time for air to fill the shock before driving.
Rear
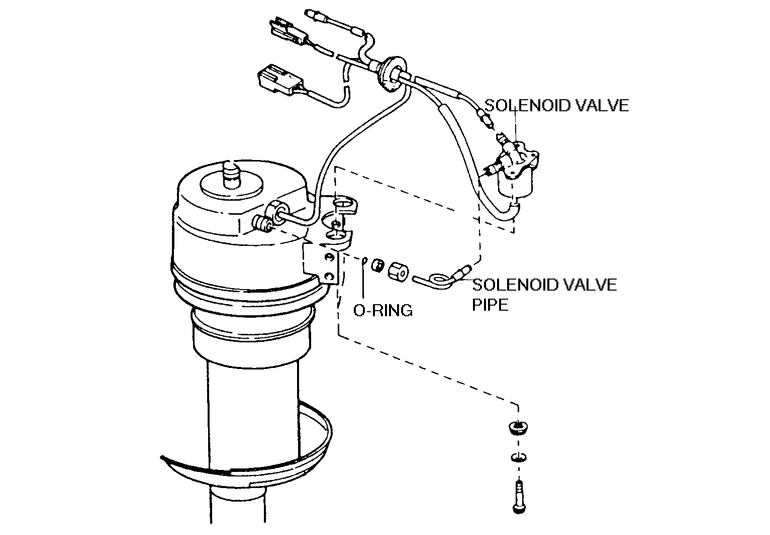
Fig. 3: Rear solenoid valve and strut assembly
Disconnect the negative battery cable.
Raise and safely support the rear of the vehicle on jackstands.
Remove the strut assembly from the vehicle.
Remove the solenoid valve protector.
Remove the solenoid from the strut assembly.
Attach the solenoid to the strut. Tighten the retainer bolts snugly.
Disconnect the air lines from the solenoid valve.
Installation is the reverse of removal. Start the vehicle, and allow enough time for air to fill the shock before driving.