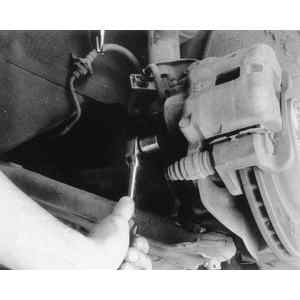
| Fig. 1: Loosen the brake hose retainer bolt . . .
|
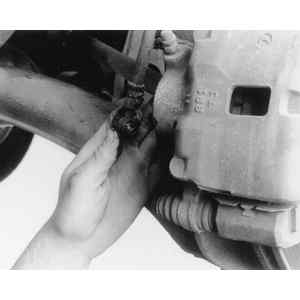
| Fig. 2: . . . and remove the retainer bolt. Discard the
sealing washers
|
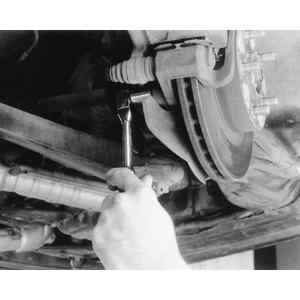
| Fig. 3: Loosen and remove the caliper bracket upper and
lower retainer bolts
|
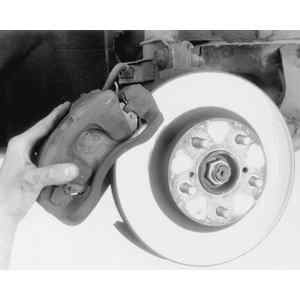
| Fig. 4: Lift the caliper and bracket assembly off the
rotor and spindle assembly
|
WARNING
Before beginning the procedure, determine whether your vehicle is equipped with
a front parking brake assembly. If equipped with front parking brakes, only
compress the piston slightly, or the piston screw could be damaged.
- Remove as much brake fluid as possible from the master cylinder reservoir.
- Raise and support the vehicle safely on jackstands. Remove the front wheels.
- Use a C-clamp to compress the piston into the caliper bore.
NOTE: If your vehicle is equipped with front parking brakes,
compress the piston only slightly.
- Release the parking brake and disconnect the cable from the caliper lever,
if equipped.
- Remove the brake hose from the caliper body and plug the hose to prevent
the entrance of dirt or moisture.
- Remove the caliper bracket retainer bolts.
- Slide the caliper and bracket assembly off the spindle and rotor.
- Remove the brake pads, backing plate and retainer clips.
- Compress the piston assembly into the cylinder bore.
NOTE: If equipped with a parking brake, use a suitable
tool to rotate the piston back into the caliper bore.
To install:
- Install the caliper bracket to the spindle assembly, and secure in place
with the retainer bolts. Tighten the retainer bolts to 25–33 ft. lbs.
(32–43 Nm). The remainder of installation is the reverse of removal.
Tighten each component to specifications.
- Bleed the brake system. Install the wheels and lower the vehicle. Check
the fluid level in the master cylinder.

