 |
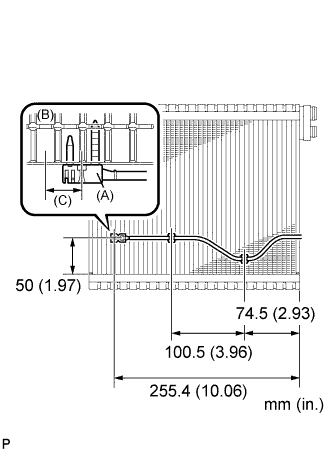
Install the cooler thermistor No. 1 to the evaporator as shown in the illustration.
AIR CONDITIONING UNIT > REASSEMBLY |
| 1. INSTALL COVER PLATE |
| 2. INSTALL COOLER THERMISTOR NO. 1 |
|
Install the cooler thermistor No. 1 to the evaporator as shown in the illustration.
Check that the thermistor sticks to the evaporator surface as shown in the illustration (A: Thermistor, B: Evaporator).
| 3. INSTALL COOLER EVAPORATOR SUB-ASSEMBLY NO. 1 |
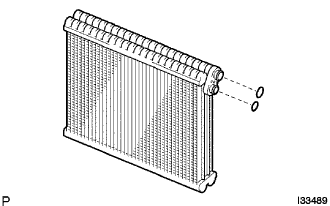 |
Sufficiently apply compressor oil to the 2 new O-rings and fitting surface of the cooler expansion valve.
Install the 2 O-rings on the cooler evaporator sub-assembly No. 1.
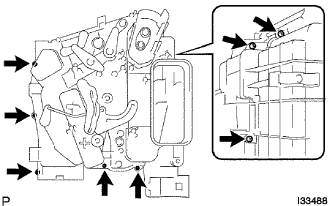 |
Install the cooler evaporator sub-assembly No. 1 on the heater case.
Install the heater case with the 8 screws.
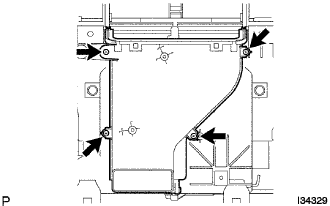 |
Install the air duct sub-assembly with the 4 screws.
| 4. INSTALL COOLING UNIT PACKING NO. 1 |
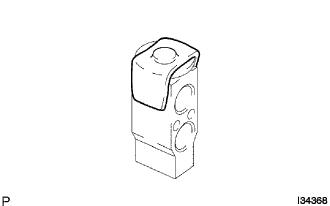 |
Install the cooling unit packing No. 1.
| 5. INSTALL COOLER EXPANSION VALVE |
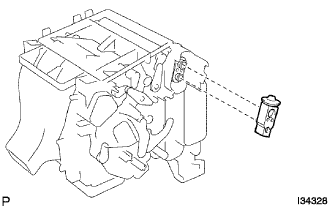 |
Install the cooler expansion valve from cooler evaporator sub-assembly No. 1.
| 6. INSTALL AIR CONDITIONING TUBE ASSEMBLY |
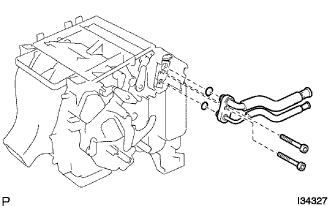 |
Sufficiently apply compressor oil to the 2 new O-rings and fitting surface of the air conditioning tube assembly.
Install the 2 O-rings on the air conditioning tube assembly.
Using a hexagon wrench 4.0 mm (0.15 in.), install the air conditioning tube assembly with the 2 hexagon bolts.