 |
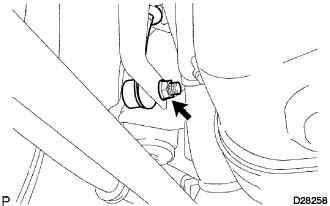
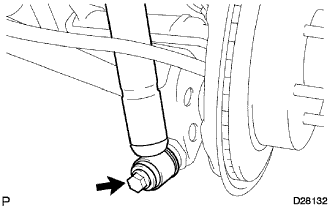
Remove the nut and disconnect the stabilizer bar from the stabilizer link (LH side).
- HINT:
- If the ball joint turns together with the nut, use a hexagon wrench (6 mm) to hold the stud.
REAR SHOCK ABSORBER (w/ REAS) > REMOVAL |
| 1. REMOVE REAR WHEEL |
| 2. REMOVE REAR STABILIZER LINK ASSEMBLY |
|
Remove the nut and disconnect the stabilizer bar from the stabilizer link (LH side).
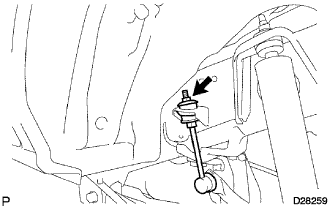 |
Hold the stabilizer bar link with a wrench and remove the nut, retainer, cushion and link.
Remove the 2 retainers and cushion from the stabilizer link.
| 3. REMOVE SHOCK ABSORBER ASSEMBLY REAR LH |
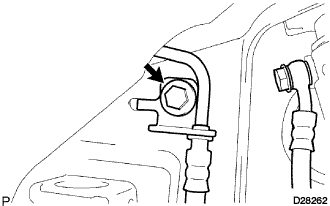 |
Remove the bolt and disconnect the bracket.
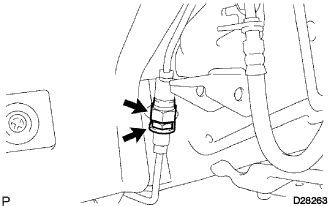 |
Using a wrench to hold the bracket, remove the joint.
 |
Remove the bolt and disconnect the shock absorber assembly rear LH from the rear axle housing.
Remove the nut, cushion retainer, cushion No.1 and shock absorber assembly rear LH.
Remove the lower bracket from the shock absorber assembly rear LH.