 |
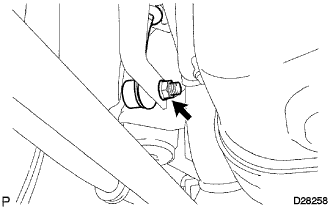
Remove the nut and disconnect the stabilizer bar from the stabilizer link.
- HINT:
- If the ball joint turns together with the nut, use a 6 mm hexagon wrench to hold the stud.
REAR SHOCK ABSORBER (w/ REAS) > REMOVAL |
| 1. REMOVE REAR WHEEL |
| 2. REMOVE REAR STABILIZER LINK ASSEMBLY |
|
Remove the nut and disconnect the stabilizer bar from the stabilizer link.
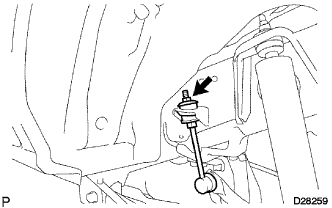 |
Hold the stabilizer bar link with a wrench and remove the nut, retainer, cushion and link.
Remove the 2 retainers and cushion from the stabilizer link.
| 3. REMOVE REAR SHOCK ABSORBER ASSEMBLY LH |
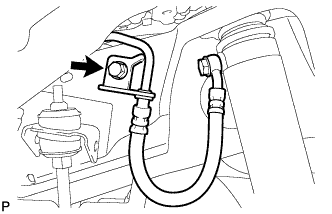 |
Remove the bolt and disconnect the bracket.
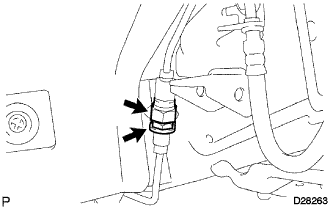 |
Using a wrench to hold the bracket, remove the joint.
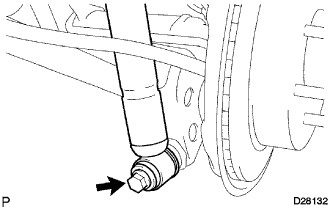 |
Remove the bolt and disconnect the rear shock absorber assembly LH from the rear axle housing.
Remove the nut, cushion retainer, cushion No. 1 and rear shock absorber assembly LH.
Remove the cushion No. 2 from the rear shock absorber assembly LH.