BRAKE ACTUATOR > REMOVAL |
| 1. REMOVE FRONT WHEEL LH |
| 2. DRAIN BRAKE FLUID |
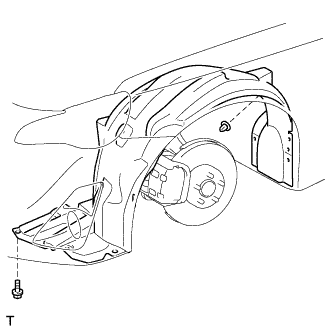
| 3. REMOVE FRONT FENDER LINER LH |
|
Remove the bolt.
Remove the grommet.
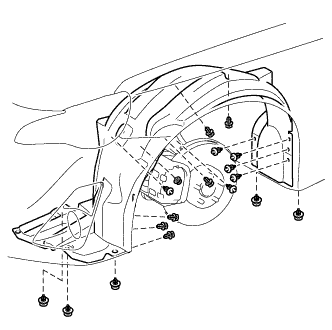 |
Using a clip remover, disengage the 18 clips and remove the front fender liner LH.
| 4. REMOVE BRAKE ACTUATOR ASSEMBLY WITH BRAKE ACTUATOR BRACKET |
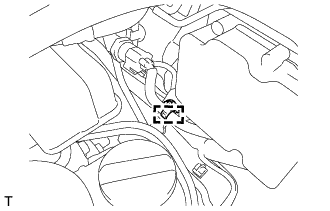 |
Disconnect the harness clamp from the brake actuator bracket.
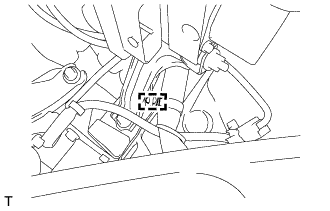 |
Disconnect the harness clamp from the brake actuator bracket.
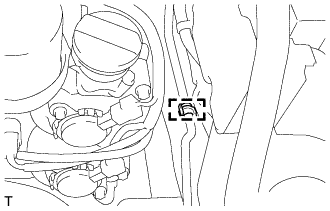 |
Disconnect the cooler pipe from the clamp.
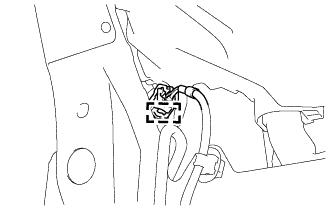 |
Disconnect the front speed sensor LH harness clamp from the brake actuator bracket.
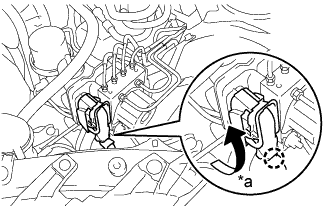 |
Press the wire harness connector locking claw to disengage the locking lever, and turn the locking lever upwards to unlock the connector.
| *a | Turn |
Disconnect the connector from the brake actuator assembly.
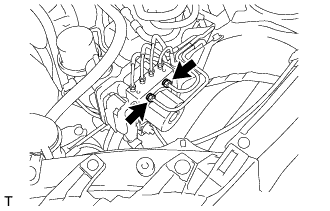 |
Using a union nut wrench 12 mm, disconnect the 2 brake lines from the brake actuator assembly.
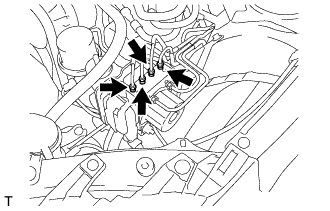 |
Using a union nut wrench 10 mm, disconnect the 4 brake lines from the brake actuator assembly.
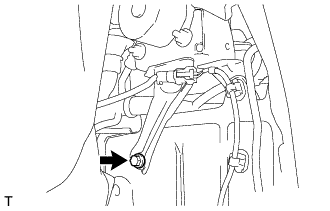 |
Remove the brake actuator bracket installation bolt.
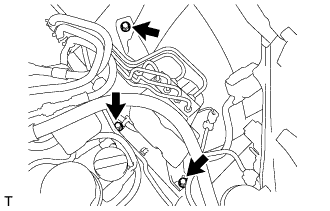 |
Remove the 3 bolts from the brake actuator with bracket.
Remove the brake actuator with bracket from the vehicle body.