 |
Remove the 2 screws.
LOWER INSTRUMENT PANEL > DISASSEMBLY |
| 1. REMOVE GLOVE COMPARTMENT RETAINER |
|
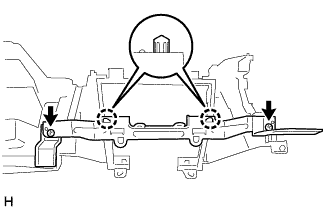
Remove the 2 screws.
Disengage the 2 claws to remove the glove compartment retainer.
| 2. REMOVE GLOVE COMPARTMENT DOOR REINFORCEMENT |
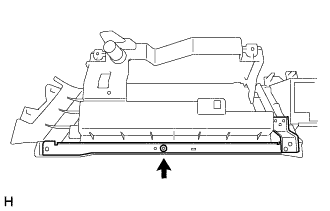 |
Remove the screw and the glove compartment door reinforcement.
| 3. REMOVE GLOVE COMPARTMENT CUSHION |
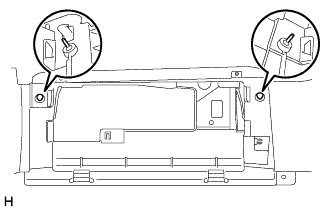 |
Remove the 2 glove compartment cushions.
| 4. REMOVE NO. 1 POWER OUTLET SOCKET ASSEMBLY |
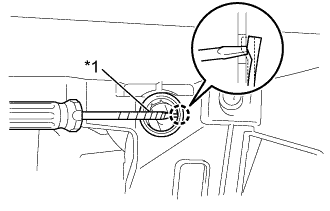 |
Using a screw driver with its tip wrapped in protective tape, remove the No. 1 power outlet socket assembly while pressing the inside claw.
| *1 | Protective Tape |
Disconnect the connector and remove the No. 1 power outlet socket assembly.
| 5. REMOVE CLIP |
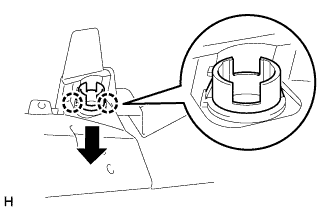 |
Disengage the 2 claws and remove the clip.