SEAT LUMBAR SUPPORT ADJUSTER ASSEMBLY REMOVAL
CAUTION / NOTICE / HINT
The necessary procedures (adjustment, calibration, initialization, or registration) that must be performed after parts are removed, installed, or replaced during the lumbar support adjuster assembly removal/installation are shown below.
| Replaced Part or Performed Procedure | Necessary Procedure | Effect/Inoperative Function when Necessary Procedure not Performed | Link |
|---|---|---|---|
| Disconnect cable from negative battery terminal | Memorize steering angle neutral point | Panoramic view monitor system | ( ) |
- CAUTION:
- ·
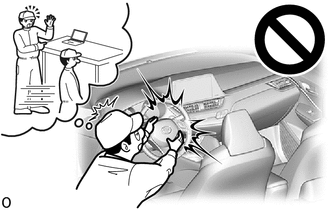
Be sure to read Precaution thoroughly before servicing.
Click hereVehicle Interior>SUPPLEMENTAL RESTRAINT SYSTEMS>AIRBAG SYSTEM>PRECAUTION
·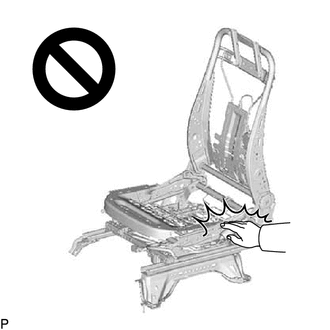
Wear protective gloves. Sharp areas on the parts may injure your hands.
- HINT:
- ·
When the cable is disconnected / reconnected to the battery terminal, systems temporarily stop operating. However, each system has a function that completes learning the first time the system is used.
-Learning completes when vehicle is driven
Effect/Inoperative Function When Necessary Procedures are not Performed Necessary Procedures Link *1: When performing learning using the GTS
Click here(
)
Lane tracing assist system Drive the vehicle straight ahead at 35 km/h (22 mph) or more for 5 second or more. ( )
Pre-collision system Simple intelligent parking assist system*1 Parking support brake system*1
-Learning completes when vehicle is operated normally
Effect/Inoperative Function When Necessary Procedures are not Performed Necessary Procedures Link Power door lock control system
·Back door opener
Perform door unlock operation with door control switch or electrical key transmitter sub-assembly switch. ( )
Air conditioning system After the ignition switch is turned to ON, the servo motor standard position is recognized. -
·Front lumbar power seat switch is available only on the driver side.
·Use the same procedure for RHD and LHD vehicles.
·The procedure listed below is for LHD vehicles.
PROCEDURE

 1.REMOVE SEPARATE TYPE FRONT SEATBACK COVER WITH PAD (for Manual Seat)
2.REMOVE SEPARATE TYPE FRONT SEATBACK COVER WITH PAD (for Power Seat)
72760D
3.REMOVE LUMBAR SUPPORT ADJUSTER ASSEMBLY
for Manual Seat:
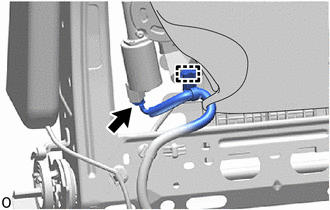
Disconnect the connector.
Disengage the clamp.
for Power Seat:
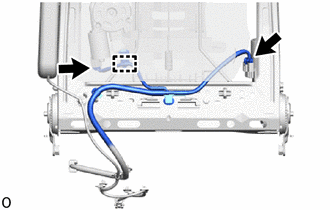
Disconnect the 2 connectors.
Disengage the clamp.
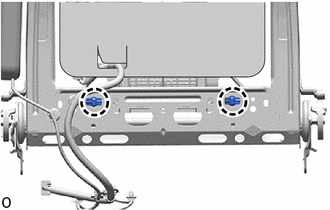
Disengage the claws to separate the 2 front seatback edge protectors from the front seatback frame sub-assembly.
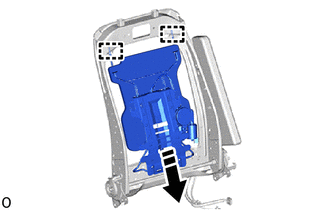

|
Remove in this Direction |
Disengage the guides to remove the lumbar support adjuster assembly from the front seatback frame sub-assembly as shown in the illustration.
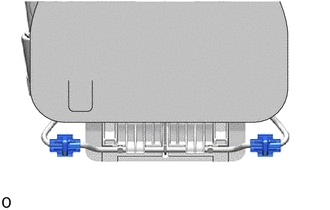
Remove the 2 front seatback edge protectors from the lumbar support adjuster assembly.
79977A
4.REMOVE SEATBACK FELT
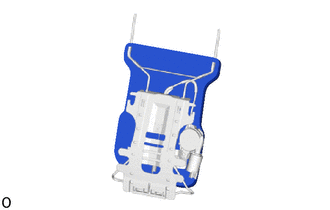
Remove the seatback felt from the lumbar support adjuster assembly.