Wear protective gloves. Sharp areas on the seat adjuster may injure your hands.
1.
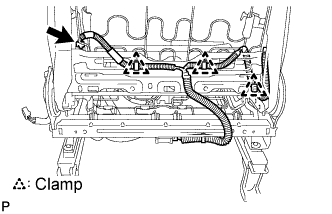
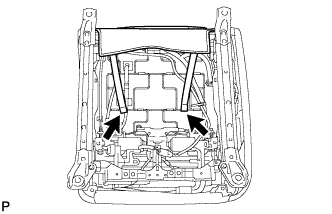
INSTALL FRONT SEAT WIRE
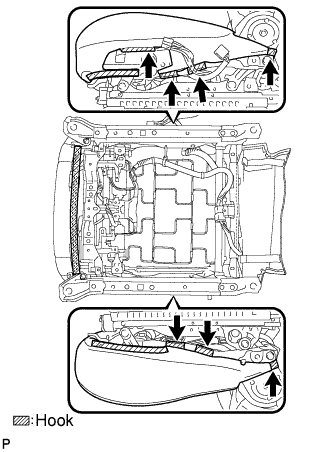
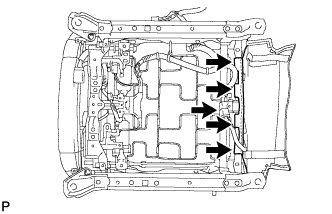
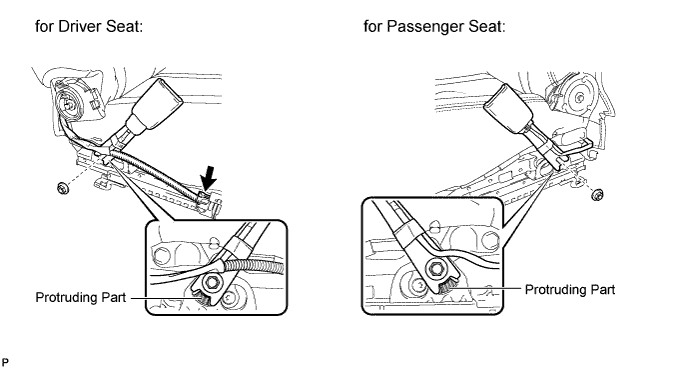
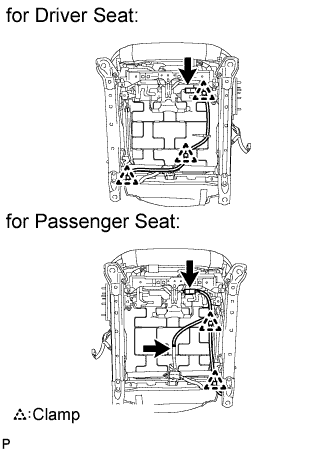
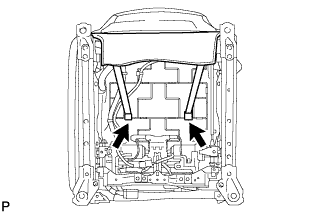
Engage the each claw and each clamp and install the front seat wire.
2.
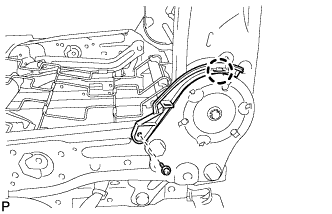
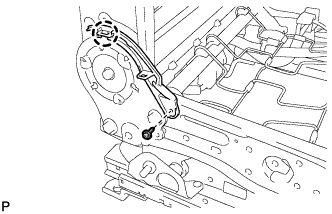
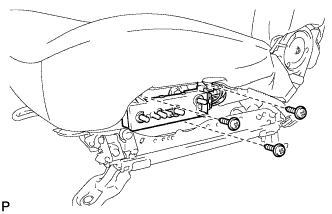
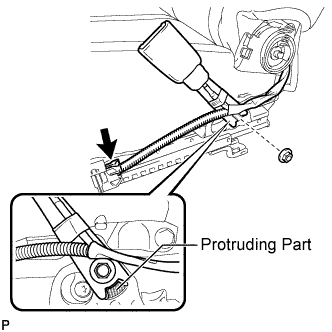
INSTALL SEAT POSITION SENSOR (for Driver Side)
Check that the ignition switch is off.
Check that the negative battery (-) cable is disconnected.
CAUTION:
Wait for 90 seconds after disconnecting the cable to prevent airbag deployment.
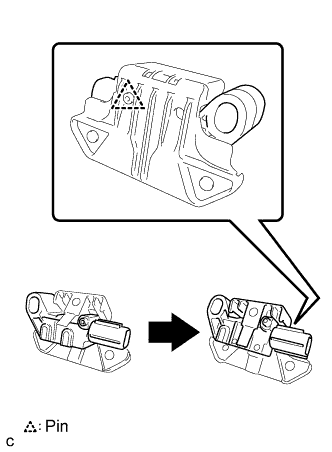
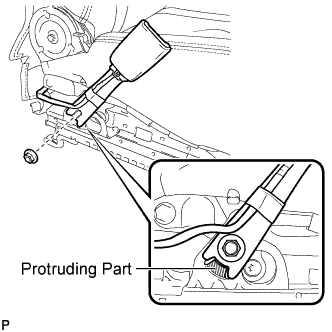
Engage the pin and install the seat position sensor to the seat slide position sensor protector as shown in the illustration.
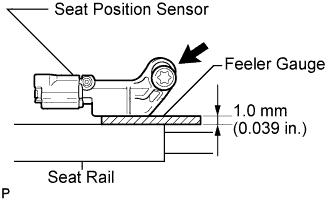
Using a 1.0 mm (0.039 in.) feeler gauge, temporarily install the seat position sensor.
NOTICE:
If the seat position sensor has been dropped, or there are any cracks, dents or other defects in the case or connector, replace the seat position sensor with a new one.
When installing the seat position sensor, be careful that the SRS wiring does not interfere with other parts and that it is not pinched between other parts.
HINT:
Be sure that the clearance between the seat position sensor and the seat rail is within 0.6 mm (0.024 in.) to 2.0 mm (0.079 in.).
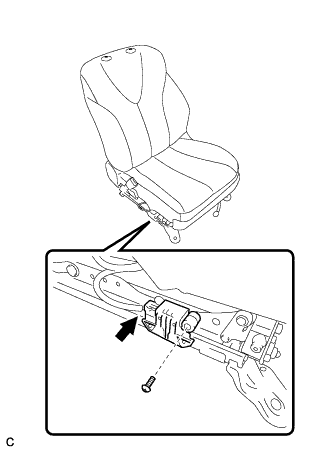
Using a "TORX" socket (T30), tighten the "TORX" screw to install the seat position sensor.
Torque:
8.0 N*m{
82 kgf*cm
, 71 in.*lbf
}
Make sure that the clearance between the seat position sensor and the seat rail is within 0.6 mm (0.024 in.) to 2.0 mm (0.079 in.).
Check that there is no looseness in the installation parts of the seat position sensor.
Connect the connector.
3.
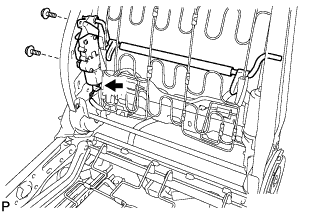
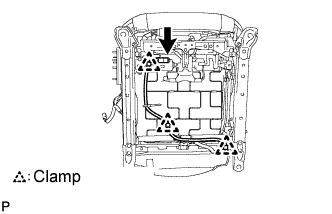
INSTALL FRONT SEPARATE TYPE SEATBACK SPRING ASSEMBLY
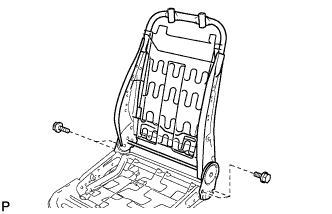
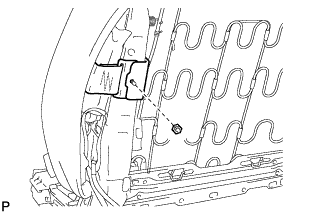
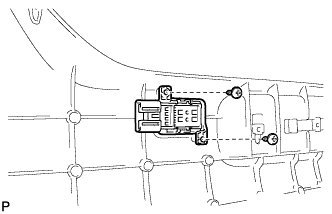
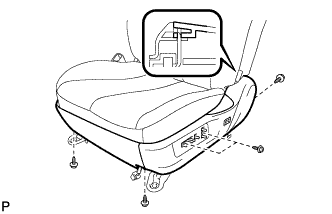
Install the front separate type seatback spring assembly with the 4 bolts.
Torque:
42 N*m{
428 kgf*cm
, 31 ft.*lbf
}
Connect the 3 clamps and connector.
4.
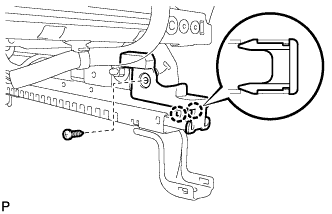
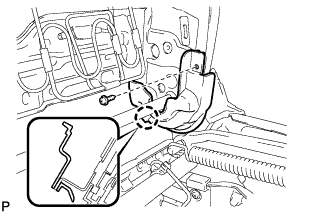
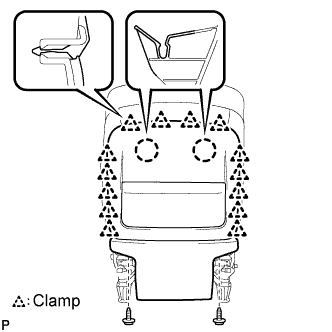
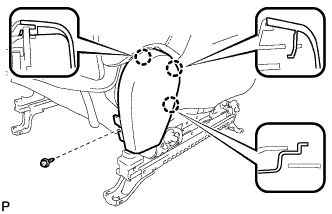
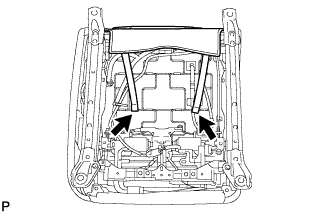
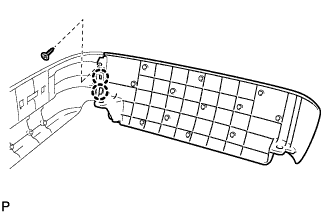
INSTALL FRONT LOWER SEAT CUSHION SHIELD RH
Engage the 2 claws.
Install the front lower seat cushion shield with the screw.
5.
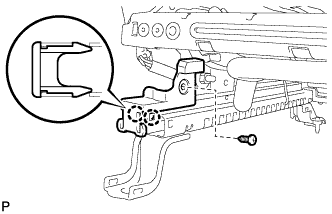
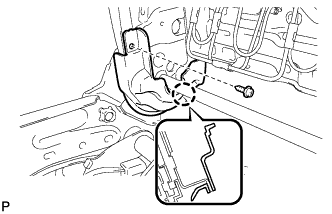
INSTALL FRONT LOWER SEAT CUSHION SHIELD LH
Engage the 2 claws.
Install the front lower seat cushion shield LH with the screw.