ACTUATOR CHECK
Troubleshooting · Vehicles built from Jun 2009
Versions by build date: Jun 2006 – Sep 2006 Oct 2006 – May 2009 from Jun 2009
- HINT:
- *: for Automatic A/C
| ACTUATOR CHECK* |
Start the engine and warm it up.
Perform the indicator check (Click here).
Push the "R/F" switch to perform the actuator check.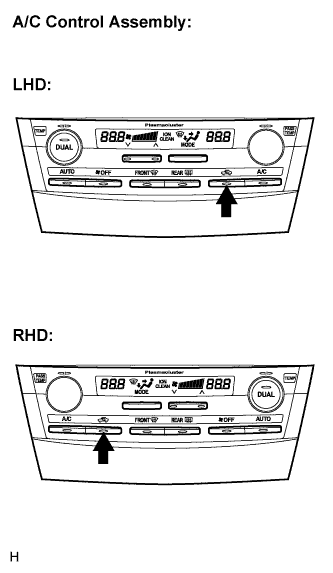

- HINT:
- Be sure to perform the actuator check after starting the engine.
As the actuator check is repeated from steps 1 to 10 at 1 second intervals, check the temperature and air flow visually and by hand.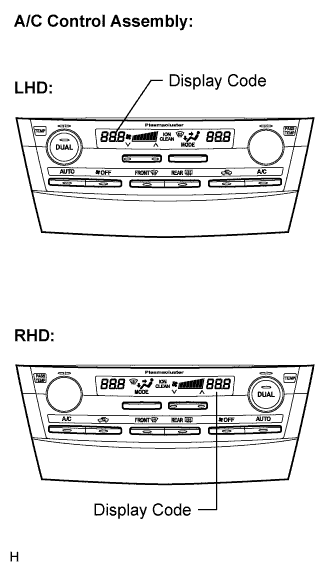
- HINT:
- The display blinks at 1 second intervals in the step operation.
- Push the "OFF" switch to finish panel diagnosis.
- Push the "AUTO" switch to enter the sensor check mode.
- The display blinks at 1 second intervals in the step operation.
Step No.
Display Code
Conditions
Blower Level
Air Mix Damper
Airflow Vent
Air Inlet Damper
Compressor
1
0
0
0% open
FACE
FRESH
OFF
2
1
1
0% open
FACE
FRESH
OFF
3
2
17
0% open
FACE
RECIRCULATION/FRESH
ON
4
3
17
0% open
FACE
RECIRCULATION
ON
5
4
17
50% open
B/L
RECIRCULATION
ON
6
5
17
50% open
B/L
RECIRCULATION
ON
7
6
17
50% open
FOOT
FRESH
ON
8
7
17
100% open
FOOT-0
FRESH
ON
9
8
17
100% open
F/D
FRESH
ON
10
9
31
100% open
DEF
FRESH
ON
If the steps are difficult to read because they change automatically, push the "MODE" switch to display the steps one at a time so that they can be read easily. The items are displayed step by step each time the "MODE" switch is pushed.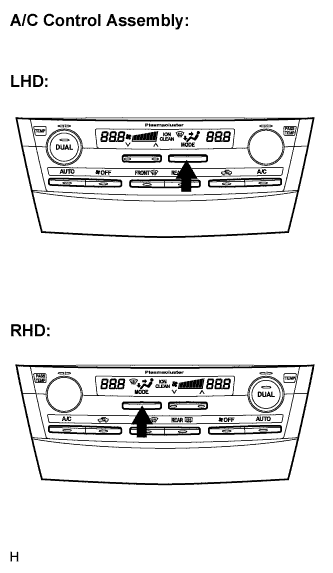
- HINT:
- Push the "OFF" switch to finish panel diagnosis.
- Push the "R/F" switch to enter the sensor check mode.
- Push the "OFF" switch to finish panel diagnosis.