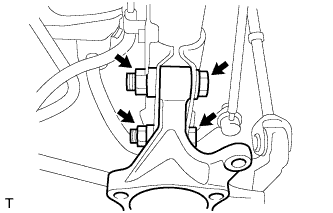
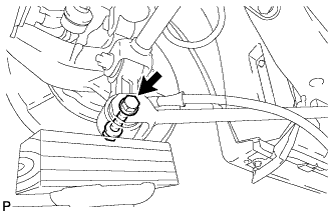
Install the rear axle carrier sub-assembly to the shock absorber with the 2 bolts and 2 nuts.
Torque:
180 N*m{
1,836 kgf*cm
, 133 ft.*lbf
}
2.
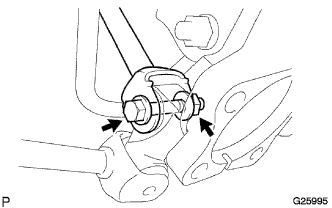
TEMPORARILY TIGHTEN REAR NO. 1 SUSPENSION ARM
Temporarily tighten the rear No. 1 suspension arm with the bolt and nut.
HINT:
Insert the bolt from the front side of the vehicle and temporarily tighten the bolt.
3.
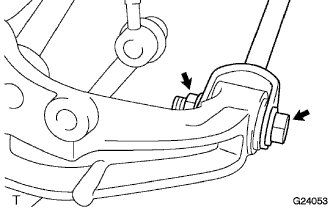
TEMPORARILY TIGHTEN REAR NO. 2 SUSPENSION ARM
Temporarily tighten the rear No. 2 suspension arm with the bolt and nut.
HINT:
Insert the bolt from the rear side of the vehicle and temporarily tighten the bolt.
4.
TEMPORARILY TIGHTEN REAR STRUT ROD
Temporarily tighten the rear strut rod with the bolt and nut.
HINT:
Insert the bolt from the inside of the vehicle and temporarily tighten the bolt.
5.
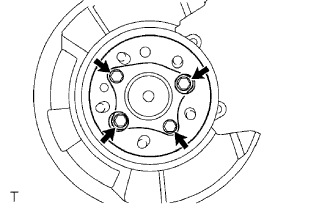
INSTALL REAR AXLE HUB AND BEARING ASSEMBLY
Install the hub and bearing assembly with the 4 bolts.
Torque:
80 N*m{
816 kgf*cm
, 59 ft.*lbf
}
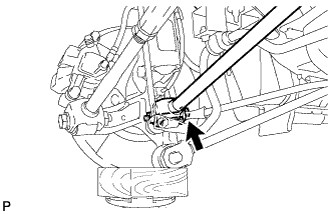
Connect the skid control sensor connector.
NOTICE:
Do not twist the sensor wire when connecting it.
6.
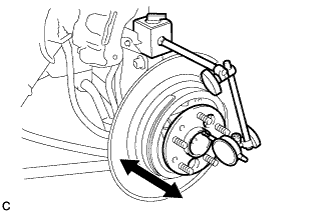
INSPECT REAR AXLE HUB BEARING LOOSENESS
Using a dial indicator, check for looseness near the center of the axle hub.
Maximum:
0.05 mm (0.0020 in.)
NOTICE:
Ensure that the dial indicator is set perpendicular to the measurement surface.
If looseness exceeds the maximum, replace the axle hub assembly.
7.
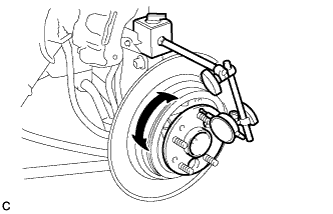
INSPECT REAR AXLE HUB RUNOUT
Using a dial indicator, check for runout on the surface of the axle hub outside the hub bolt.
Maximum:
0.07 mm (0.0027 in.)
NOTICE:
Ensure that the dial indicator is set perpendicular to the measurement surface.
If runout exceeds the maximum, replace the axle hub assembly.
8.
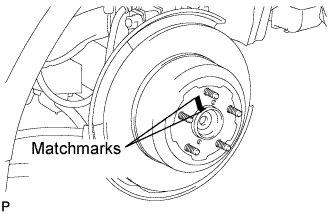
INSTALL REAR DISC
Aligning the matchmarks, install the rear disc.
HINT:
When replacing the rear disc with a new one, select the installation position where the rear disc has the minimum runout.
9.
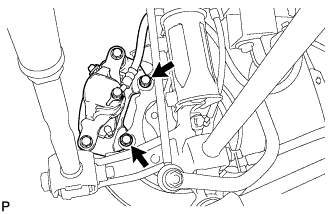
INSTALL REAR DISC BRAKE CALIPER ASSEMBLY
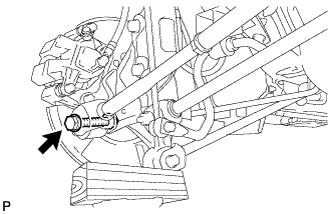
Install the rear disc brake caliper with the 2 bolts.
Torque:
47 N*m{
479 kgf*cm
, 35 ft.*lbf
}
NOTICE:
Do not twist the brake hose when installing the rear disc brake caliper assembly LH.
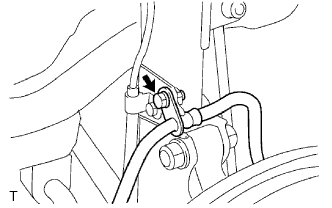
Install the rear flexible hose with the bolt.
Torque:
19 N*m{
192 kgf*cm
, 14 ft.*lbf
}
10.
INSTALL REAR WHEEL
Torque:
103 N*m{
1,050 kgf*cm
, 76 ft.*lbf
}
11.
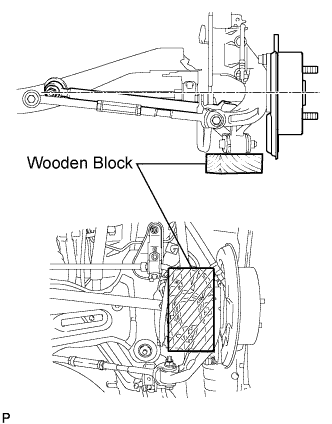
STABILIZE SUSPENSION
Jack up the rear axle carrier, placing a wooden block to avoid damage. Apply load to the suspension so that the installed bolt of the rear No. 1 suspension arm (inner side) is horizontally aligned with the center of the rear axle hub.