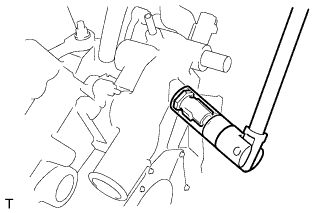
2.
DISCONNECT CABLE FROM NEGATIVE BATTERY TERMINAL
3.
PLACE FRONT WHEELS FACING STRAIGHT AHEAD
4.
REMOVE FRONT WHEELS
5.
REMOVE ENGINE UNDER COVER LH
6.
REMOVE ENGINE UNDER COVER RH
7.
REMOVE FRONT FENDER APRON SEAL RH
8.
DRAIN ENGINE OIL
Remove the oil filler cap.
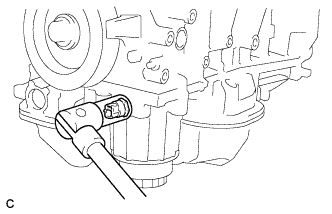
Remove the oil drain plug and drain the oil into a container.
Clean the oil drain plug.
Install the oil drain plug with a new gasket.
Torque:
40 N*m{
408 kgf*cm
, 30 ft.*lbf
}
9.
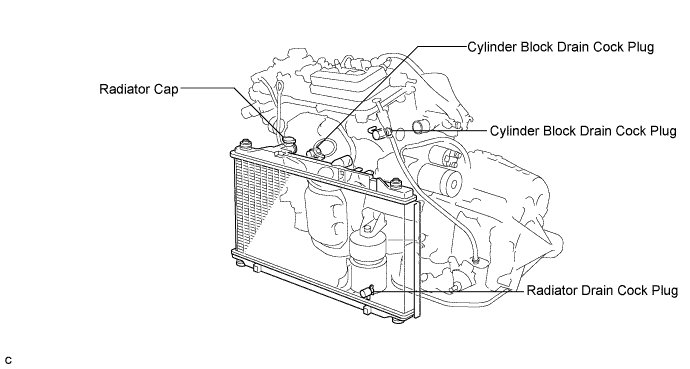
DRAIN ENGINE COOLANT
NOTICE:
Do not remove the radiator cap sub-assembly while the engine and radiator are still hot. Pressurized, hot engine coolant and steam may be released and cause serious burns.
Remove the radiator cap sub-assembly from the radiator assembly.
Loosen the radiator drain cock plug and 2 cylinder block drain cock plugs, then drain the coolant.
HINT:
Collect the coolant in a container and dispose of it according to the regulations in your area.
10.
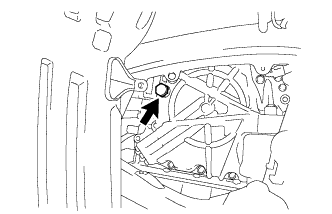
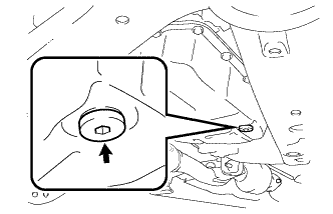
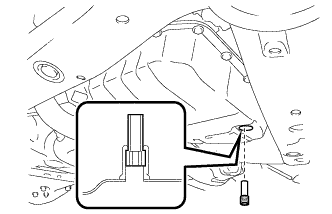
DRAIN AUTOMATIC TRANSAXLE FLUID
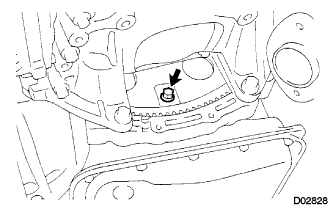
Remove the refill plug and gasket.
Using a 6 mm socket hexagon wrench, remove the overflow plug and gasket.
Using a 6 mm socket hexagon wrench, remove the No. 1 transmission oil filler tube.
Drain the automatic transaxle fluid.
Using a 6 mm socket hexagon wrench, install the No. 1 transmission oil filler tube.
Torque:
1.7 N*m{
17 kgf*cm
, 15 in.*lbf
}
Using a 6 mm socket hexagon wrench, install the overflow plug with a new gasket.
Torque:
40 N*m{
408 kgf*cm
, 30 ft.*lbf
}
Install the refill plug with a new gasket.
Torque:
49 N*m{
500 kgf*cm
, 36 ft.*lbf
}
11.
REMOVE WINDSHIELD WIPER MOTOR AND LINK ASSEMBLY
12.
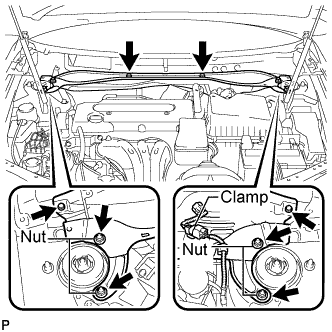
REMOVE COWL TOP OUTER FRONT PANEL SUB-ASSEMBLY
Disengage the clamp.
Remove the 4 nuts, the 4 bolts and the cowl top outer front panel sub-assembly.
13.
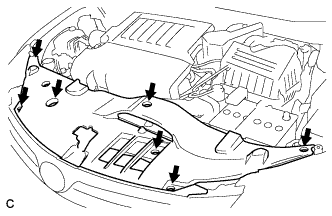
REMOVE COOL AIR INTAKE DUCT SEAL
Remove the 7 clips and intake duct seal.
14.
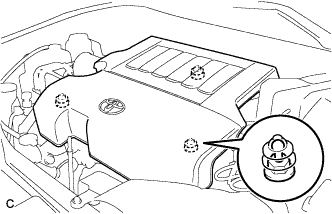
REMOVE V-BANK COVER SUB-ASSEMBLY
Hold the front of the V-bank cover and raise it to disengage the 2 clips on the front of the cover. Continue to raise the cover to disengage the clip on the rear of the cover and remove the cover.
NOTICE:
Attempting to disengage both front and rear clips at the same time may cause the cover to break.
15.
REMOVE V-RIBBED BELT
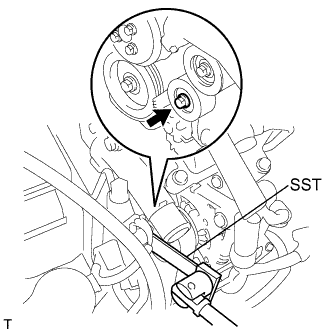
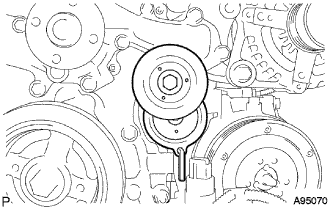
Using SST, release the belt tension by turning the belt tensioner counterclockwise, and remove the V-ribbed belt from the belt tensioner.
SST
09249-63010
While turning the belt tensioner counterclockwise, align with its holes, and then insert a 5 mm bi-hexagon wrench into the holes to fix the V-ribbed belt tensioner.
16.
REMOVE AIR CLEANER INLET ASSEMBLY
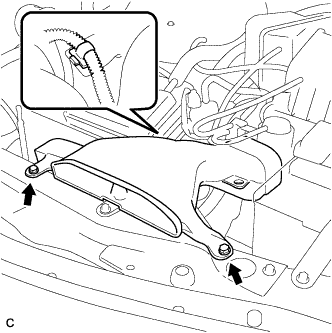
Remove the 2 bolts, clamp and air cleaner inlet.
17.
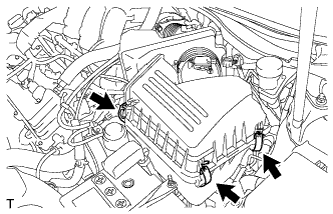
REMOVE AIR CLEANER CAP SUB-ASSEMBLY
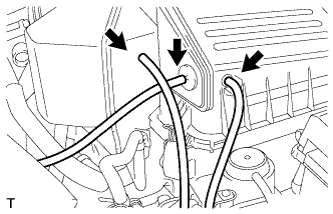
Disconnect the 3 vacuum hoses.
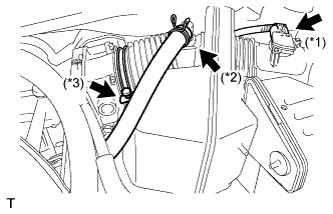
Disconnect the mass air flow meter connector (*1).
Disconnect the No. 2 ventilation hose (*2).
Disconnect the hose band (*3).
Disconnect the 3 bands, and remove the air cleaner cap sub-assembly.
18.
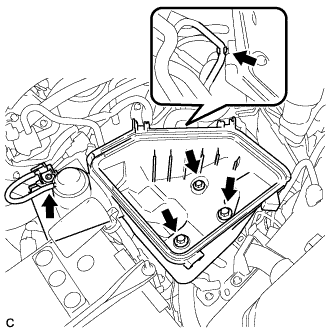
REMOVE AIR CLEANER CASE SUB-ASSEMBLY
Disconnect the vacuum hose and hose clamp.
Remove the 3 bolts and air cleaner case.
19.
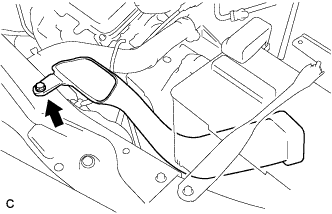
REMOVE NO. 1 AIR CLEANER INLET
Remove the bolt and No. 1 air cleaner inlet.
20.
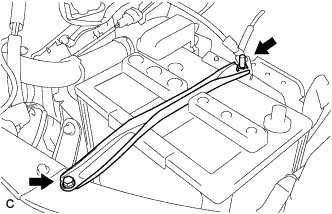
REMOVE BATTERY
Loosen the nut, and remove the bolt and battery clamp.
Remove the battery and battery tray.
21.
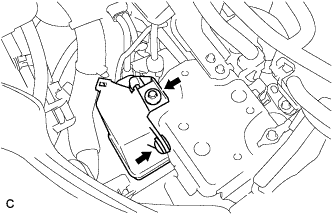
REMOVE INTAKE AIR RESONATOR SUB-ASSEMBLY
Remove the clip, bolt and intake air resonator.
22.
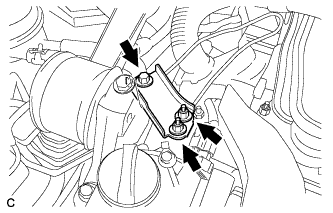
REMOVE NO. 2 B ENGINE MOUNTING STAY RH
Remove the bolt, 2 nuts, and No. 2 B engine mounting stay RH.
23.
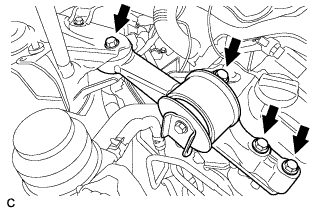
REMOVE ENGINE MOVING CONTROL ROD SUB-ASSEMBLY
Remove the 4 bolts and engine moving control rod.
24.
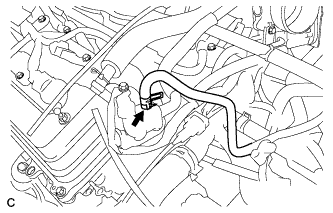
DISCONNECT NO. 1 FUEL VAPOR FEED HOSE
Remove the clamp and disconnect the No. 1 fuel vapor feed hose.
25.
DISCONNECT CHECK VALVE TO BRAKE BOOSTER HOSE
Remove the clamp and disconnect the check valve to brake booster hose.
26.
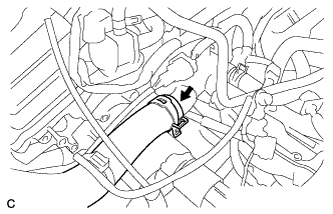
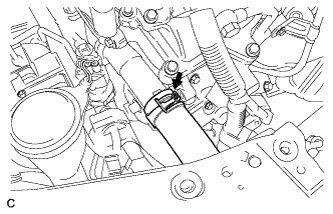
REMOVE RADIATOR HOSE INLET
Remove the clamp and disconnect the radiator hose inlet.
27.
REMOVE RADIATOR HOSE OUTLET
Remove the clamp and disconnect the radiator hose outlet.
28.
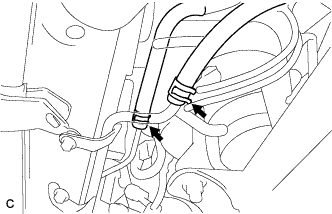
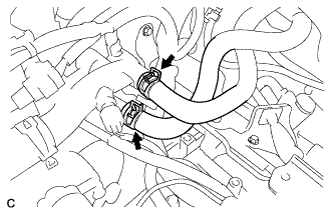
DISCONNECT NO. 1 OIL COOLER INLET HOSE
Remove the clamp and disconnect the oil cooler inlet hose.
29.
DISCONNECT NO. 1 OIL COOLER OUTLET HOSE
Remove the clamp and disconnect the oil cooler outlet hose.