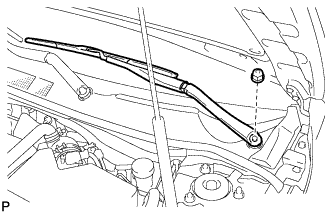
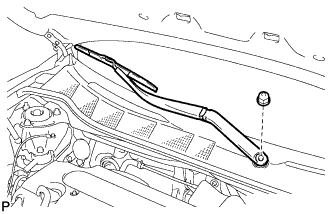
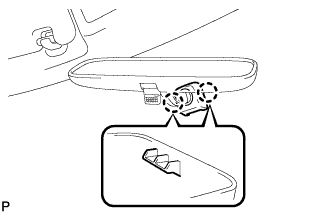
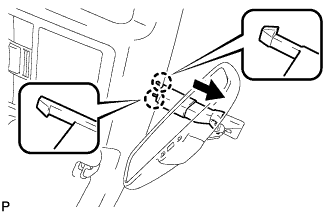
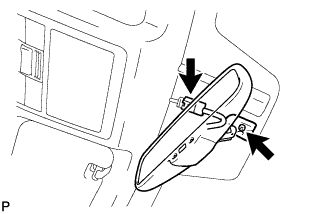
Using a "TORX" socket wrench (T20), remove the screw.
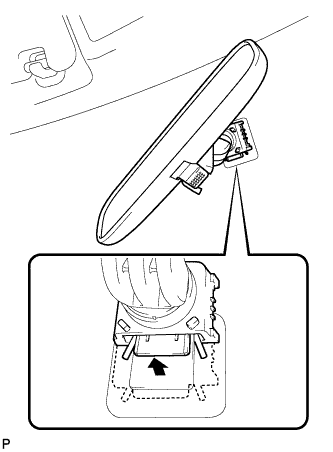
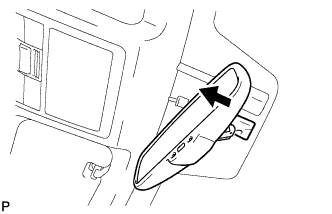
Slide the inner rear view mirror assembly in the direction indicated by the arrow shown in the illustration to remove it.
11.
REMOVE RAIN SENSOR COVER (w/ Rain Sensor)
Remove the rain sensor cover.
12.
REMOVE RAIN SENSOR (w/ Rain Sensor)
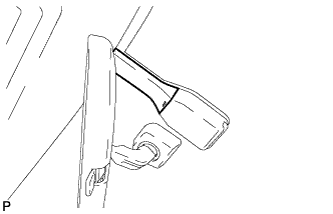
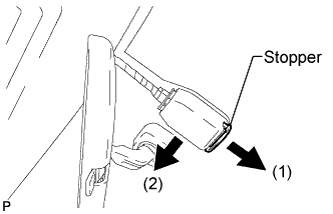
Release the stopper by pulling the stopper down and disconnect the rain sensor as shown in the illustration.
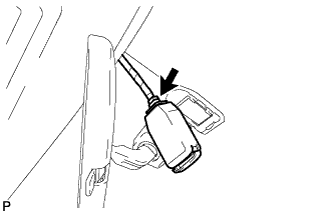
Disconnect the connector and remove the rain sensor.
13.
REMOVE RAIN SENSOR TAPE (w/ Rain Sensor)
NOTICE:
The rain sensor tape can be reused, however, replace it with a new one if it is dirty or damaged.
HINT:
This step should be performed only when the rain sensor tape needs to be replaced.
Remove the rain sensor tape.
14.
REMOVE FRONT DOOR OPENING TRIM WEATHERSTRIP LH
15.
REMOVE FRONT DOOR OPENING TRIM WEATHERSTRIP RH
16.
REMOVE FRONT PILLAR GARNISH LH (w/o Curtain Shield Airbag)
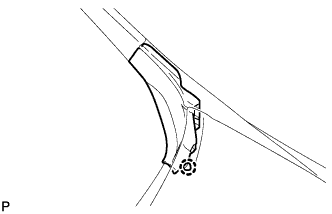
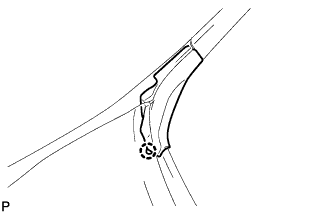
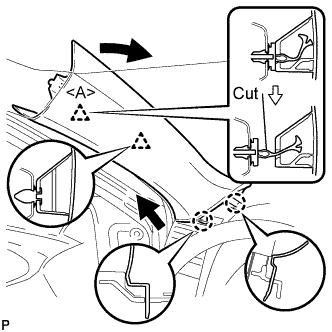
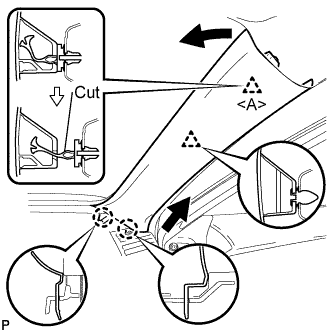
Pull the upper part of the garnish toward the inside of the cabin and disengage the 2 clips.
Cut off the clip <A>.
Disengage the 2 claws and remove the front pillar garnish LH.
Remove the clip <A> from the vehicle body.
17.
REMOVE FRONT PILLAR GARNISH LH (w/ Curtain Shield Airbag)
Pull the upper part of the garnish toward the inside of the cabin and disengage the 2 clips.
Cut off the clip <A>.
Disengage the 2 claws and remove the front pillar garnish LH.
Remove the clip <A> from the vehicle body.
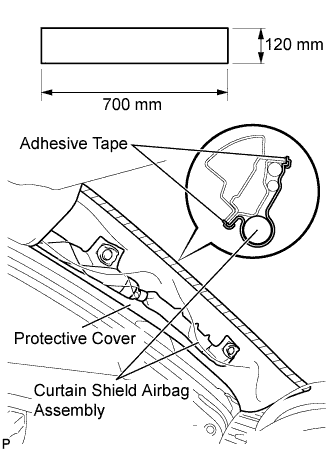
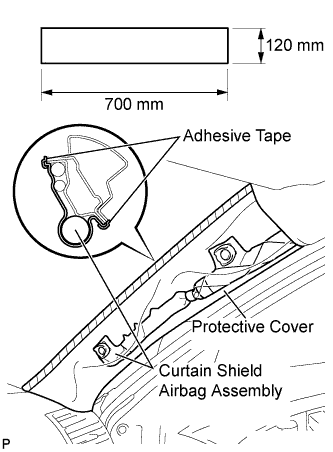
Protect the curtain shield airbag assembly.
Cover the airbag with a 700 mm (27.56 in.) x 120 mm (4.72 in.) cloth or piece of nylon and fix the ends of the cover with tape, as shown in the illustration.
NOTICE:
Cover the curtain shield airbag with a protective cover as soon as the front pillar garnish is removed.
18.
REMOVE FRONT PILLAR GARNISH RH (w/o Curtain Shield Airbag)
Pull the upper part of the garnish toward the inside of the cabin and disengage the 2 clips.
Cut off the clip <A>.
Disengage the 2 claws and remove the front pillar garnish RH.
Remove the clip <A> from the vehicle body.
19.
REMOVE FRONT PILLAR GARNISH RH (w/ Curtain Shield Airbag)
Pull the upper part of the garnish toward the inside of the cabin and disengage the 2 clips.
Cut off the clip <A>.
Disengage the 2 claws and remove the front pillar garnish RH.
Remove the clip <A> from the vehicle body.
Protect the curtain shield airbag assembly.
Cover the airbag with a 700 mm (27.56 in.) x 120 mm (4.72 in.) cloth or piece of nylon and fix the ends of the cover with tape, as shown in the illustration.
NOTICE:
Cover the curtain shield airbag with a protective cover as soon as the front pillar garnish is removed.
20.
REMOVE ROOF CONSOLE BOX ASSEMBLY
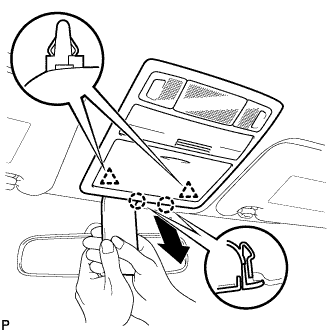
Using a moulding remover, disengage the 2 clips and 2 claws.
Disconnect the connectors and remove the roof console box assembly.
21.
REMOVE VISOR ASSEMBLY LH
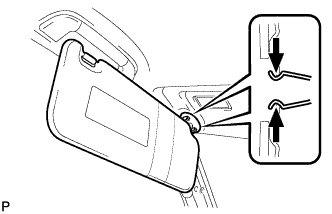
Using a moulding remover, disengage the 4 claws and remove the visor bracket cover.
Disengage the 2 clips and remove the visor assembly LH.
22.
REMOVE VISOR ASSEMBLY RH
HINT:
Use the same procedure for the RH side and the LH side.
23.
REMOVE VISOR HOLDER
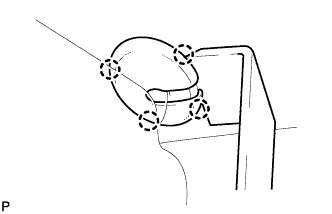
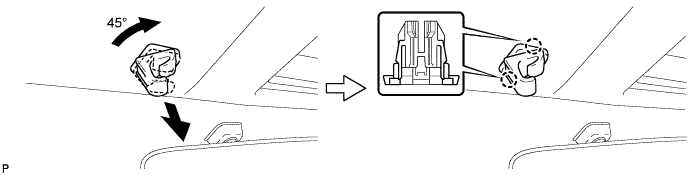
Turn the visor holder approximately 45° and pull it out as shown in the illustration.
Disengage the 2 claws and remove the visor holder.
HINT:
Use the same procedure for the RH side and the LH side.
24.
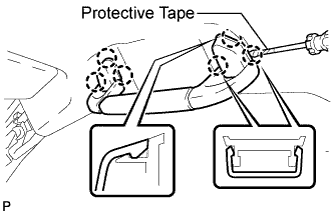
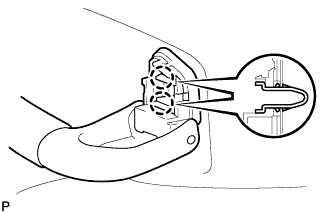
REMOVE FRONT ASSIST GRIP SUB-ASSEMBLY (for Driver Side)
with Assist Grip:
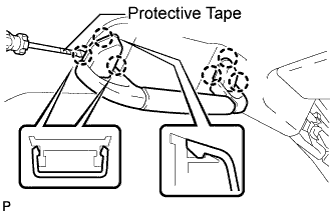
Using a screwdriver, disengage the 6 claws and remove the 2 assist grip covers.
HINT:
Tape the screwdriver tip before use.
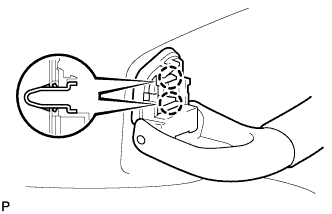
Disengage the 2 clips and remove the front assist grip sub-assembly.
25.
REMOVE FRONT ASSIST GRIP SUB-ASSEMBLY (for Front Passenger Side)
Using a screwdriver, disengage the 6 claws and remove the 2 assist grip covers.
HINT:
Tape the screwdriver tip before use.
Disengage the 2 clips and remove the front assist grip sub-assembly.
It is not necessary to completely remove the roof headlining assembly. Slightly lower the front section of the roof headlining assembly so that the windshield glass can be removed (Click here).
It is not necessary to completely remove the roof headlining assembly. Slightly lower the front section of the roof headlining assembly so that the windshield glass can be removed (Click here).
28.
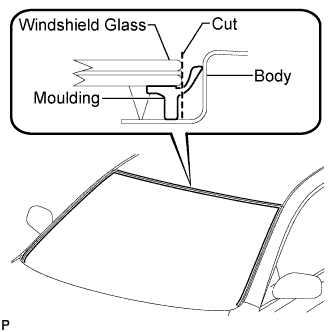
REMOVE WINDSHIELD MOULDING
Using a knife, cut off the moulding, as shown in the illustration.
NOTICE:
Do not damage the vehicle body with the knife.
If the vehicle body is damaged, repair the damaged portion by applying an anti-rust coating after removing the windshield glass.
Remove the remaining moulding from the windshield glass.
HINT:
When removing the moulding, make a partial cut, then pull and remove it by hand.
29.
REMOVE WINDSHIELD GLASS ASSEMBLY
NOTICE:
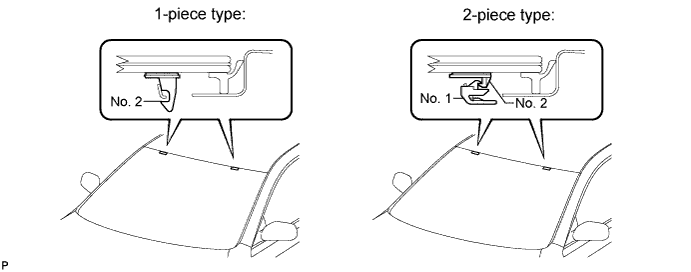
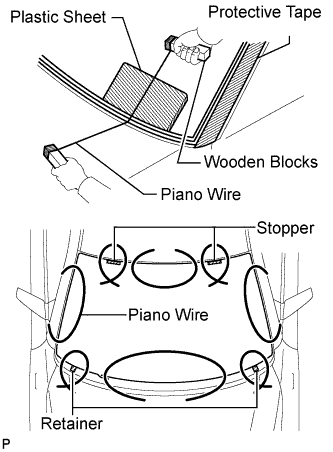
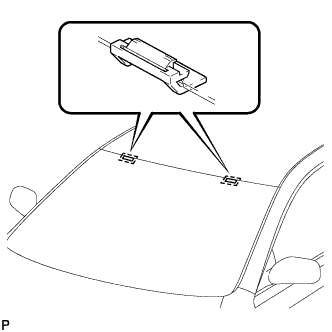
There are No. 1 and No. 2 stoppers on the windshield glass as shown in the illustration. Be careful not to damage the windshield glass when cutting off the adhesive.
To prevent the windshield glass from dropping when performing this operation, be sure to hold the windshield glass using suction cups.
HINT:
Depending on vehicles, a 1-piece or 2-piece type stopper is used.
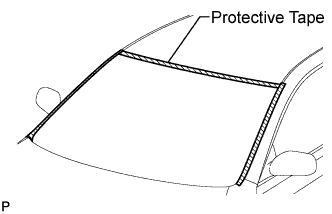
Apply protective tape to the installation position of the windshield glass assembly on the vehicle body.
HINT:
Apply protective tape to the installation surface to prevent it from being scratched.
Pass a piano wire between the vehicle body and glass from the interior.
Tie both wire ends to wooden blocks or similar objects.
Cut off the adhesive by pulling the piano wire around the windshield glass.
NOTICE:
When separating the windshield glass, take care not to damage the paint or the interior and exterior ornaments.
To prevent the safety pad from being scratched when removing the windshield glass, place a plastic sheet between the piano wire and safety pad.
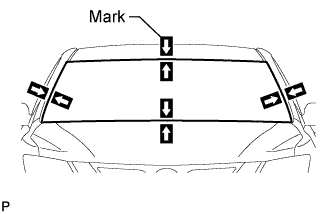
Place matchmarks on the windshield glass and vehicle body on the locations indicated in the illustration.
HINT:
Matchmarks do not need to be placed if the windshield glass is not going to be reused.
Using a suction cup, remove the windshield glass assembly.
NOTICE:
Be careful not to drop the windshield glass.
Leave as much adhesive on the vehicle body as possible when removing the windshield glass.
30.
REMOVE WINDOW GLASS ADHESIVE DAM
Using a scraper, remove the adhesive dam.
NOTICE:
Be careful not to damage the windshield glass.
Be sure to replace the adhesive dam with a new one.
31.
REMOVE NO. 2 WINDSHIELD GLASS STOPPER
Using a scraper, remove the 2 No. 2 stoppers.
NOTICE:
Be careful not to damage the windshield glass.
Be sure to replace the No. 2 stoppers with new ones.