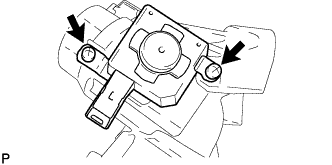
Using a center punch, mark the center of the 2 tapered-head bolts.
Using a 3 to 4 mm (0.12 to 0.16 in.) drill, drill a hole in the 2 tapered-head bolts.
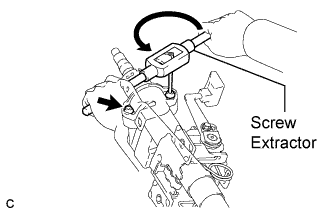
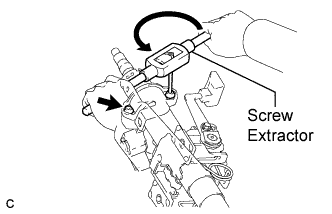
Using a screw extractor, remove the 2 tapered-head bolts, and then remove the steering lock actuator assembly and the steering lock bracket from the steering column assembly.
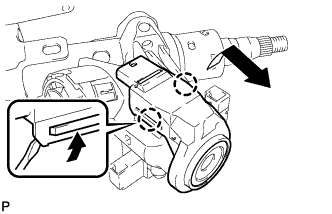
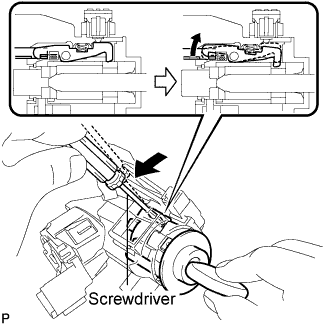
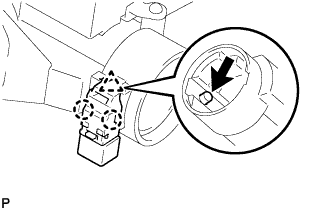
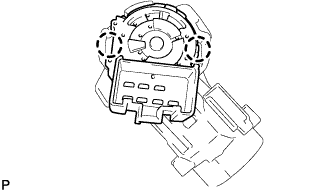
Using a screwdriver, widen the claws attaching to the upper bracket by approximately 1.0 mm (0.039 in.).
Pull out the transponder key amplifier with the claw open.
NOTICE:
Using excessive force may damage the case.
3.
REMOVE STEERING COLUMN UPPER WITH SWITCH BRACKET ASSEMBLY (w/o Smart Entry and Start System)
Secure the steering column assembly in a vise.
Using a center punch, mark the center of the 2 tapered-head bolts.
Using a 3 to 4 mm (0.12 to 0.16 in.) diameter drill bit, drill a hole in the 2 tapered-head bolts.
Using a screw extractor, remove the 2 tapered-head bolts, and then remove the steering column upper with switch bracket assembly and the steering lock bracket from the steering column assembly.
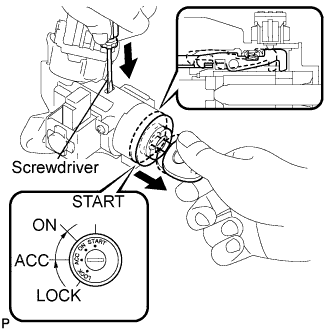
Turn the ignition switch lock cylinder assembly to the ACC position.
Insert a screwdriver into the hole of the steering column upper with switch bracket assembly as shown in the illustration. Pull the ignition switch lock cylinder assembly until its claw contacts the stopper of the steering column upper with switch bracket assembly.
NOTICE:
Make sure to pull the ignition switch lock cylinder assembly until its claw contacts the stopper of the steering column bracket assembly upper. Failure to do so will affect later work operations.
Insert a screwdriver into the hole of the steering column upper with switch bracket assembly. Push the screwdriver downward as shown in the illustration to disengage the claw of the ignition switch lock cylinder assembly, and pull out the ignition switch lock cylinder assembly.