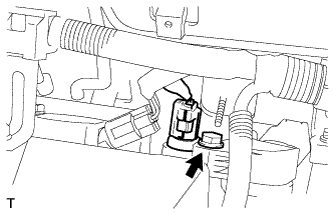
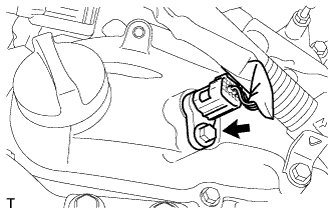
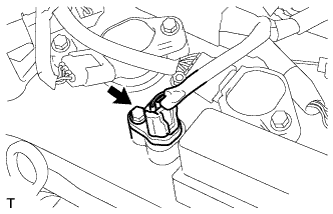
Removal / installation · Vehicles built Oct 2006 – May 2009
Versions by build date: Oct 2006 – May 2009from Jun 2009
1.
REMOVE ENGINE UNDER COVER LH
2.
REMOVE ENGINE UNDER COVER RH
3.
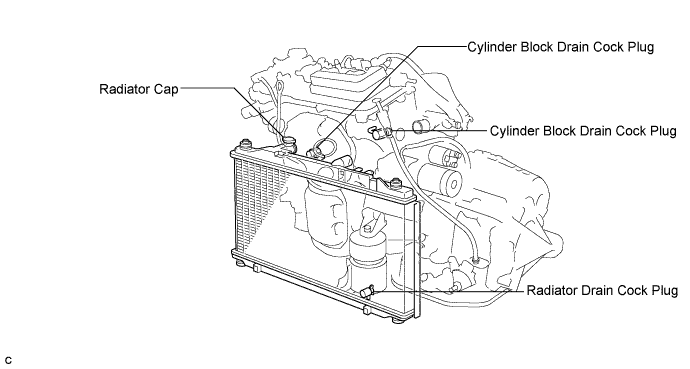
DRAIN ENGINE COOLANT
NOTICE:
Do not remove the radiator cap sub-assembly while the engine and radiator are still hot. Pressurized, hot engine coolant and steam may be released and cause serious burns.
Remove the radiator cap sub-assembly from the radiator assembly.
Loosen the radiator drain cock plug and 2 cylinder block drain cock plugs, then drain the coolant.
HINT:
Collect the coolant in a container and dispose of it according to the regulations in your area.
4.
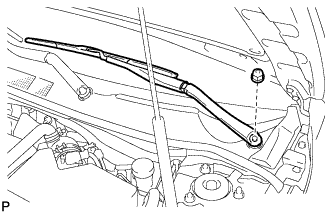
REMOVE WINDSHIELD WIPER ARM AND BLADE ASSEMBLY LH
Remove the nut and the front wiper arm and blade assembly LH.
5.
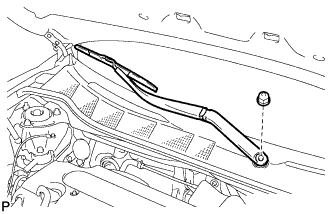
REMOVE WINDSHIELD WIPER ARM AND BLADE ASSEMBLY RH
Remove the nut and the front wiper arm and blade assembly RH.
6.
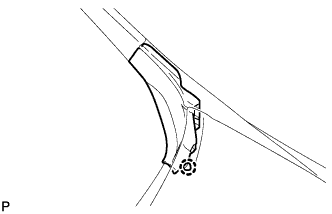
REMOVE FRONT FENDER TO COWL SIDE SEAL LH
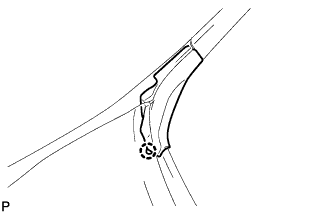
Disengage the claw and remove the front fender to cowl side seal LH.
7.
REMOVE FRONT FENDER TO COWL SIDE SEAL RH
Disengage the claw and remove the front fender to cowl side seal RH.
8.
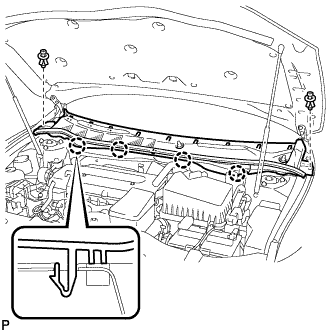
REMOVE COWL TOP VENTILATOR LOUVER SUB-ASSEMBLY (for LHD)
Remove the 2 clips.
Disengage the 4 claws and remove the cowl top ventilator louver sub-assembly.
9.
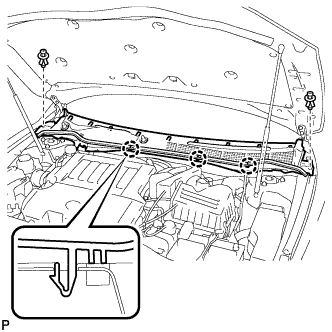
REMOVE COWL TOP VENTILATOR LOUVER SUB-ASSEMBLY (for RHD)
Remove the 2 clips.
Disengage the 3 claws and remove the cowl top ventilator louver sub-assembly.
10.
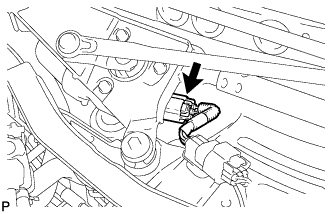
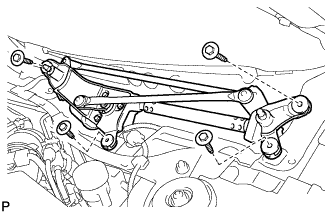
REMOVE WINDSHIELD WIPER MOTOR AND LINK ASSEMBLY
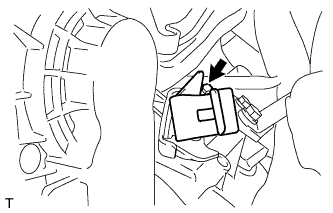
Disconnect the connector.
Remove the 4 bolts and the windshield wiper motor and link assembly.
11.
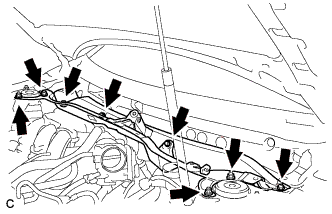
REMOVE COWL TOP PANEL OUTER SUB-ASSEMBLY
Remove the 4 bolts, 4 nuts and cowl top panel outer sub-assembly.
12.
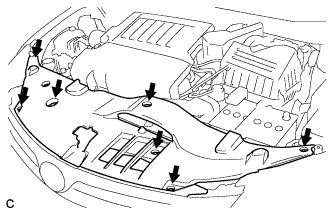
REMOVE COOL AIR INTAKE DUCT SEAL
Remove the 7 clips and intake duct seal.
13.
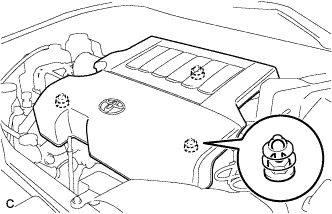
REMOVE V-BANK COVER SUB-ASSEMBLY
Hold the front of the V-bank cover and raise it to disengage the 2 clips on the front of the cover. Continue to raise the cover to disengage the clip on the rear of the cover and remove the cover.
NOTICE:
Attempting to disengage both front and rear clips at the same time may cause the cover to break.
14.
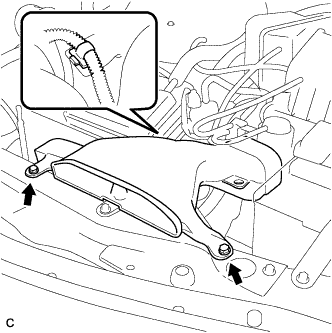
REMOVE AIR CLEANER INLET ASSEMBLY
Remove the 2 bolts, clamp and air cleaner inlet.
15.
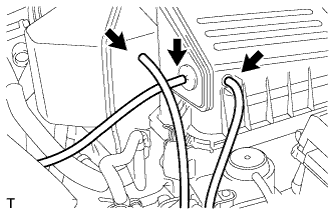
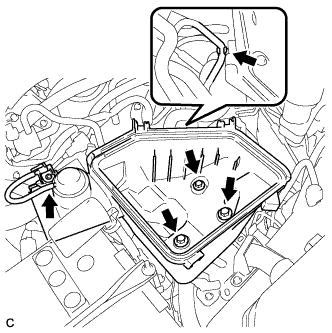
REMOVE AIR CLEANER CAP SUB-ASSEMBLY
Disconnect the 3 vacuum hoses.
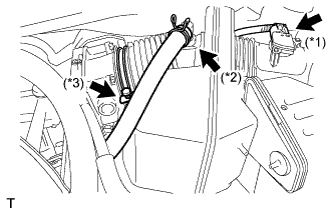
Disconnect the mass air flow meter connector (*1).
Disconnect the No. 2 ventilation hose (*2).
Disconnect the hose band (*3).
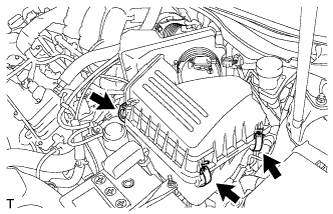
Disconnect the 3 bands, and remove the air cleaner cap sub-assembly.
16.
REMOVE AIR CLEANER CASE SUB-ASSEMBLY
Disconnect the vacuum hose and hose clamp.
Remove the 3 bolts and air cleaner case.
17.
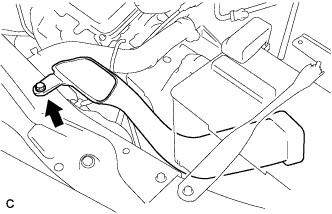
REMOVE NO. 1 AIR CLEANER INLET
Remove the bolt and No. 1 air cleaner inlet.
18.
REMOVE INTAKE AIR SURGE TANK ASSEMBLY
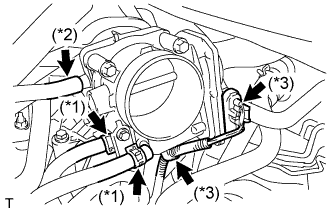
Disconnect the 2 water by-pass hoses from the throttle with motor body assembly. (*1)
Disconnect the vapor feed hose. (*2)
Disconnect the throttle with motor body assembly connector and clamp. (*3)
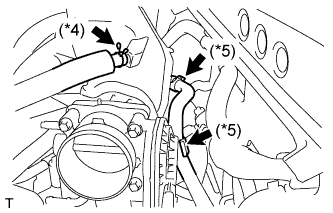
Disconnect the No. 1 ventilation hose. (*4)
Disconnect the union to check valve hose. (*5)
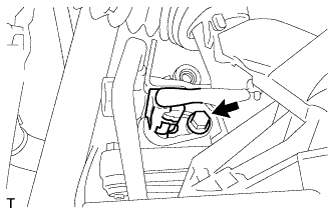
Remove the bolt and vacuum hose clamp.
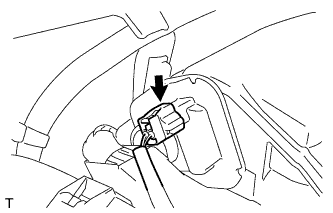
Disconnect the connector.
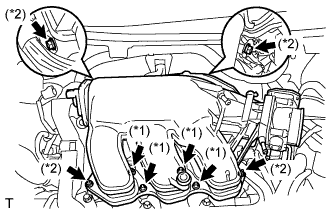
Using a 5 mm hexagon socket wrench, remove the 4 bolts. (*1)
Remove the 2 nuts, 2 bolts and intake air surge tank. (*2)