2.
DISCONNECT CABLE FROM NEGATIVE BATTERY TERMINAL
3.
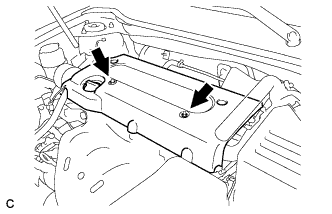
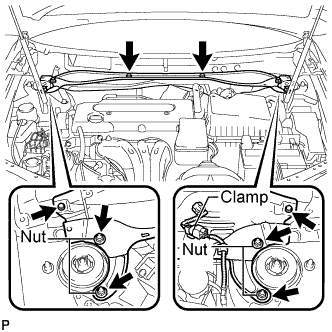
REMOVE NO. 1 ENGINE COVER SUB-ASSEMBLY
Remove the 2 nuts and cover.
4.
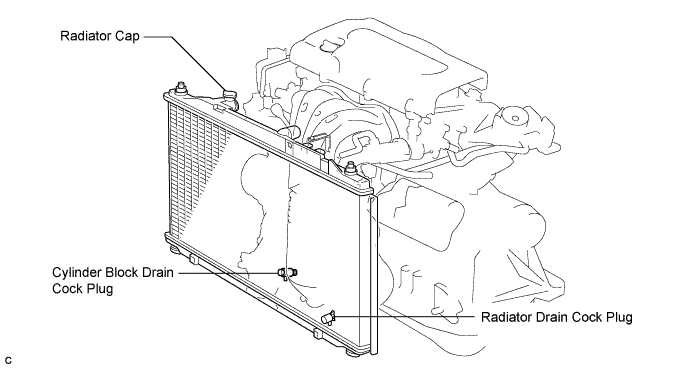
DRAIN ENGINE COOLANT
NOTICE:
Do not remove the radiator cap sub-assembly while the engine and radiator are still hot. Pressurized, hot engine coolant and steam may be released and cause serious burns.
Remove the radiator cap sub-assembly from the radiator assembly.
Loosen the radiator drain cock plug and cylinder block drain cock plug, then drain the coolant.
HINT:
Collect the coolant in a container and dispose of it according to the regulations in your area.
5.
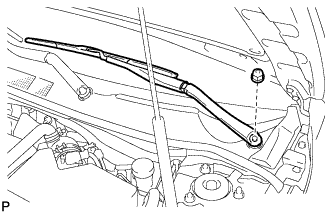
REMOVE WINDSHIELD WIPER ARM AND BLADE ASSEMBLY LH
Remove the nut and the front wiper arm and blade assembly LH.
6.
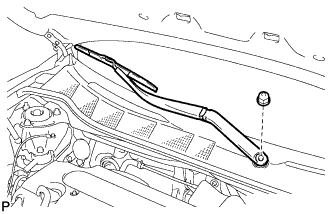
REMOVE WINDSHIELD WIPER ARM AND BLADE ASSEMBLY RH
Remove the nut and the front wiper arm and blade assembly RH.
7.
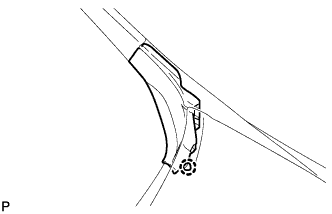
REMOVE FRONT FENDER TO COWL SIDE SEAL LH
Disengage the claw and remove the front fender to cowl side seal LH.
8.
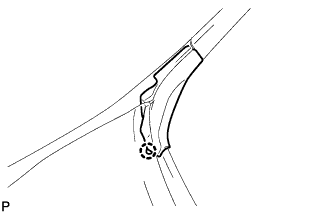
REMOVE FRONT FENDER TO COWL SIDE SEAL RH
Disengage the claw and remove the front fender to cowl side seal RH.
9.
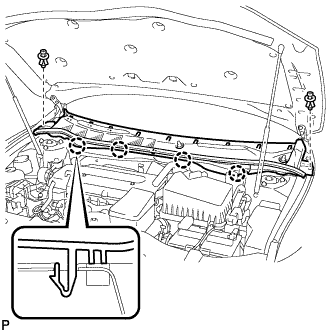
REMOVE COWL TOP VENTILATOR LOUVER SUB-ASSEMBLY
Remove the 2 clips.
Disengage the 4 claws and remove the cowl top ventilator louver sub-assembly.
10.
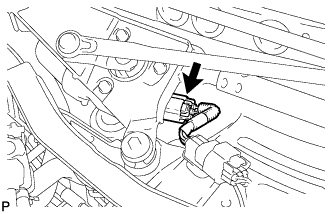
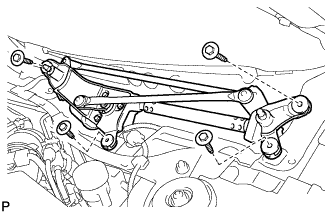
REMOVE WINDSHIELD WIPER MOTOR AND LINK
Disconnect the connector.
Remove the 4 bolts and the windshield wiper motor and link assembly.
11.
REMOVE OUTER COWL TOP PANEL SUB-ASSEMBLY
Remove the 4 bolts, 4 nuts and outer cowl top panel sub-assembly.
12.
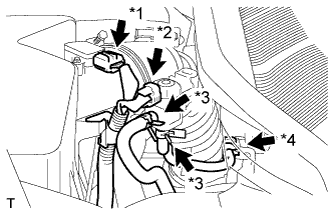
REMOVE AIR CLEANER CAP SUB-ASSEMBLY
Disconnect the mass air flow meter connector (*1).
Disconnect the purge VSV connector (*2).
Disconnect the 2 purge VSV vacuum hoses (*3).
Disconnect the purge line hose from the clamp (*4).
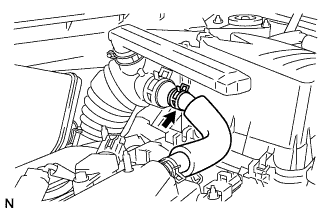
Disconnect the No. 2 ventilation hose from the air cleaner hose.
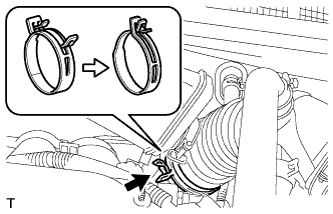
Lock the No. 1 air cleaner hose clamp, and then disconnect the No. 1 air cleaner hose from the throttle body.
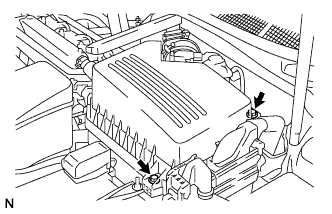
Remove the 2 bolts and air cleaner cap.
Remove the air cleaner filter element from the air cleaner case.
13.
REMOVE AIR CLEANER CASE SUB-ASSEMBLY
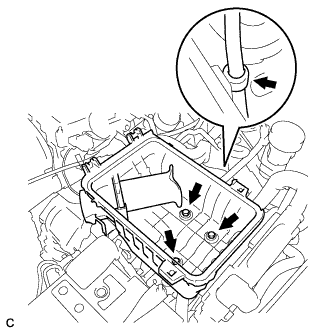
Disconnect the hose clamp.
Remove the 3 bolts and air cleaner case.
14.
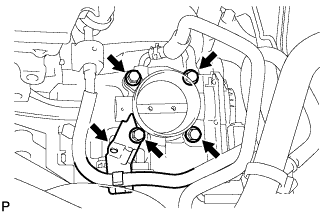
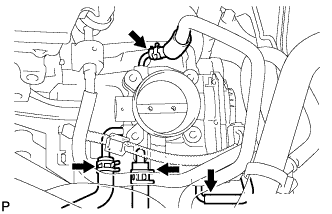
REMOVE THROTTLE BODY
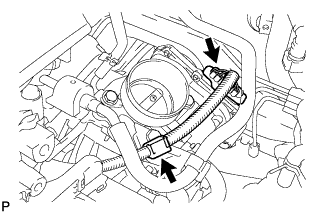
Disconnect the throttle position sensor connector and wire harness clamp.
Remove the 4 bolts, and then remove the fuel pipe support and throttle body.
Disconnect the purge line hose from the throttle body.
Disconnect the water by-pass hose from the throttle body.
Disconnect the No. 2 water by-pass hose from the throttle body.
Disconnect the No. 1 throttle body hose from the throttle body.
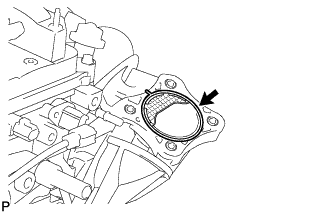
Remove the gasket from the intake manifold.
15.
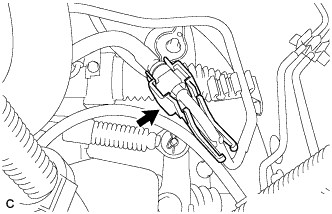
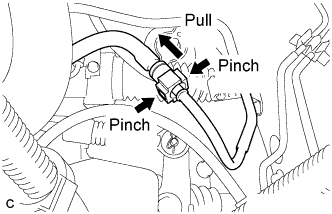
DISCONNECT FUEL TUBE
Remove the No. 1 fuel pipe clamp.
NOTICE:
Check for foreign matter on the pipe and around the connector before disconnecting the quick connector. Clean the connector if necessary.
If the connector and pipe are stuck, pinch the connector, and push and pull the pipe to disconnect them.
NOTICE:
Do not use any tools in this procedure.
Check for foreign matter on the sealing surface of the disconnected pipe. Clean it if necessary.
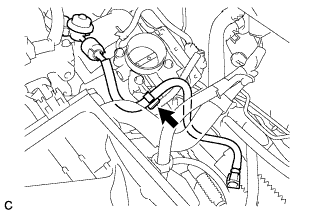
Separate the fuel tube sub-assembly from the fuel hose clamp.
16.
REMOVE FUEL DELIVERY PIPE WITH INJECTOR
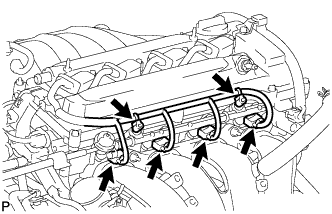
Remove the 2 wire harness clamps.
Disconnect the 4 fuel injector connectors.
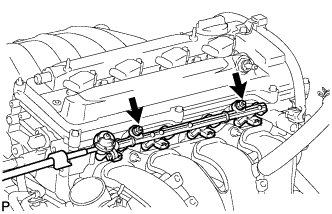
Remove the 2 bolts, then remove the fuel delivery pipe together with the 4 fuel injectors.
NOTICE:
Be careful not to drop the fuel injectors when removing the fuel delivery pipe.
Remove the 2 delivery pipe spacers from the cylinder head.
Remove the 4 insulators from the cylinder head.
17.
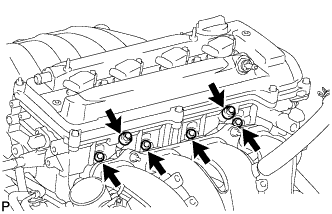
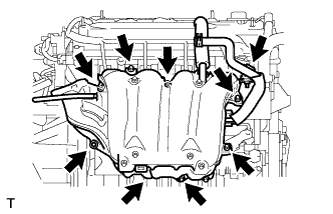
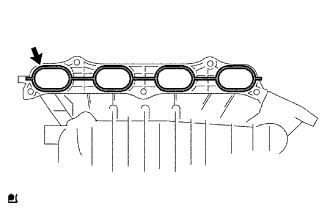
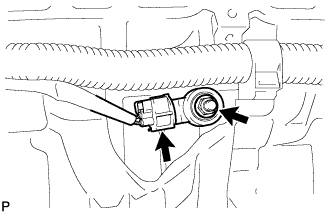
REMOVE INTAKE MANIFOLD
Disconnect the union to check valve hose from the brake booster.
Disconnect the camshaft timing oil control valve connector.
Remove the wire harness clamp.
Remove the union to check valve hose from the vacuum hose clamp.