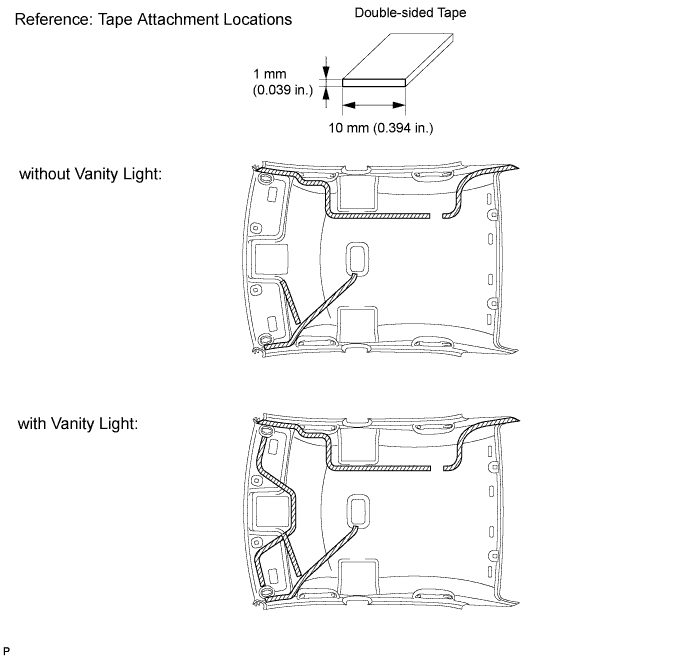
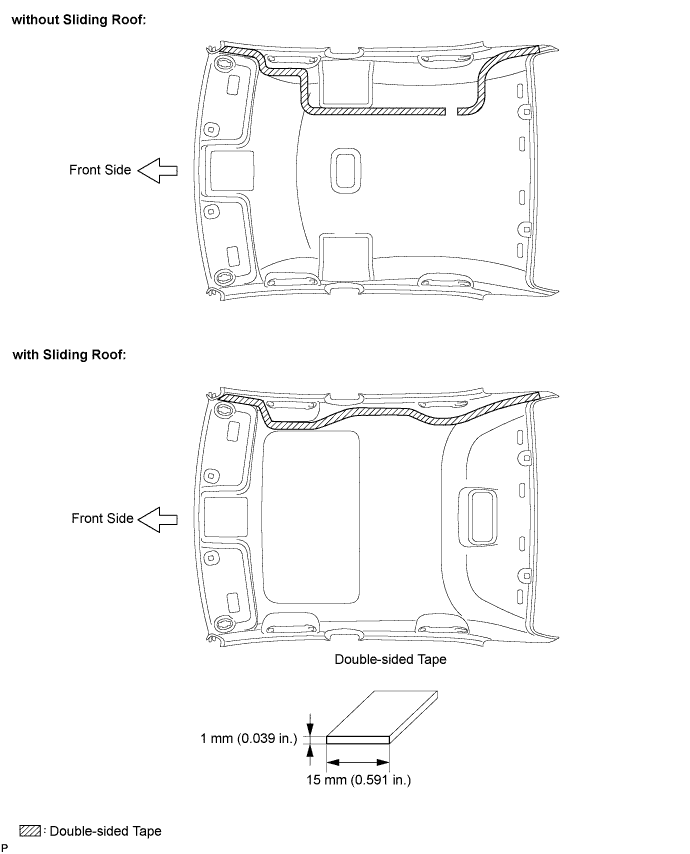
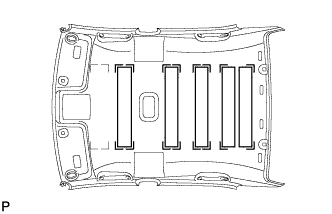
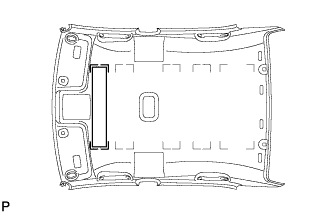
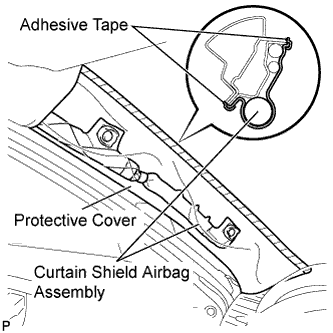
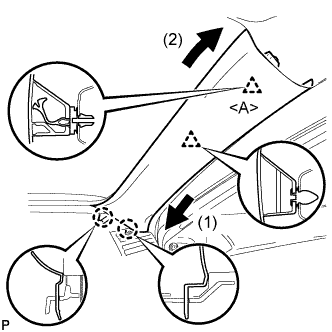
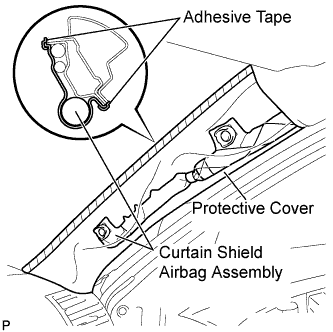
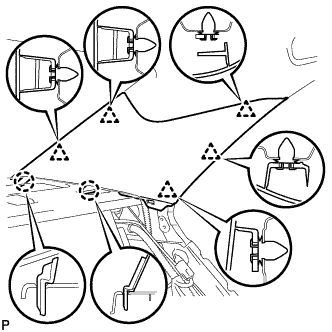
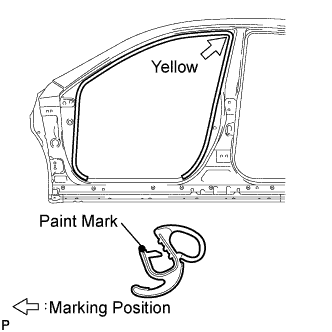
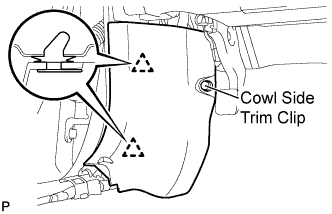
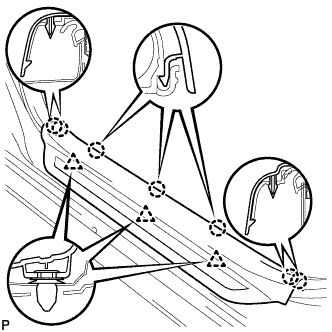
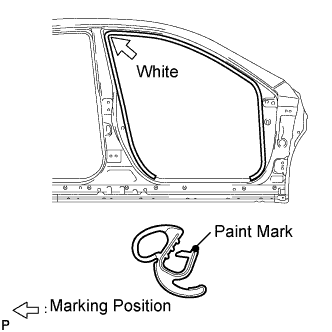
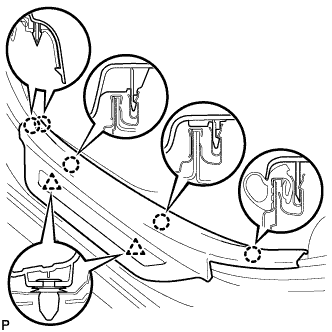
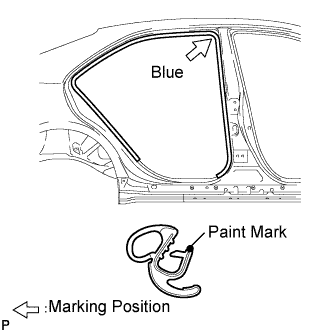
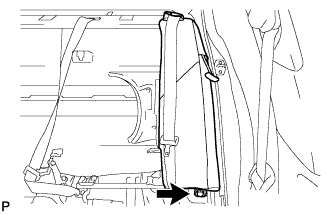
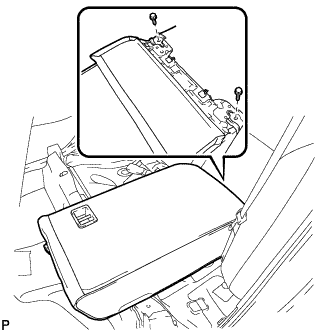
Apply new double-sided tape to the locations shown in the illustration while aligning the tape with the markings on the roof headlining.
NOTICE:
Securely apply the double-sided tape to prevent it from being out of alignment and peeling off.
Peel off the release paper from the double-sided tape.
Attach the No. 1 roof wire along the double-sided tape so that the marking surface of the wire harness faces downward.
NOTICE:
Securely attach the No. 1 roof wire. Failure to do so may cause abnormal noise.
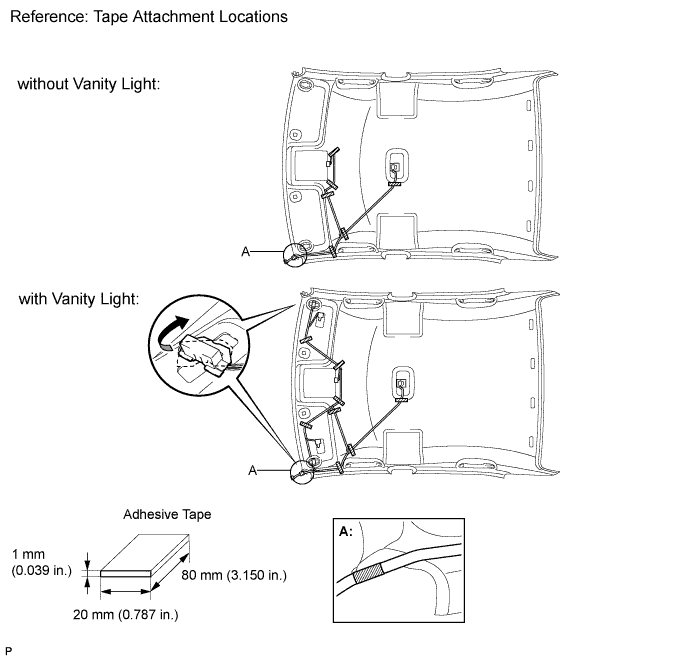
Vanity Light:
Turn the visor connectors clockwise approximately 90° to install the connectors to the roof headlining.
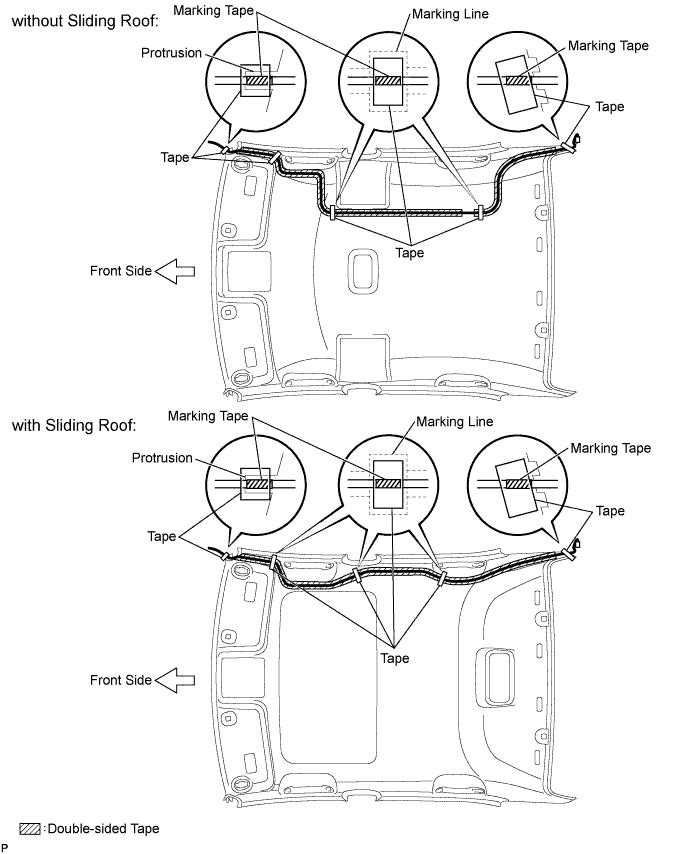
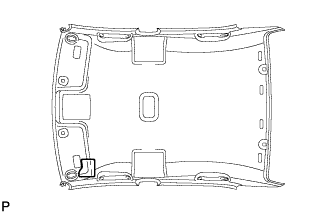
Apply adhesive tape to the locations shown in the illustration.
HINT:
As shown at point A in the illustration, line up and secure the reference tape of the wire harness to the tip of the roof headlining assembly.
2.
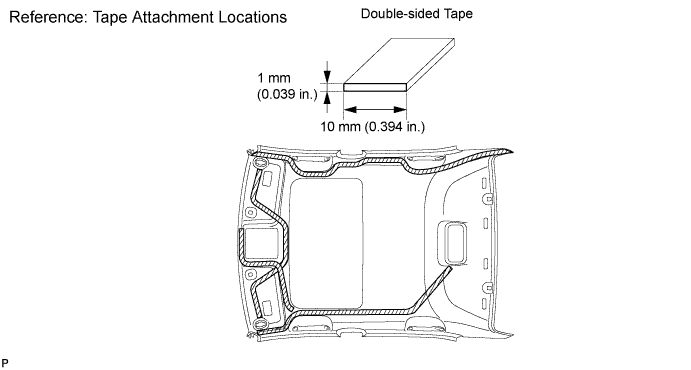
INSTALL NO. 1 ROOF WIRE (w/ Sliding Roof)
Apply new double-sided tape to the locations shown in the illustration while aligning the tape with the markings on the roof headlining.
NOTICE:
Securely apply the double-sided tape to prevent it from being out of alignment and peeling off.
Peel off the release paper from the double-sided tape.
Attach the No. 1 roof wire along the double-sided tape so that the marking surface of the wire harness faces downward.
NOTICE:
Securely attach the No. 1 roof wire. Failure to do so may cause abnormal noise.
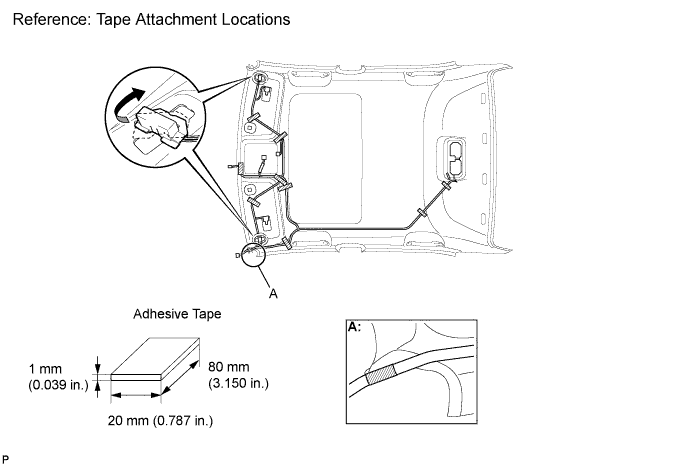
Turn the visor connectors clockwise approximately 90° to install the connectors to the roof headlining.
Apply adhesive tape to the locations shown in the illustration.
HINT:
As shown at point A in the illustration, line up and secure the reference tape of the wire harness to the tip of the roof headlining assembly.
3.
INSTALL ANTENNA CORD SUB-ASSEMBLY
HINT:
The double-sided tape and tape are not available as supply parts. If these tapes still have enough adhesion to secure the roof headlining and antenna cord, reuse the tapes. If the roof headlining has been replaced with a new one, or if the tape and/or the double-sided tape is no longer sticky, apply new tape following the procedures below.
Apply new double-sided tape.
Remove the double-sided tape from the roof headlining assembly.
Peel off the appropriate amount of new double-sided tape. Be careful not to touch the adhesive surface.
Apply the double-sided tape to the roof headlining while aligning the tape with the markings on the roof headlining assembly.
Peel off the backing sheet from the double-sided tape.
Install the antenna cord to the roof headlining assembly from the front of the vehicle.
Put the strips of the tape back to the positions shown in the illustration in order to secure the antenna cord to the roof headlining assembly.
HINT:
If the tape is no longer sticky, use other tape, such as packing tape, that has enough adhesion to secure the antenna cord to the roof headlining assembly.
For the right front corner of the roof headlining assembly, align the marking tape on the antenna cord with the protrusion of the roof headlining, and wrap tape around the antenna cord and roof headlining assembly once or twice to securely hold them.
For the right rear corner of the roof headlining assembly, align the marking tape on the antenna cord with the rear edge of the roof headlining, and secure the antenna cord to the roof headlining assembly with tape.
For the part of the antenna cord near the center of the roof headlining assembly, position the marking tape on the antenna cord within the area indicated by the marking line. Secure the antenna cord to the roof headlining assembly with tape as shown in the illustration.
4.
INSTALL VANITY LIGHT ASSEMBLY
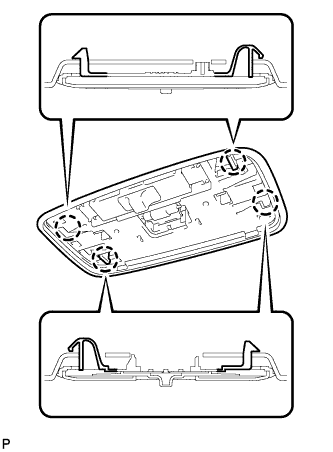
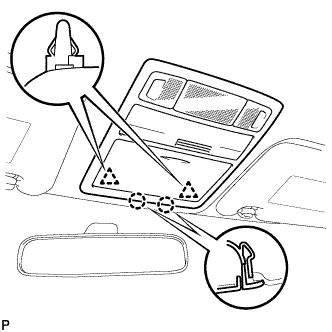
Engage the 3 claws and install the vanity light assembly.
5.
INSTALL FASTENER HOOK (w/ Sliding Roof)
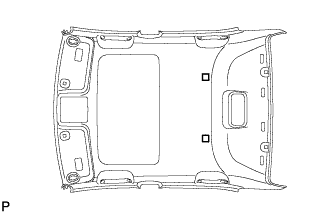
Align the markings on the roof headlining assembly with the fastener hooks and install the fastener hooks using hot melt glue as shown in the illustration.
6.
INSTALL NO. 4 ROOF SILENCER PAD (w/o Sliding Roof)
Align the markings on the roof headlining assembly with the No. 4 roof silencer pads and install the silencer pads using hot melt glue or double-sided tape as shown in the illustration.
7.
INSTALL NO. 2 ROOF SILENCER PAD (w/o Sliding Roof)
Align the markings on the roof headlining assembly with the No. 2 roof silencer pad and install the silencer pad using hot melt glue or double-sided tape as shown in the illustration.
8.
INSTALL ROOF SIDE RAIL SILENCER PAD LH (w/o Sliding Roof)
Align the markings on the roof headlining assembly with the roof side rail silencer pad LH and install the silencer pad using hot melt glue as shown in the illustration. (with Curtain Shield Airbag)
9.
INSTALL ROOF SIDE RAIL SILENCER PAD RH (w/o Sliding Roof)
HINT:
Use the same procedures for the RH side and the LH side.
10.
INSTALL RADIO SETTING CONDENSER
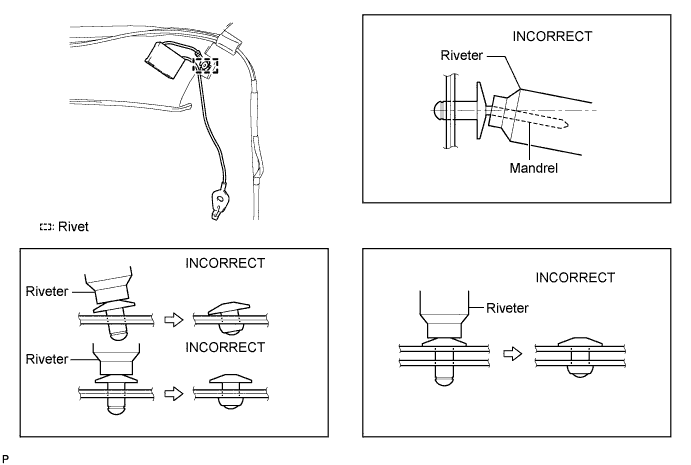
Using an air riveter or hand riveter with a nose piece, install the radio setting condenser with a new rivet.
NOTICE:
Do not pry the rivet with the riveter, as this will cause damage to the riveter and mandrel.
Confirm that the rivet is seated properly against the moulding. Do not tilt the riveter when installing the rivet to the moulding. Do not leave any space between the rivet head and moulding.
Do not leave any space between the moulding and door frame. Firmly hold the 2 items together while installing the rivet.
HINT:
If the rivet cannot be cut, pull it once and cut it.
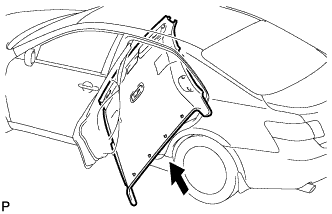
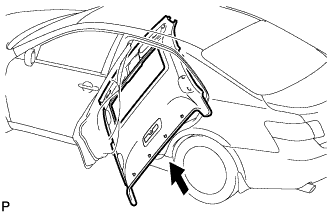
Pull the roof headlining assembly into the vehicle through the rear left door.
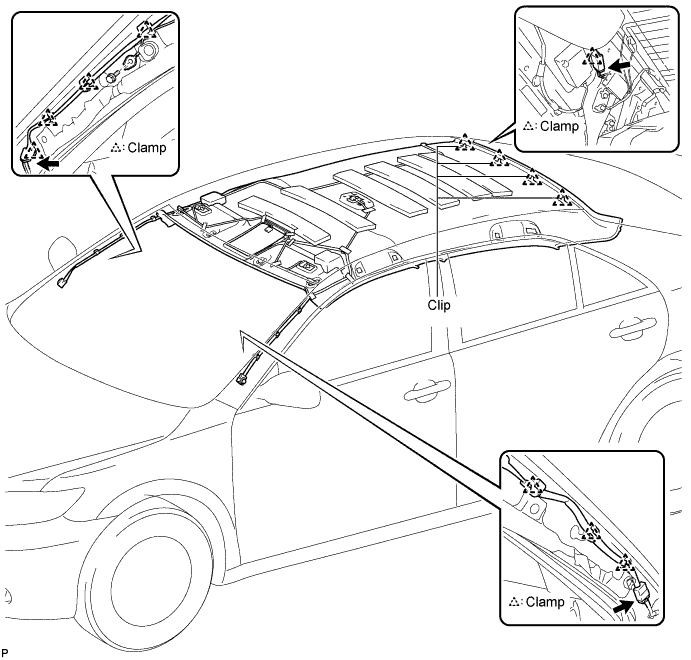
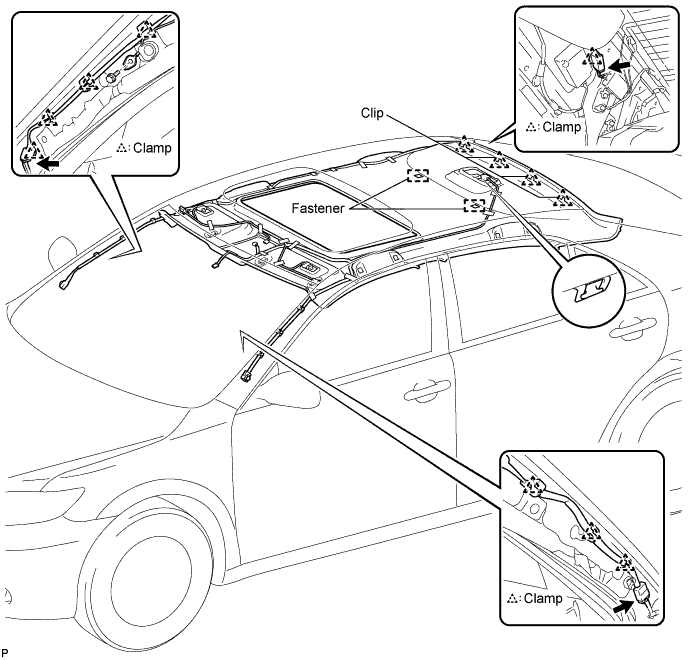
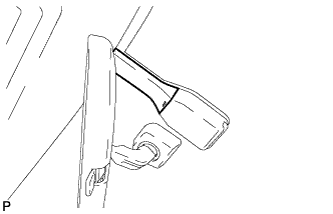
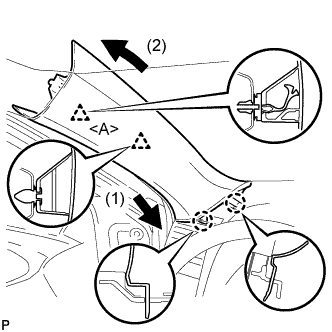
Engage the hook, 4 clips, and 2 fasteners.
Connect the sliding roof drive gear connector.
Connect the antenna cord sub-assembly connector and engage the clamp to the rear pillar RH.
Connect the antenna cord sub-assembly connector and engage each clamp to the front pillar RH.
Install the radio setting condenser to the front pillar RH with the bolt.
Connect the No. 1 roof wire connector and engage each clamp to the front pillar LH.
13.
INSTALL SUN ROOF OPENING TRIM MOULDING (w/ Sliding Roof)
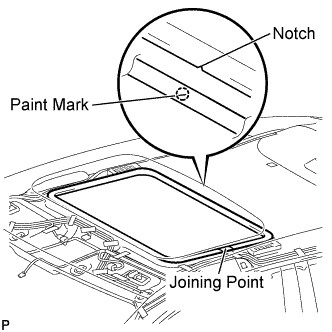
Align the paint mark on the inner surface of the opening trim moulding with the notch of the roof headlining, and install the sun roof opening trim moulding so that the joining point of the opening trim is on the left side of the vehicle as shown in the illustration.
NOTICE:
After installation, check that the corners fit correctly.
14.
INSTALL SPOT LIGHT ASSEMBLY (w/ Sliding Roof)
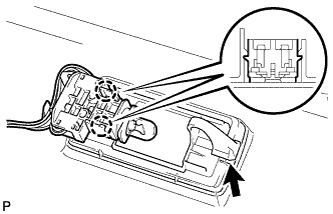
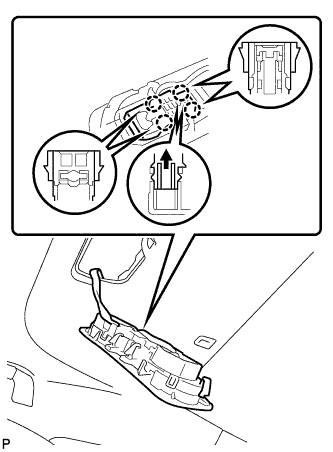
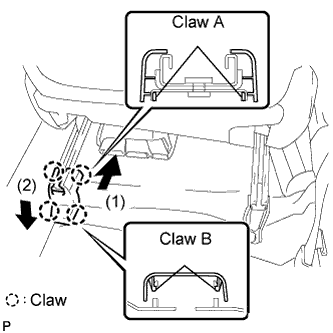
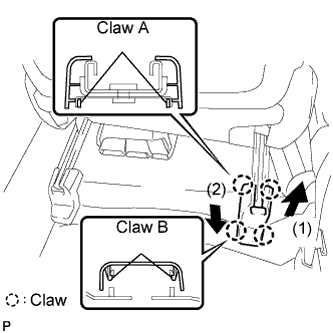
Push the light bulb holder in the direction indicated by the arrow in the illustration to engage the claw.
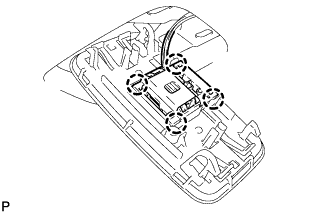
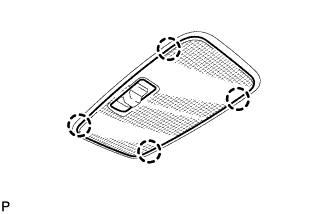
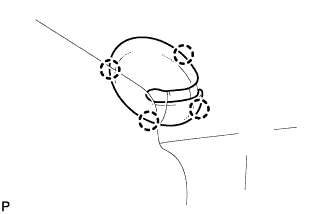
Engage the 4 claws.
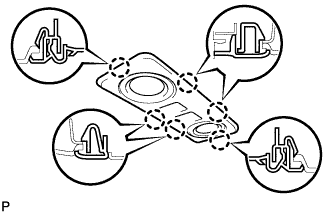
Engage the 6 claws and install the spot light assembly.