REASSEMBLY
Removal / installation · Vehicles built from Jun 2009
Versions by build date: Oct 2006 – May 2009 from Jun 2009
| 1.
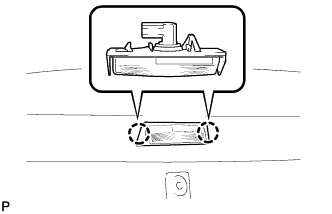
INSTALL LICENSE PLATE LIGHT ASSEMBLY LH
|
 |
- Engage the 2 claws to install the license plate light assembly.
Connect the connector.
| 2.
INSTALL LICENSE PLATE LIGHT ASSEMBLY RH |
|
- HINT:
- Use the same procedure for the RH side and the LH side.
| 3.
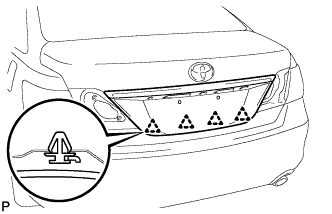
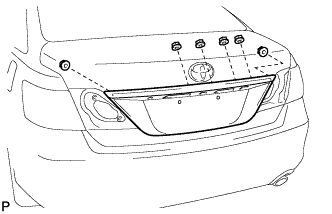
INSTALL LUGGAGE COMPARTMENT OUTSIDE DOOR GARNISH SUB-ASSEMBLY (w/o Smart Entry and Start System)
|
|
- Engage the 4 clips and install the luggage compartment door outside garnish sub-assembly.
- Install the 6 nuts.
| 4.
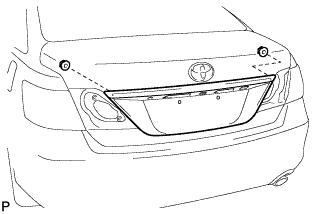
INSTALL LUGGAGE COMPARTMENT OUTSIDE DOOR GARNISH SUB-ASSEMBLY (w/ Smart Entry and Start System)
|
|
- Engage the 4 clips and install the luggage compartment door outside garnish sub-assembly.
- Install the 2 nuts.
| 5.
INSTALL BACK DOOR GARNISH RETAINER (w/o Parking Assist Monitor System)
|
|
- Engage the 2 claws and install the back door garnish retainer.
- Install the 2 nuts.
| 6.
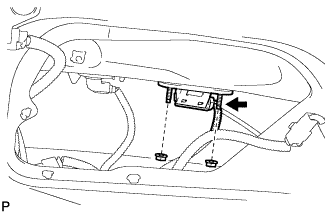
INSTALL TELEVISION CAMERA ASSEMBLY (w/ Parking Assist Monitor System)
|
|
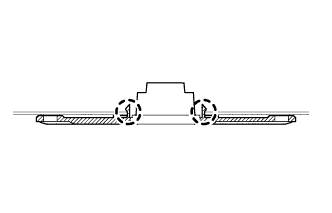
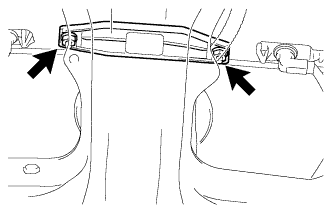
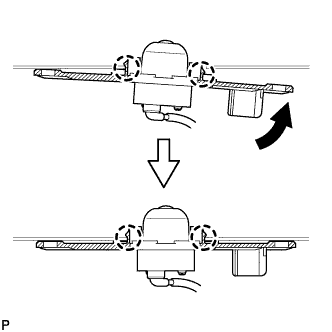
- Engage the 2 claws to temporarily install the television camera assembly to the luggage compartment as shown in the illustration.
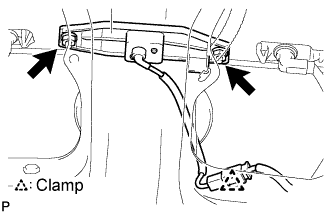
- Install the television camera assembly with the 2 nuts.
Connect the television camera connector.
Engage the television camera connector clamp.
| 7.
INSTALL LUGGAGE DOOR OPENING SWITCH ASSEMBLY (w/ Smart Entry and Start System)
|
|
- Install the luggage door opening switch assembly with the 2 nuts.
Connect the connector.
| 8.
INSTALL REAR SPOILER (w/ Rear Spoiler)
|
|
- HINT:
- When installing the rear spoiler, heat the vehicle body and rear spoiler using a heat light.
- Heating temperature:
Item
|
Temperature
|
Vehicle Body
|
40 to 60°C (104 to 140°F)
|
Rear Spoiler
|
20 to 30°C (68 to 86°F)
|
- NOTICE:
- Do not heat the vehicle body and rear spoiler excessively.
Clean the vehicle body surface.
Using a heat light, heat the vehicle body surface.
Remove the 2 No. 1 rear spoiler protectors from the vehicle body.
Wipe off any tape adhesive residue with cleaner.
Clean the rear spoiler. (If reusing the rear spoiler)
Using a heat light, heat the rear spoiler.
Remove the rear spoiler protector from the rear spoiler.
Wipe off any tape adhesive residue with cleaner.
Apply new rear spoiler protector to the rear spoiler.
Install the rear spoiler.
Using a heat light, heat the vehicle body and rear spoiler.
Remove the 2 release papers from the 2 No. 1 rear spoiler protectors.
- HINT:
- After removing the release paper, keep the exposed adhesive free from foreign matter.
Engage the 2 clips and install the rear spoiler.
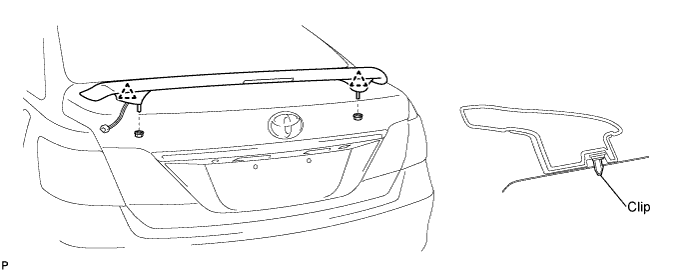

Install the 2 nuts.
Connect the connector.
| 9.
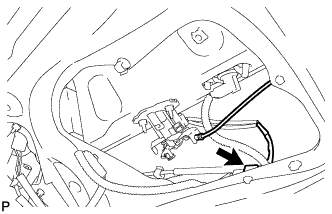
INSTALL LUGGAGE COMPARTMENT DOOR LOCK CYLINDER ASSEMBLY |
|
- Install the luggage compartment door lock cylinder with the 2 nuts.
- Connect the cable and connector.
| 10.
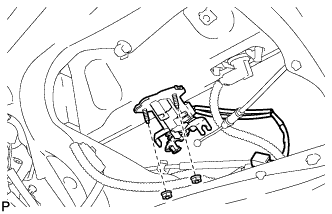
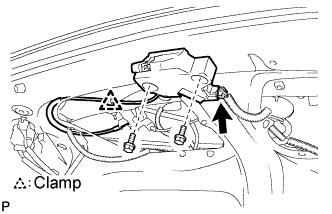
INSTALL LUGGAGE COMPARTMENT DOOR LOCK ASSEMBLY
|
|
- Install the luggage compartment door lock assembly with the 2 bolts.
-
Torque:
- 5.5 N*m{
56 kgf*cm
, 49 in.*lbf
}
Connect the cable and connector.
Engage the clamp.
| 11.
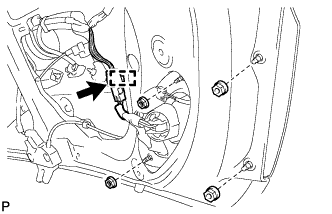
INSTALL REAR LIGHT ASSEMBLY LH
|
|
- Install the rear light assembly with the 4 nuts.
-
Torque:
- 5.4 N*m{
55 kgf*cm
, 48 in.*lbf
}
Connect the connector and engage the clamp.
| 12.
INSTALL REAR LIGHT ASSEMBLY RH |
|
- HINT:
- Use the same procedure for the RH side and the LH side.
| 13.
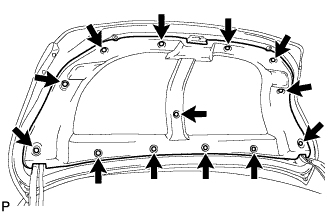
INSTALL LUGGAGE COMPARTMENT DOOR COVER
|
|
- Install the luggage compartment door cover with the 13 clips.