2006-2011 Camry Aurion · Service Manual BRAKE

REMOVAL

Removal / installation · Vehicles built from Jun 2009

Versions by build date: Jun 2006 – Sep 2006 Oct 2006 – May 2009 from Jun 2009

NOTICE:
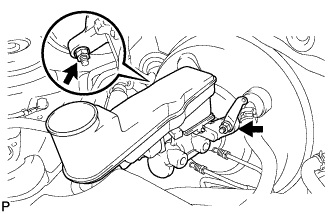
  1. Release the vacuum from the booster by depressing the brake pedal several times. Then remove the brake master cylinder sub-assembly from the brake booster assembly.
  2. The structure of the master cylinder allows the piston to pop out, so observe the following:
    1. The master cylinder requires careful handling. Do not allow the master cylinder to receive any impact, such as from being dropped. Do not reuse a master cylinder that has been dropped.
    2. Do not scratch or damage the circumference of the piston. For the seal to function correctly, all sliding surfaces must not have any damage.
    3. Do not pull out the master cylinder piston.
    4. When installing the master cylinder, remove the protectors for the piston and the discharge port.
    5. Apply the supplied grease to the outer diameter of the piston and the inner diameter of the brake booster.


1. DRAIN BRAKE FLUID

NOTICE:
If the brake fluid leaks onto any painted surface, wash off and remove the brake fluid completely.

2. REMOVE AIR CLEANER CAP SUB-ASSEMBLY (for LHD)

HINT:
  1. for 2AZ-FE: Click here
  2. for 2GR-FE: Click here


3. REMOVE AIR CLEANER FILTER ELEMENT SUB-ASSEMBLY (for LHD)

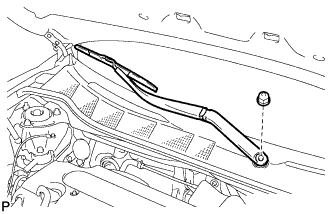
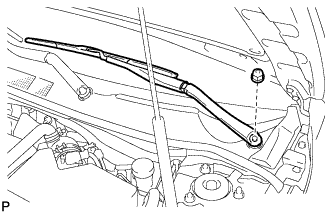
4. REMOVE FRONT WIPER ARM AND BLADE ASSEMBLY LH

  1. E135586
    Remove the nut and the front wiper arm and blade assembly LH.


5. REMOVE FRONT WIPER ARM AND BLADE ASSEMBLY RH

  1. E135587
    Remove the nut and the front wiper arm and blade assembly RH.


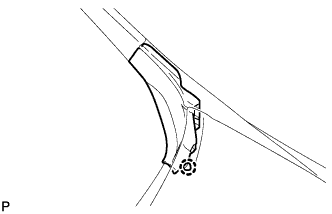
6. REMOVE FRONT FENDER TO COWL SIDE SEAL LH

  1. E128809
    Disengage the claw and remove the front fender to cowl side seal LH.


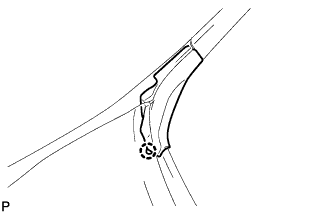
7. REMOVE FRONT FENDER TO COWL SIDE SEAL RH

  1. E128810
    Disengage the claw and remove the front fender to cowl side seal RH.


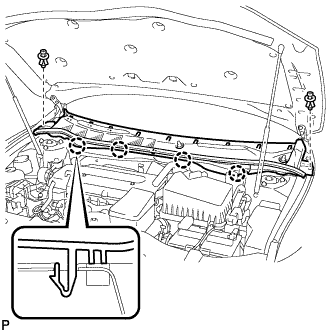
8. REMOVE COWL TOP VENTILATOR LOUVER SUB-ASSEMBLY

  1. E135588
    Remove the 2 clips.

  1. Disengage the 4 claws and remove the cowl top ventilator louver sub-assembly.


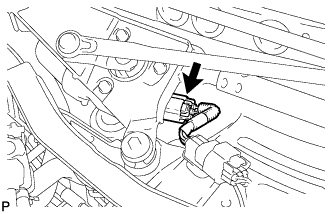
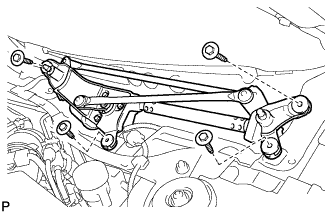
9. REMOVE WINDSHIELD WIPER MOTOR AND LINK ASSEMBLY

  1. E135589
    Disconnect the connector.

  1. E135590
    Remove the 4 bolts and the windshield wiper motor and link assembly.


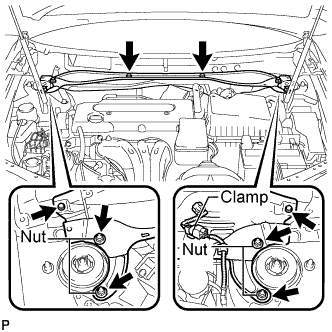
10. REMOVE COWL TOP OUTER FRONT PANEL SUB-ASSEMBLY

  1. C141972E01
    Disengage the clamp.

  1. Remove the 4 nuts, the 4 bolts and the cowl top outer front panel sub-assembly.


11. DISCONNECT CLUTCH RESERVOIR TUBE (for Manual Transaxle)
  1. Move the clip and disconnect the clutch reservoir tube from the brake master cylinder sub-assembly.


12. REMOVE BRAKE MASTER CYLINDER SUB-ASSEMBLY (for LHD without VSC)

  1. C132716
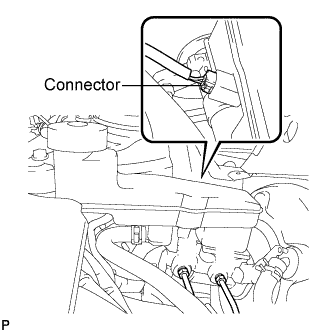
    Disconnect the connector.

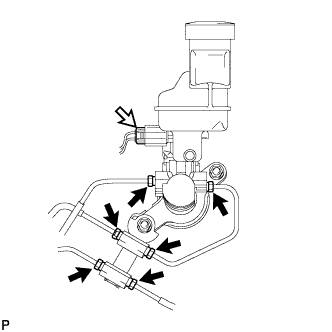
  1. C138468E01
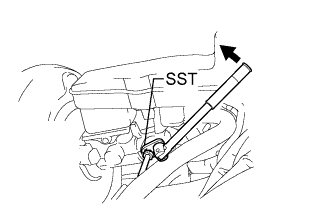
    Using SST, disconnect the 6 brake lines and remove the brake master cylinder to way tube.
    SST
    09023-00101  

  1. C132717
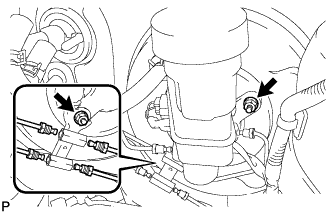
    Remove the 2 nuts, the front brake tube way, the gasket and the brake master cylinder sub-assembly.


13. REMOVE BRAKE MASTER CYLINDER SUB-ASSEMBLY (for LHD with VSC)

  1. C132716
    Disconnect the connector.

  1. C138468E01
    Using SST, disconnect the 6 brake lines and remove the brake master cylinder to way tube.
    SST
    09023-00101  
    09023-38201  

  1. C132717
    Remove the 2 nuts, the front brake tube way, the gasket and the brake master cylinder sub-assembly.


14. REMOVE BRAKE MASTER CYLINDER SUB-ASSEMBLY (for RHD)

  1. C132846E01
    Disconnect the connector.

  1. C138466E02
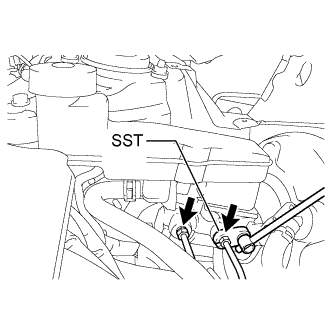
    Using SST, disconnect the 2 brake lines.
    SST
    09023-38201  

  1. C132844E01
    Remove the 2 nuts, the vacuum check valve bracket, the O-ring and the brake master cylinder sub-assembly.

← REMOVAL (Oct 2006 – May 2009)INSTALLATION (Jun 2006 – Sep 2006) →